New Patient Portal Help
- How to Book an Appointment
- How to Cancel an Appointment
- View Your Appointments
- Receipts
- Account Settings
- Waiting List
- How to Register for an Event
How to Book an Appointment
Quickly and easily book an appointment on the patient portal:
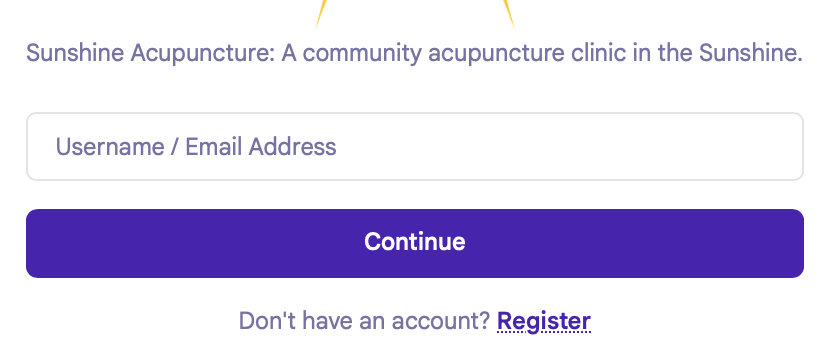
Step 1:
Sign in to your patient account with your Username and Password
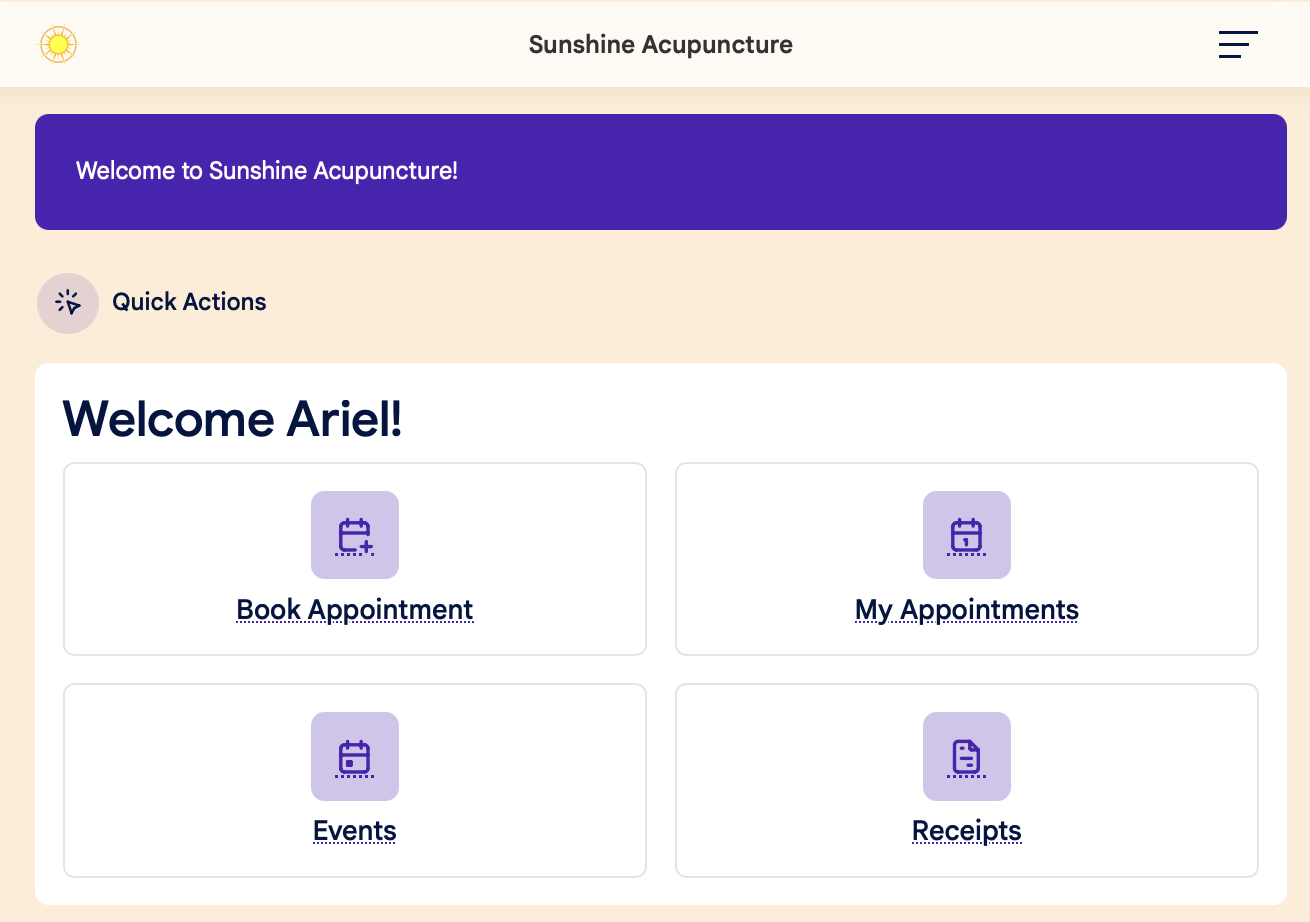
Step 2:
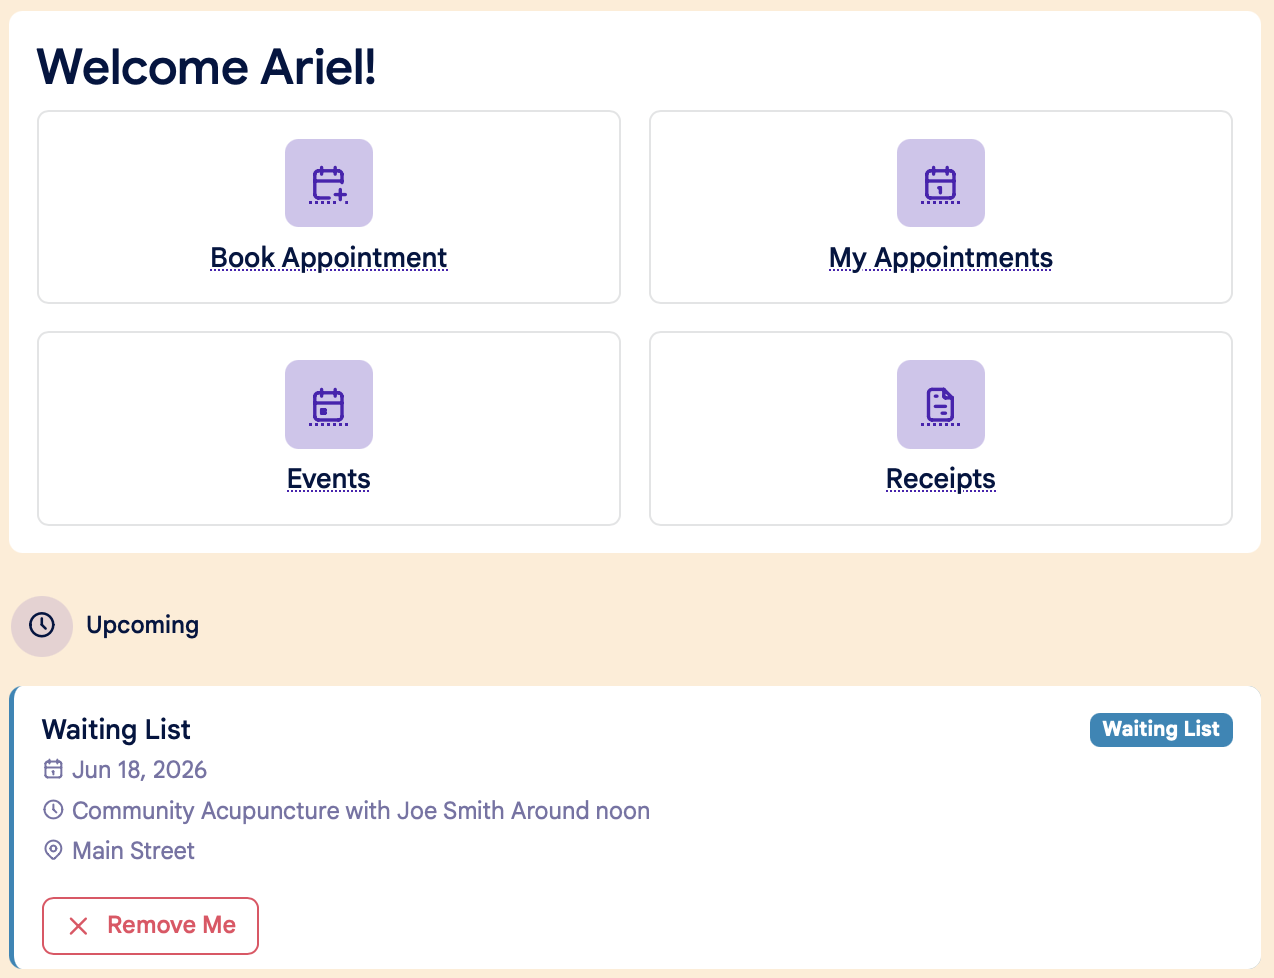
Click the Book Appointment button on the Dashboard:
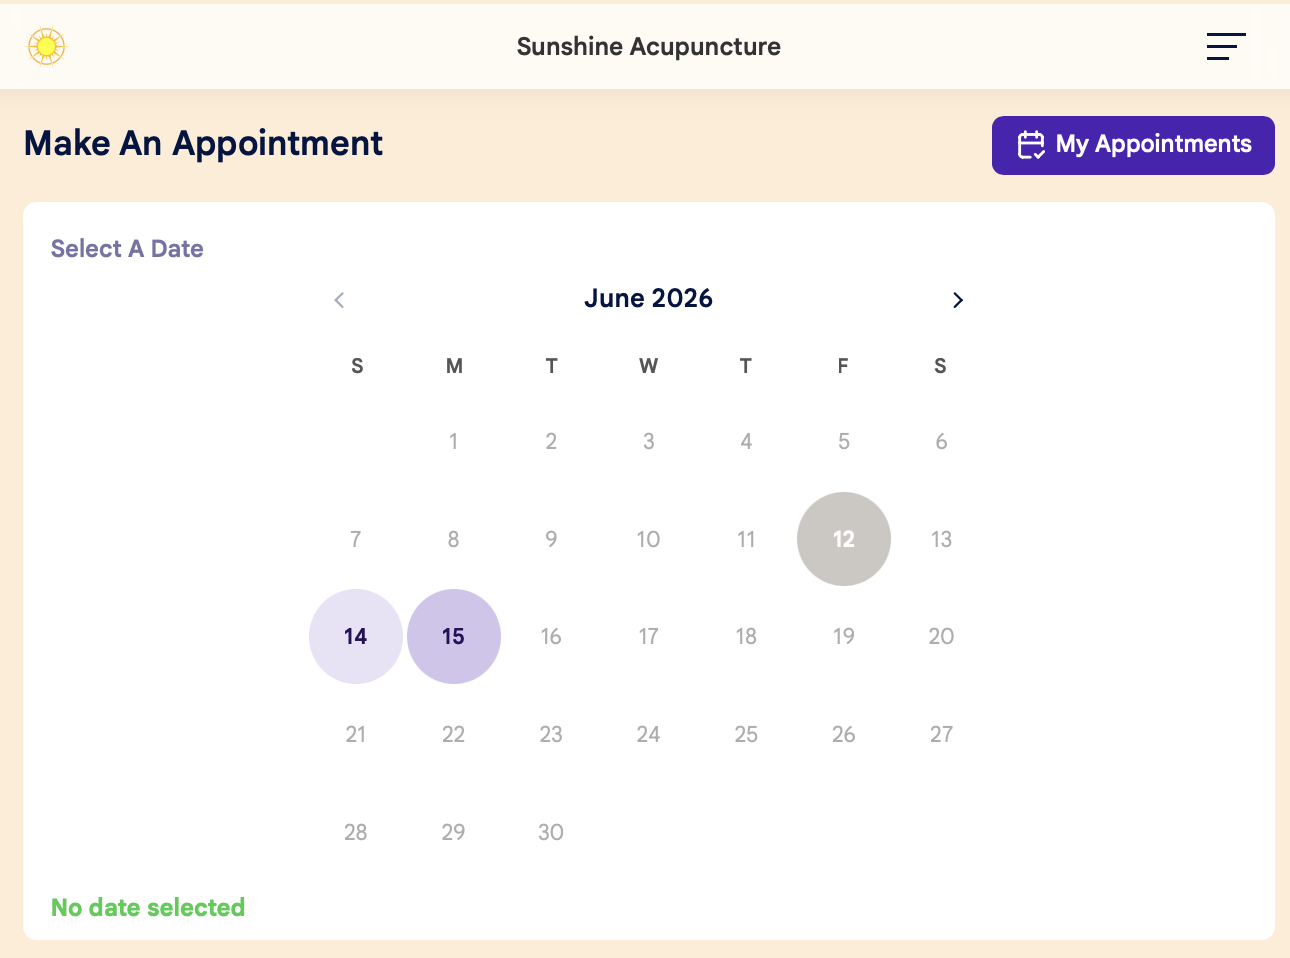
Step 3:
Select your date on the calendar:
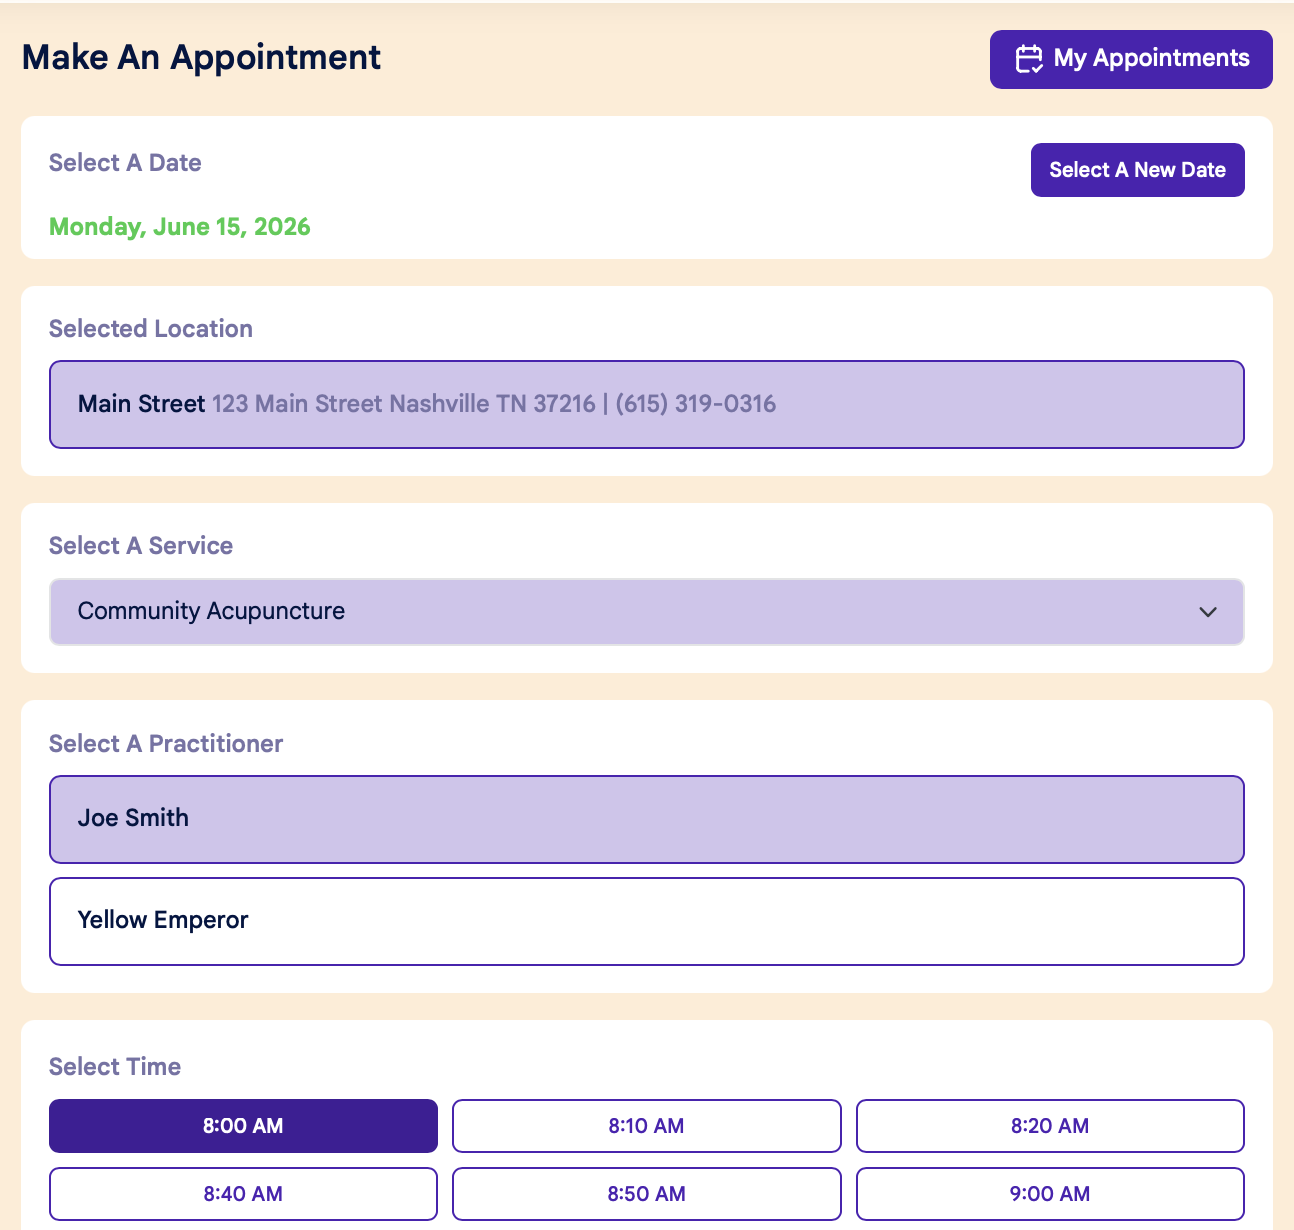
Step 4:
Use the dropdown menus to select your Location, Service, Practitioner, and Time:
Step 5:
Once you've selected a time, you'll see a popup window to confirm your appointment.
- Click "Book It!" to complete your booking
- Click "Go Back" to return to scheduling

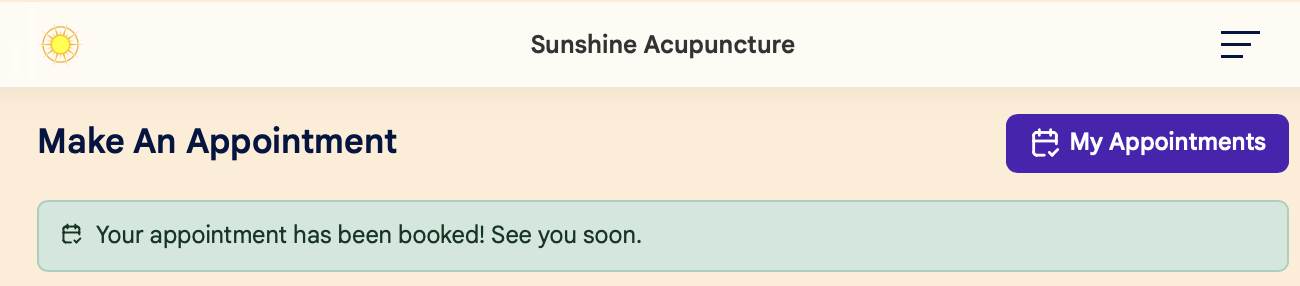
Your appointment is now booked! You'll see a confirmation message at the top of the screen:
How to Cancel an Appointment
Here's how to easily cancel an appointment on the patient portal:
You can cancel an appointment in three different places:
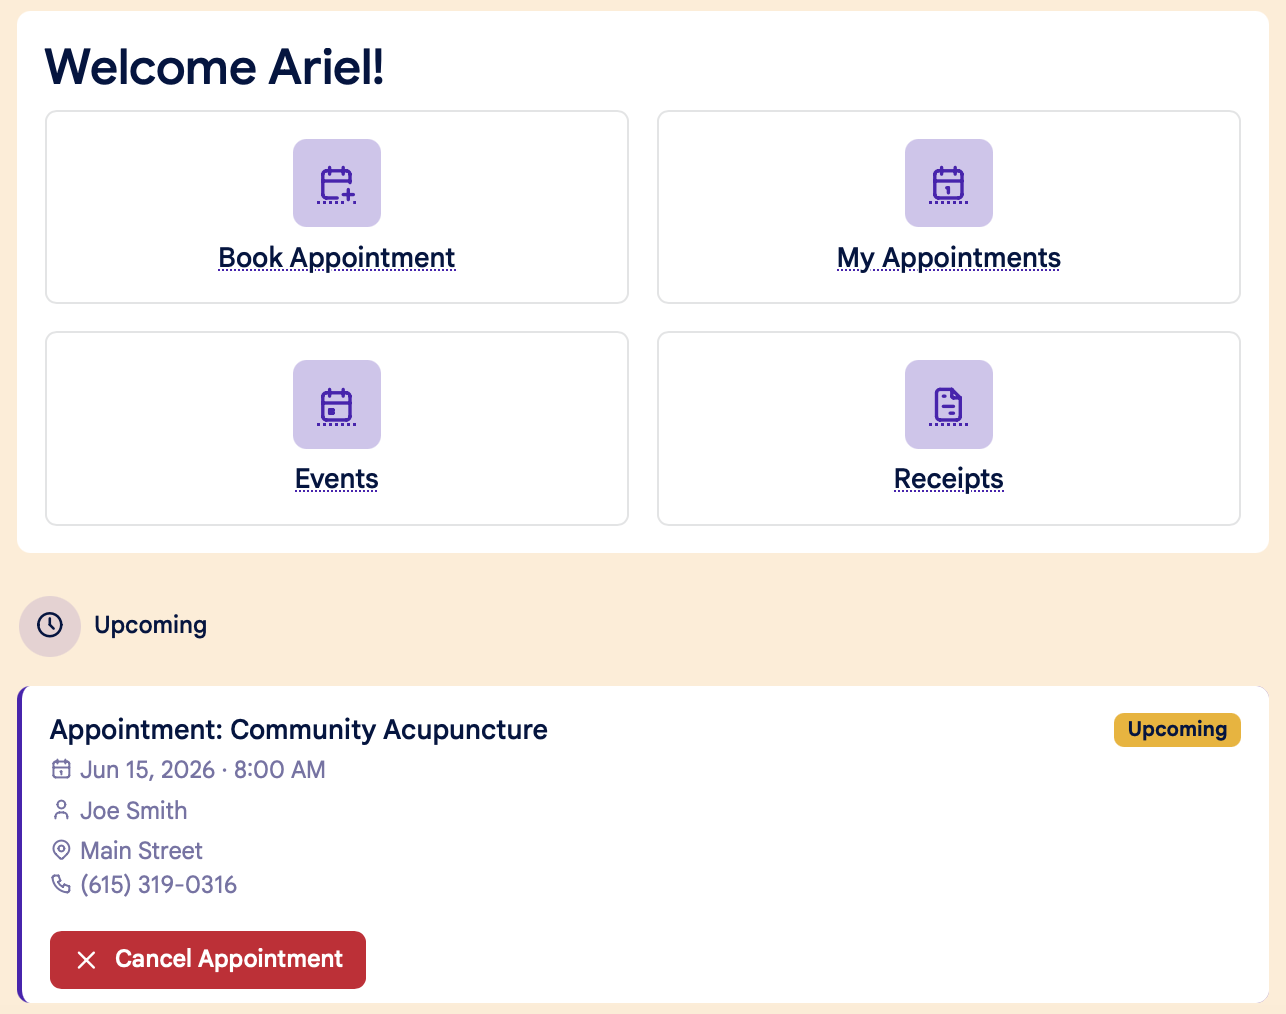
1. On the Dashboard screen:
2. On your My Appointments page:

3. On the Calendar page:

Confirm Cancellation:
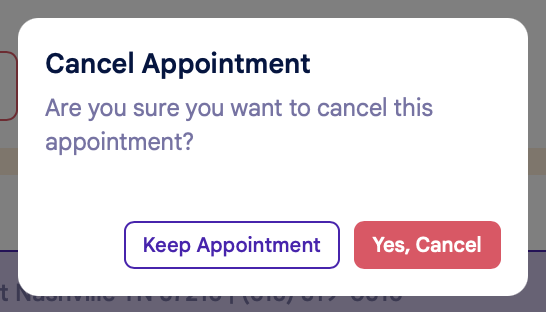
After clicking the Cancel Appointment button, you'll see a popup window to confirm your cancellation. Click "Yes, Cancel" to confirm the cancellation, or "Keep Appointment" to return to the previous screen:
Viewing Canceled Appointments
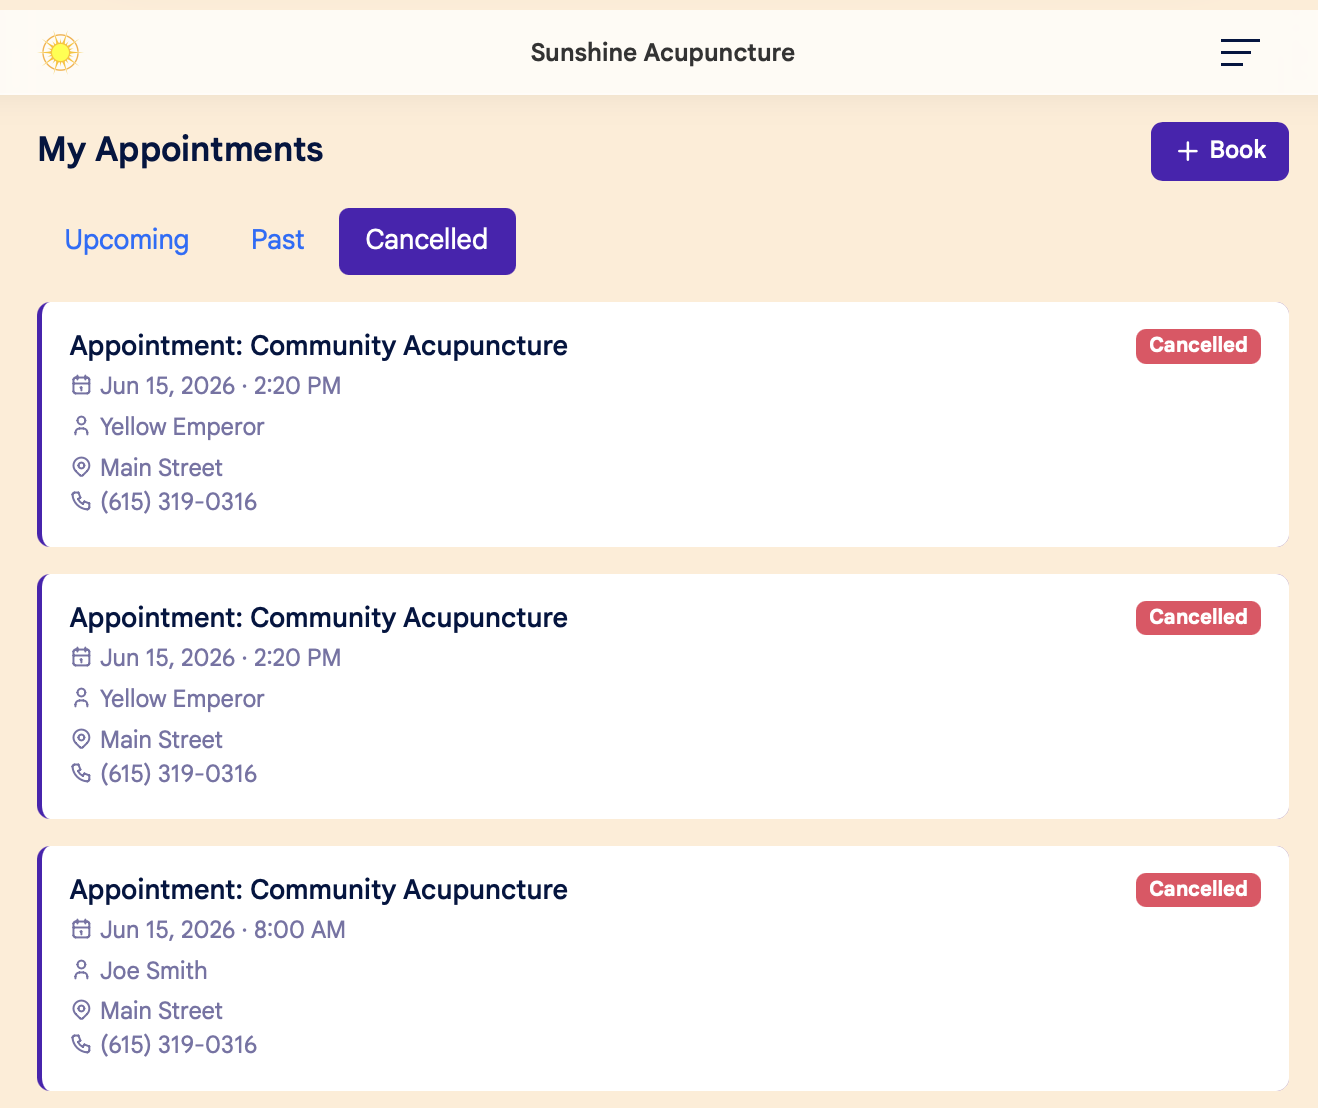
You can view a list of your canceled appointments on the My Appointments page, under the Cancelled tab:
View Your Appointments
You can view your upcoming, past, and canceled appointments from the My Appointments tab on the home menu:
Step 1:
Sign in to your patient account, and click the My Appointments tab on the main dashboard page:
Step 2:
On the My Appointments page, click the tabs across the top of the page to view Upcoming, Past, and Canceled Appointments:
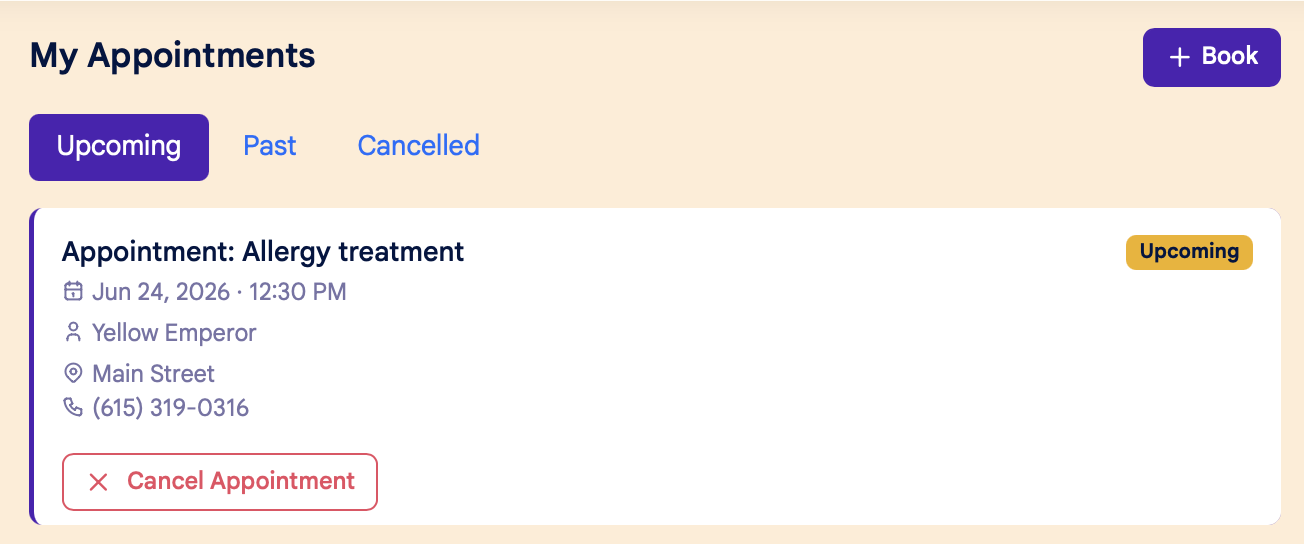
On the My Appointments page, you can also:
- Cancel an appointment by clicking the red "Cancel Appointment" button
- Book a new appointment by clicking the "+Book" button in the upper right hand corner
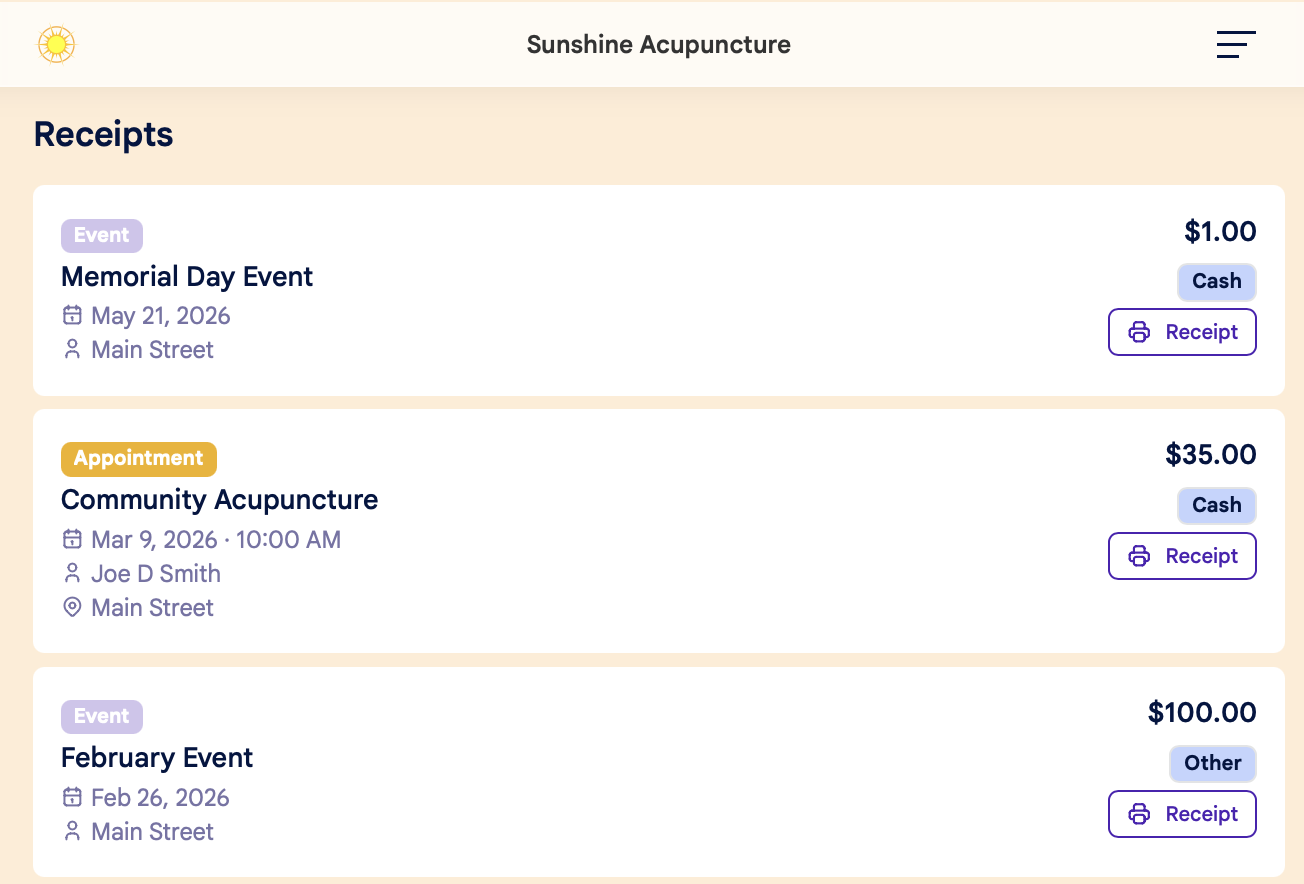
Receipts
Here's how to view and print receipts in your patient account:
1. Click the Receipts button on the main dashboard:
2. From there, you'll see a list of all past transactions. Each will include:
- Service or Event title
- Date and time
- Practitioner
- Location
- Amount paid
- Payment method
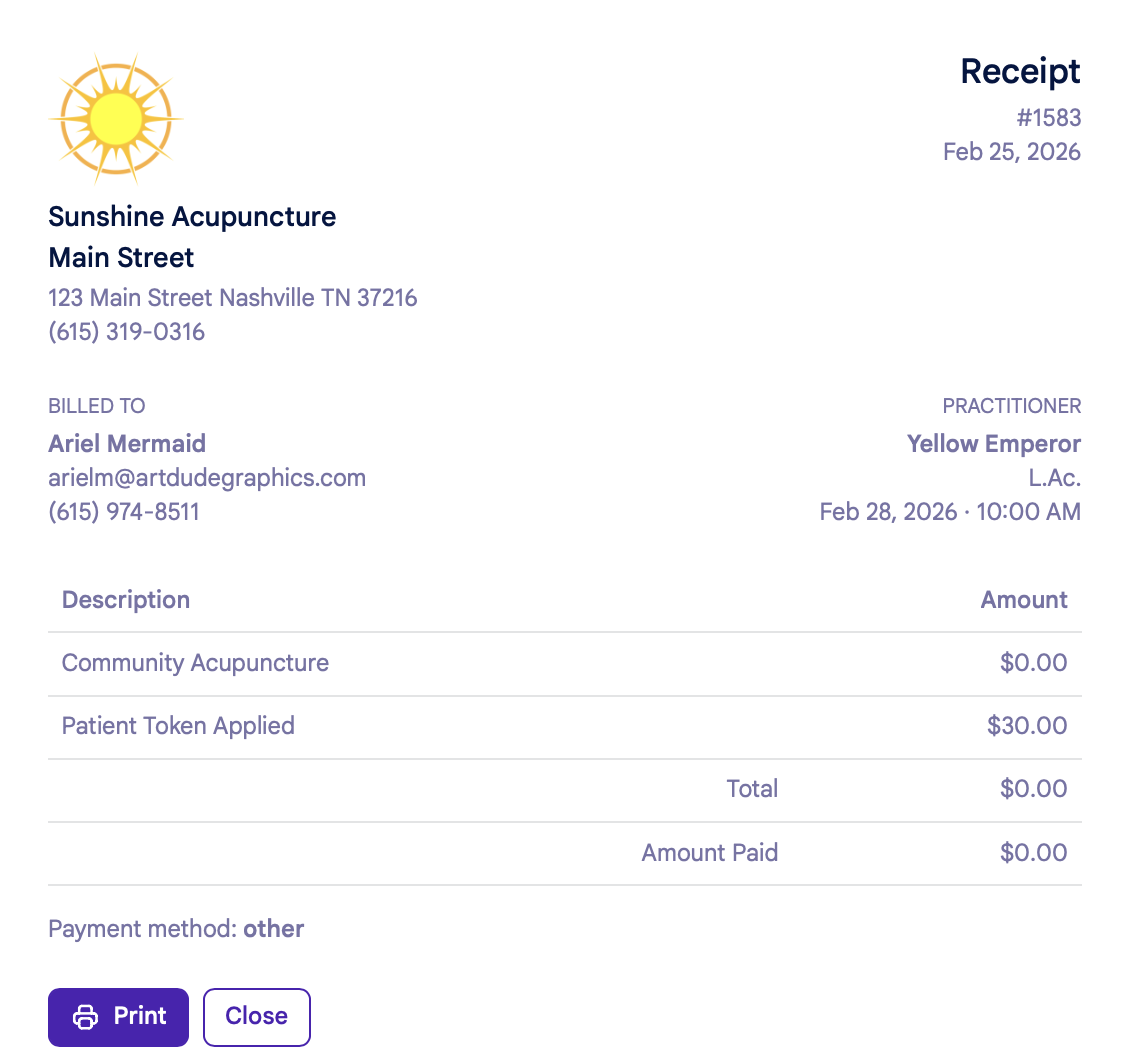
3. Click the Printer/Receipt button to open your receipt in a new window. From there, you can:
- Print the receipt, or
- Download to a PDF
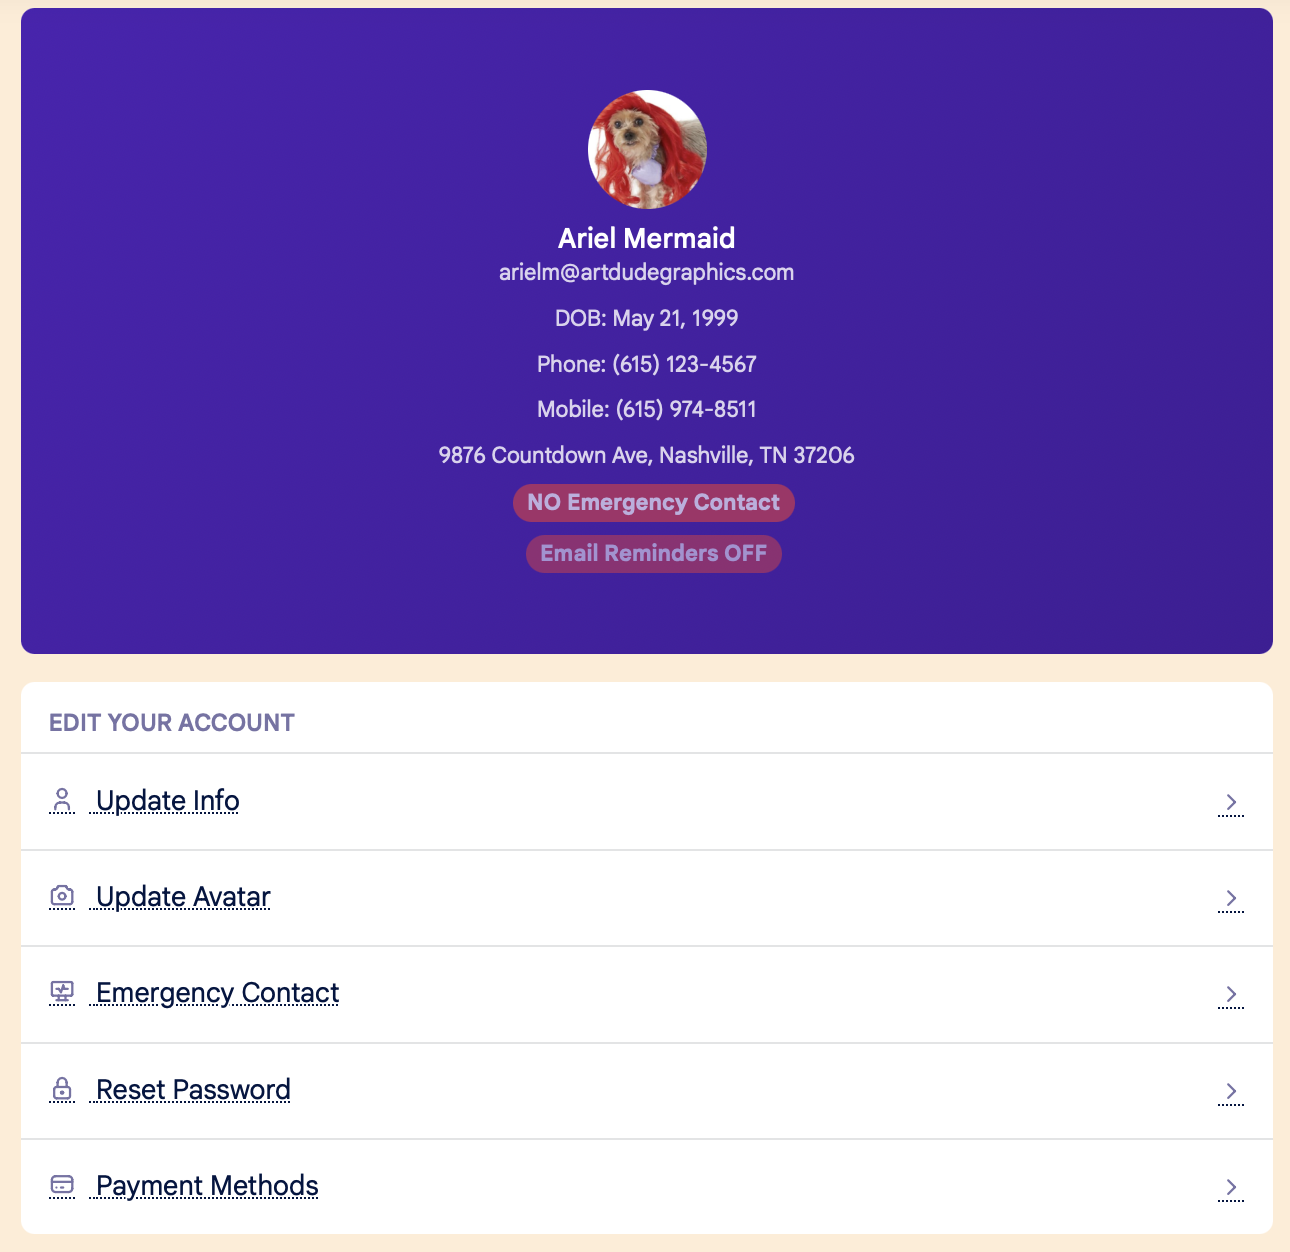
Account Settings
Here's how to update your patient account information and settings:
Settings Menu:
- Information:
- Name
- Phone number
- Date of birth
- Address
- Preferred location (if clinic has multiple locations)
- Avatar
- Emergency Contact
- Password
- Payment method
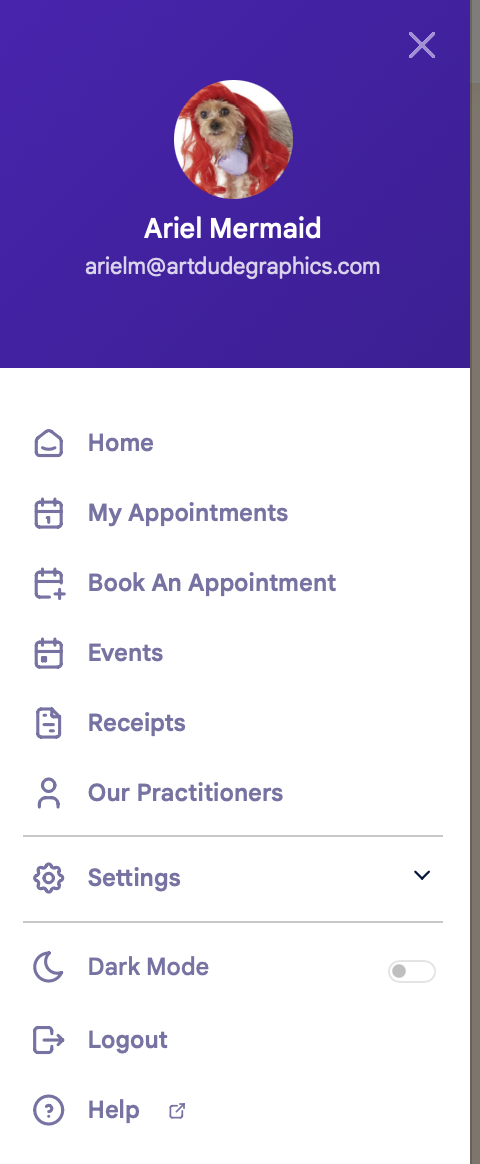
Left Side Menu:
Click the three lines in the upper right hand corner to open the left side menu. From the left side menu, you can:
Waiting List
How to add your name to the waiting list when the schedule is full:
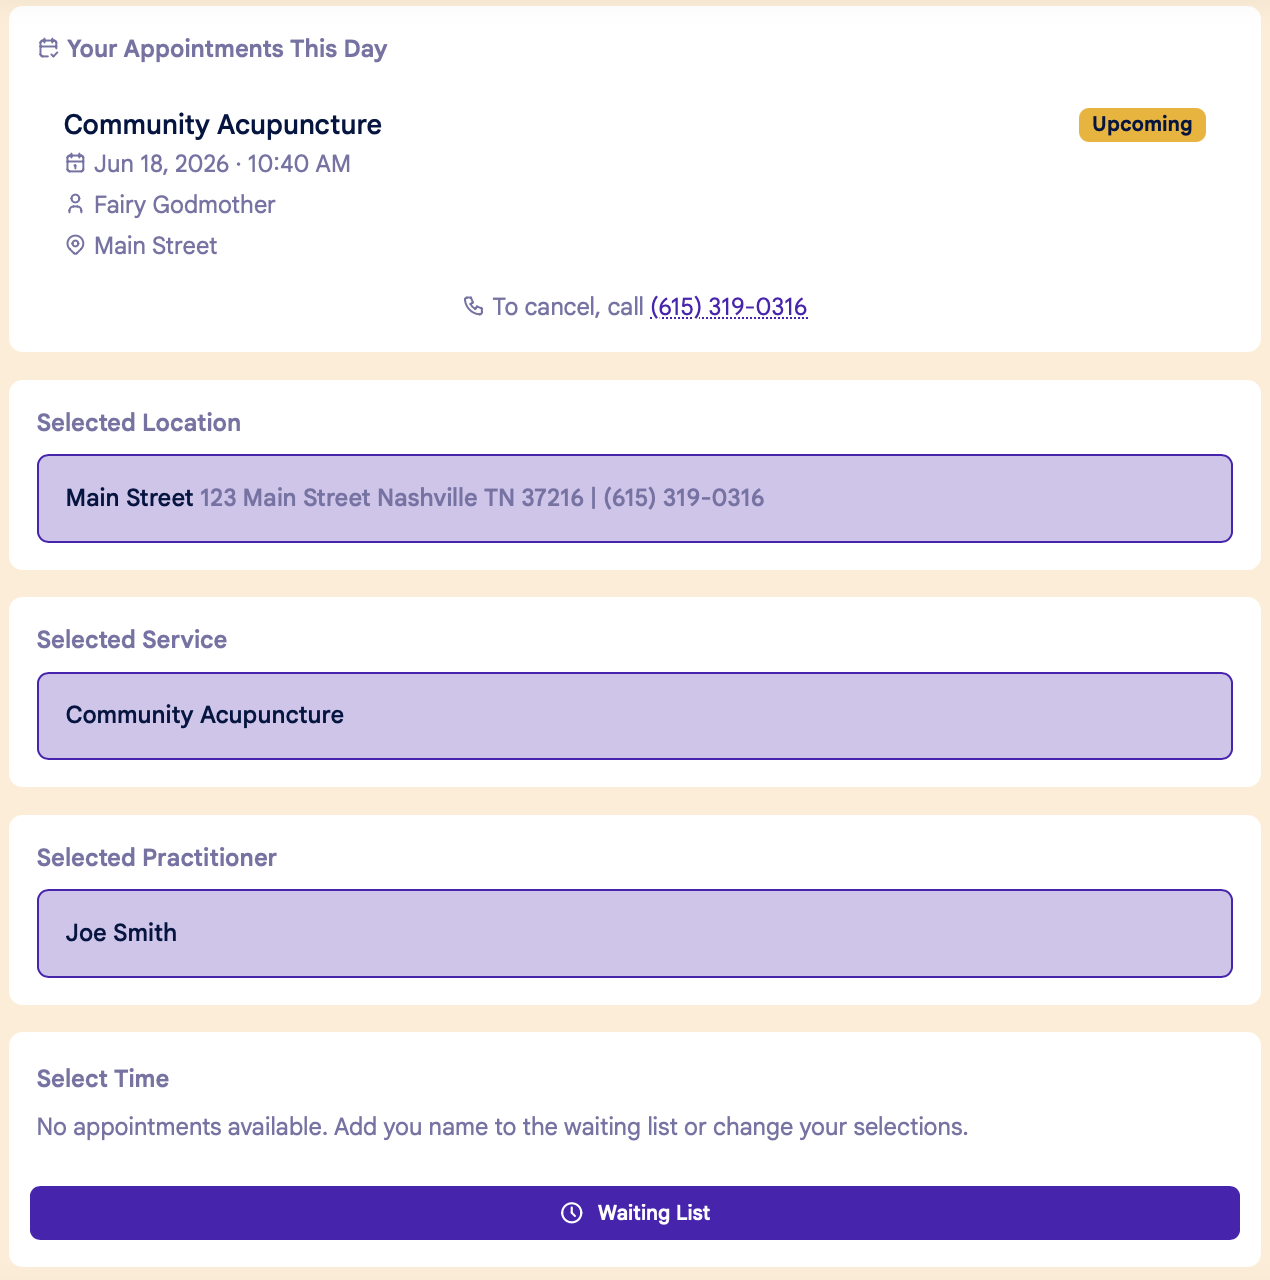
If there are no available appointments for your selected Location, Service and Practitioner, you can add your name to the waiting list by clicking the Waiting List button at the bottom of the page:
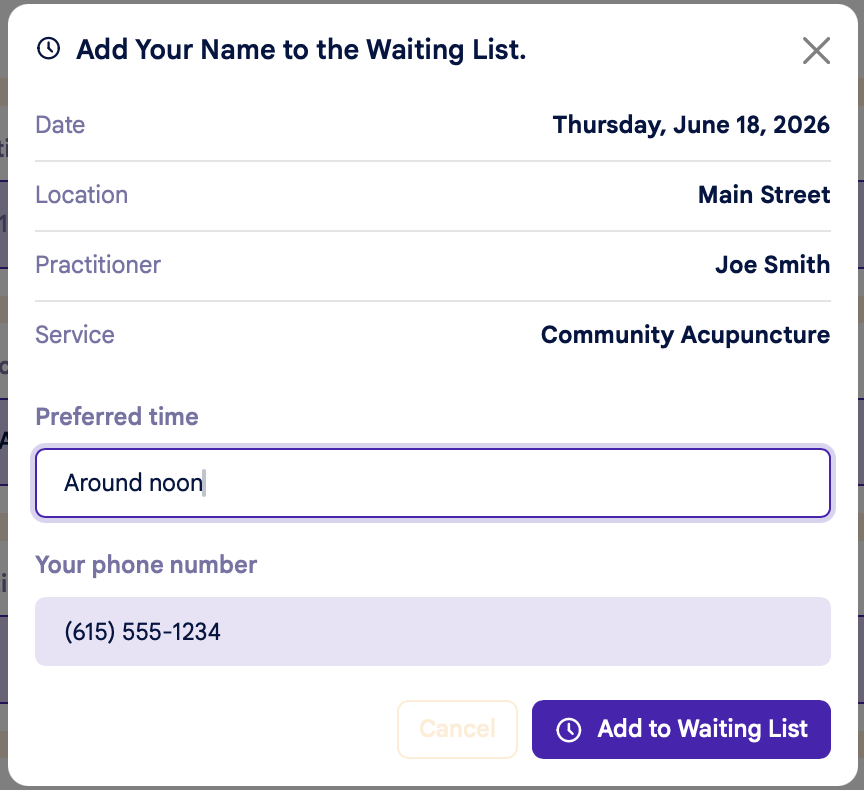
You can enter any additional info about your preferences in the "Preferred Time" field:
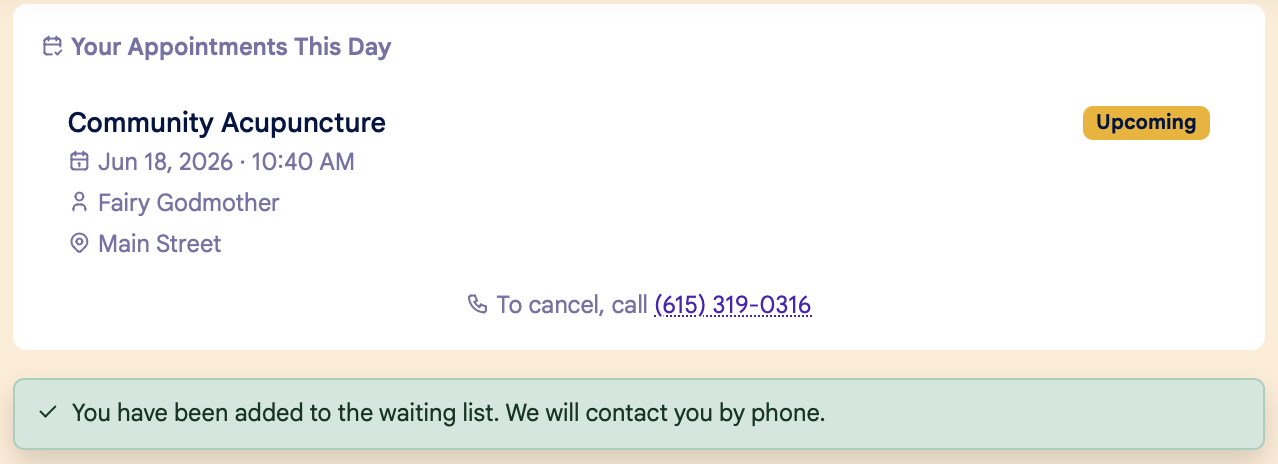
Once you're on the waiting list, you'll see a confirmation message at the top of the page:
On your home dashboard screen, you'll see the waiting list confirmation under Upcoming Appointments. You can remove yourself from the waiting list by clicking the red "Remove Me" button:
How to Register for an Event
Here's how to register for an event on the patient portal:
Step 1:
Log into your patient account, and click on the Events tab on the home page dashboard:
Step 2:
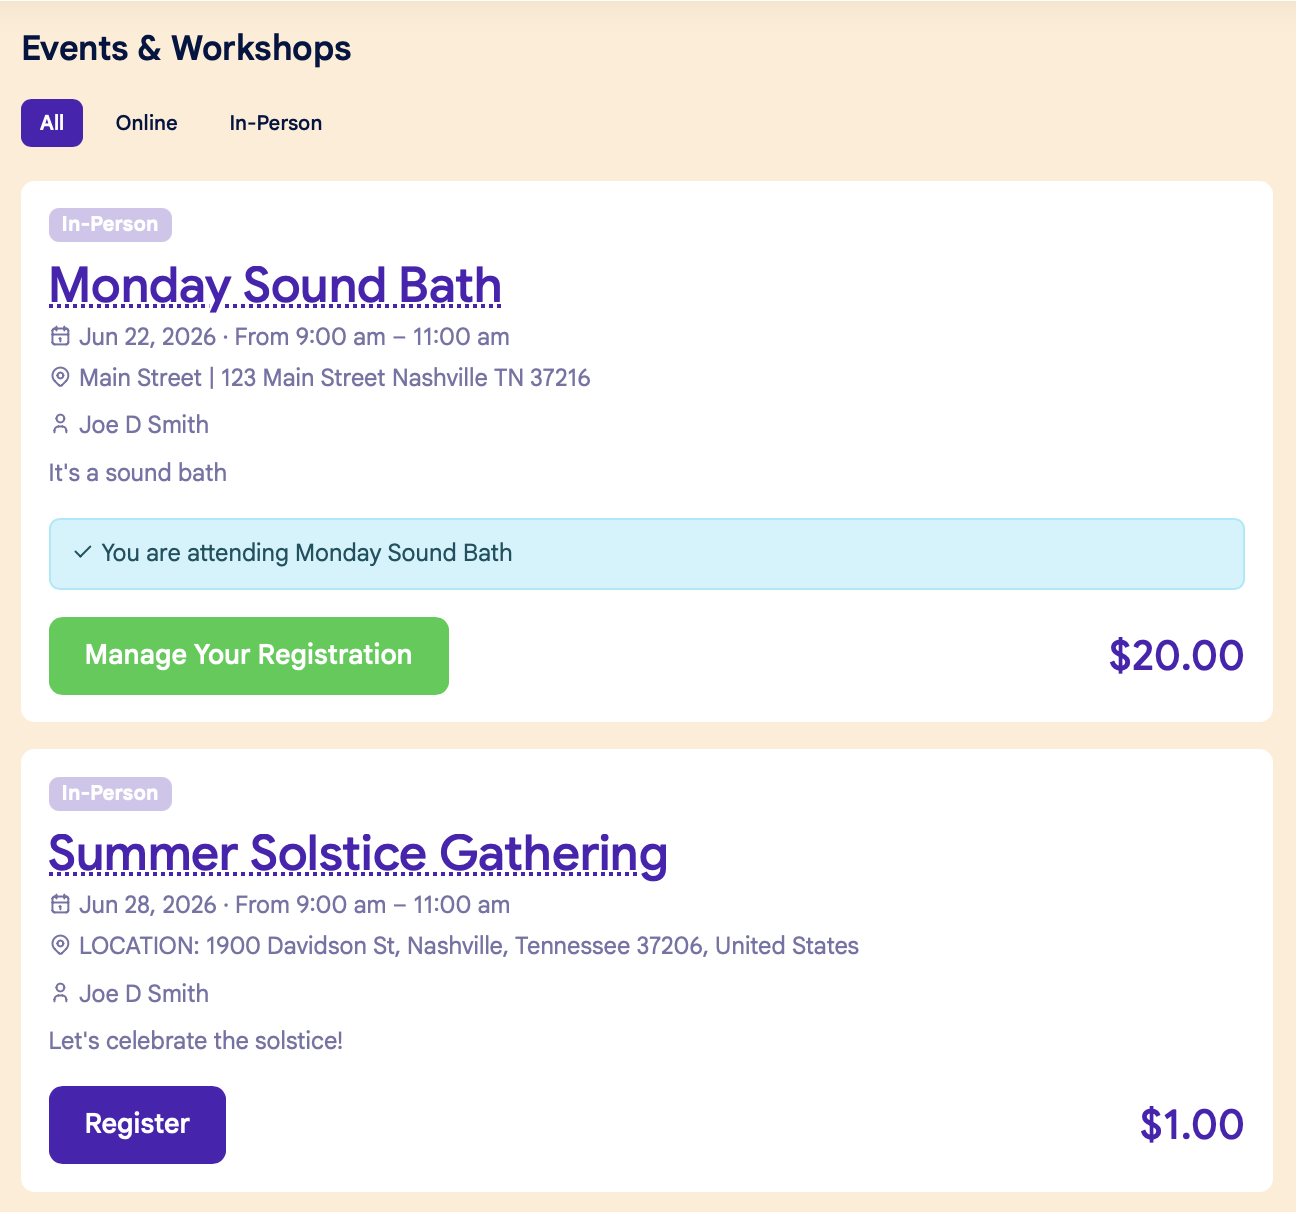
The All Events page will show a list of all upcoming events:
Step 3:
Click the "Register" button for your event, then follow the prompts to complete your registration.
Cancel your registration:
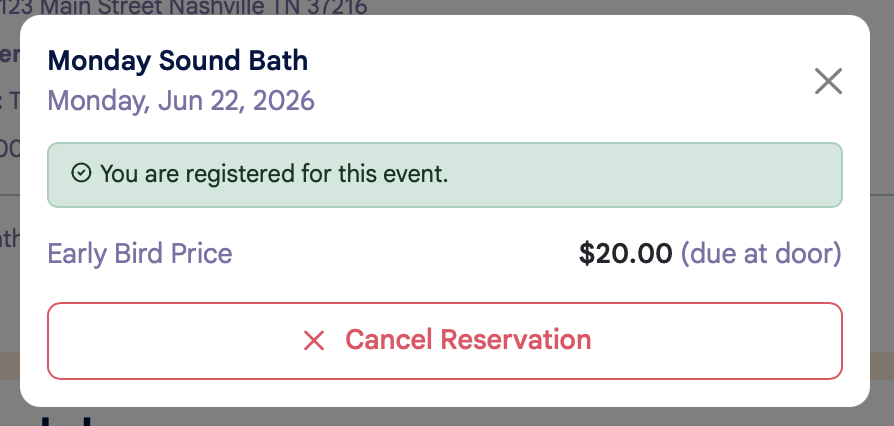
If you want to cancel your registration, click the Manage Your Registration button for your event. Then follow the prompts to complete your cancellation:
Waiting list:
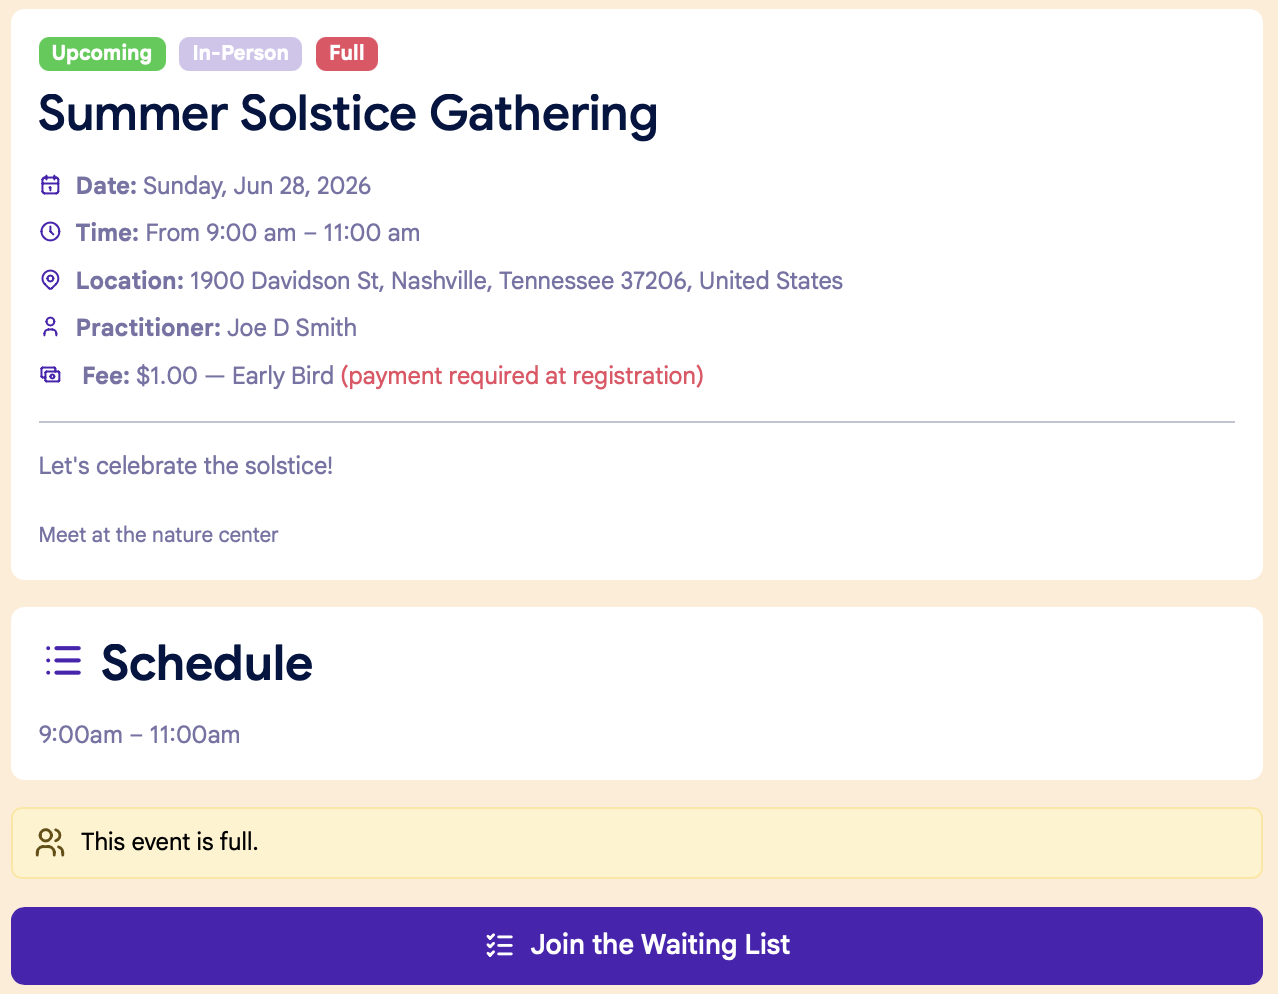
If an event is full, you can add your name to the Waiting List. Click the View Event button to add your name:
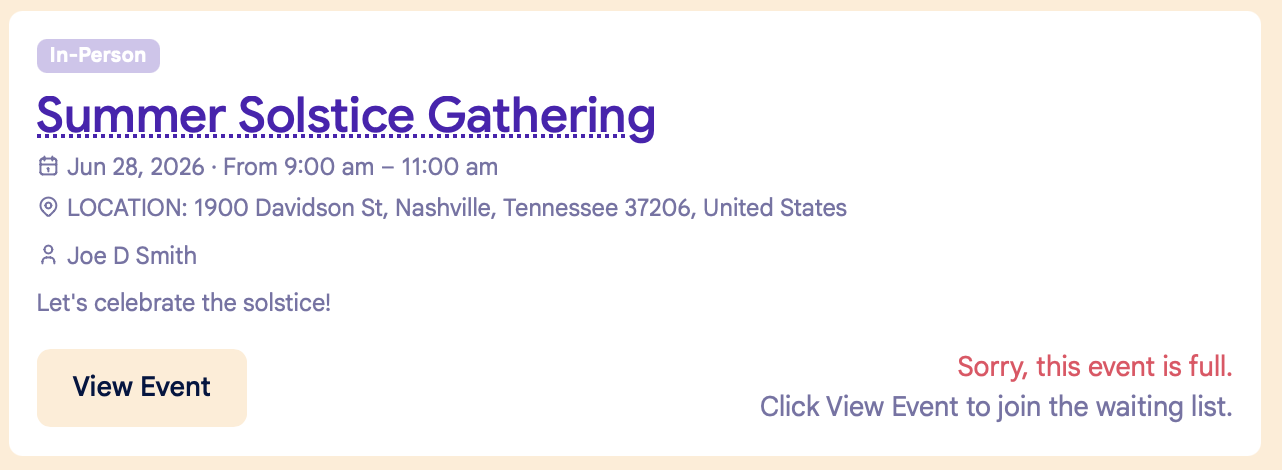
On the event page, click Join the Waiting List to add your name:
If you don't have a patient account:
You must create a patient account in order to register for an event. If you don't have a patient account, click "Don't have an account? Create one" on the clinic's patient portal login page: