Taking Credit Cards
- Start Taking Credit Cards
- Adding a Patient's Credit Card
- Taking Payments with Stripe
- Charging Late Cancellation Fees with Stripe
- Issuing Refunds with Stripe
- Receipts
- Reader Unreachable?
Start Taking Credit Cards
To take credit card payments within Open ACU you will need to add the feature to your account and then complete the Stripe onboarding process. These steps can all be completed from the Take Payments section of your account, which you can reach from the navigation menu on the left hand side of your screen:

How to start taking credit card payments
- Go to Account > Take Payments
only users with Owner status can see this page. - Click "Getting Started" to create a Stripe Onboarding link specific to your Open ACU Account
After a few moments you will see the link below.

This is a link to your account onboarding process. The link makes sure your account will work with Open ACU. If you aren't ready to start the onboarding process don't worry you can always come back to the Take Payments page and generate a new link.
Stripe Onboarding must be completed by the business owner or someone with significant management responsibility of that business. What you will need
- You will enter business details (legal business name, address and IEN or Social Security number)
- Set your preferences and branding details (logo, name and web address)
- Connect a bank account for charges and payouts.
- Documents to confirm your identity:
business license, passport or other identifying document based on the type of business and other factors.
Check your Stripe account status
Follow the steps on the Take Payments page to create and connect your Stripe account.
You may need to go back for final authorization steps before your account is ready for payments.
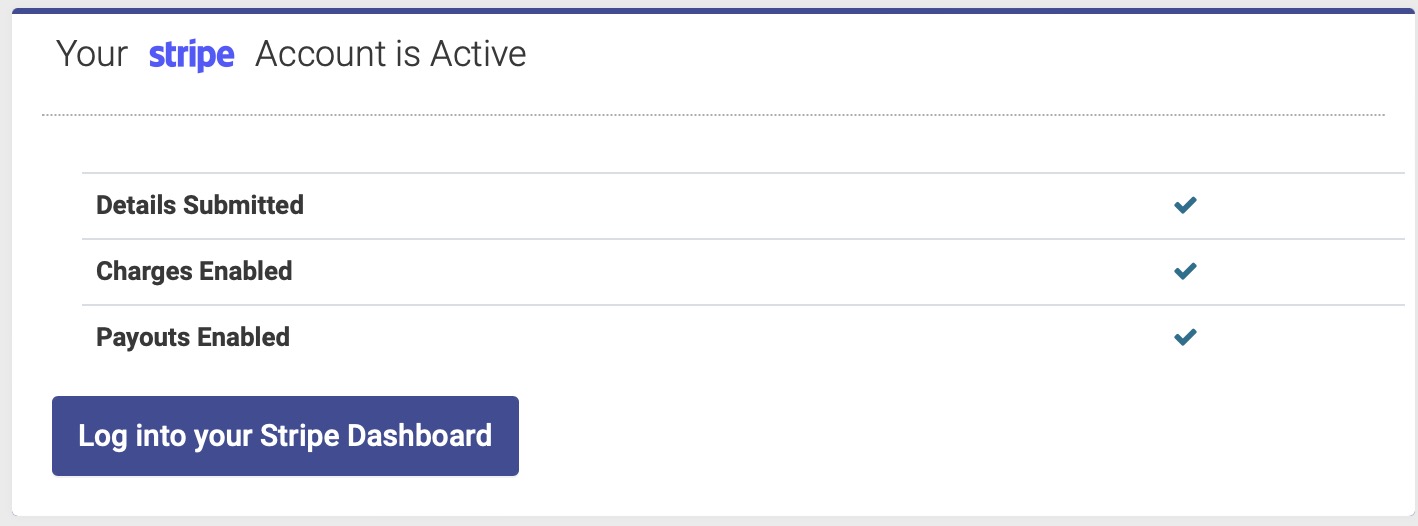
Look for three green checkmarks for each of the steps to go live. If the account needs further information you can click the "Log into your Stripe Dashboard" to finish the necessary steps.
Optional: Set up your Stripe Reader
If you want to take in-person credit card payments, you will need to order a WisePOS Countertop Reader from Stripe. You can do this from the Take Payments page:
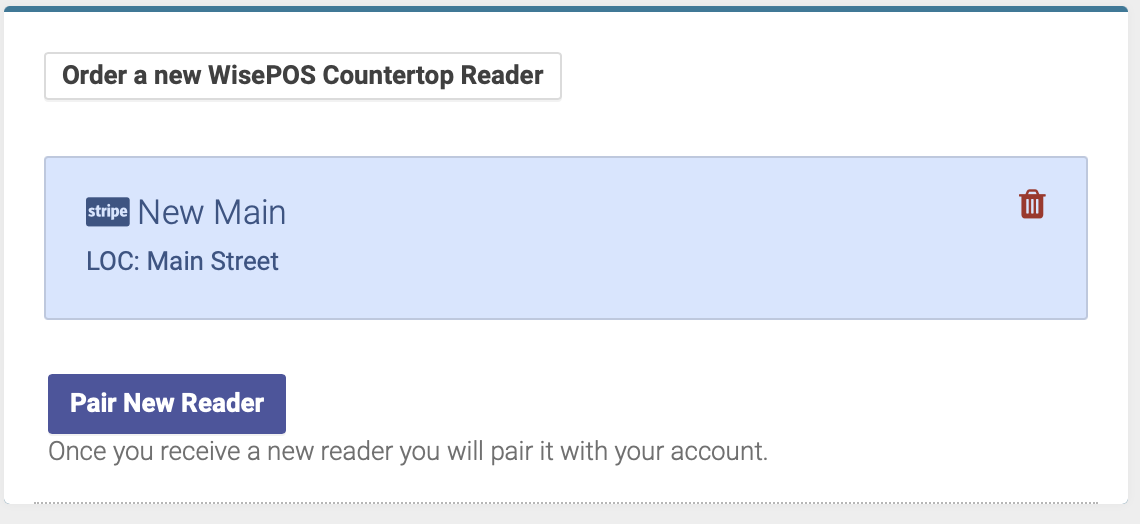
Once you receive your reader, you will need to complete the steps to set up and connect your reader:
- Follow the steps on the Take Payments page to set up your Wise POS reader
- Once the setup is complete, you will need to pair your reader with your account. You will also do this from the Take Payments page.
Note: only the WisePOS Countertop Reader works with Open ACU's Stripe integration
Credit Card Settings
Switch the Require a Credit Card button to ON if you want to require patients to save a credit card payment method prior to booking an appointment:
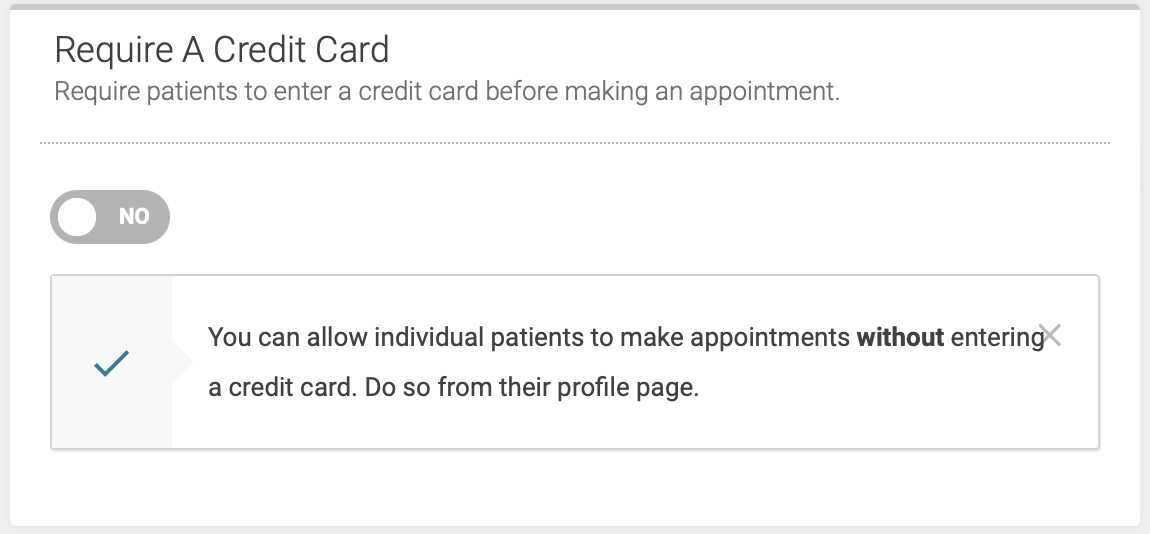
If you switch the Require a Credit Card option to ON, this will require that ALL patients save their credit card information online before scheduling an appointment. This will apply to both new and existing patients. If you choose to enable this option, we recommend notifying your existing patients of the change ahead of time.
You also have the option to allow individual patients to make an appointment without requiring a credit card. You can do this from their patient profile page.
Financial Policy
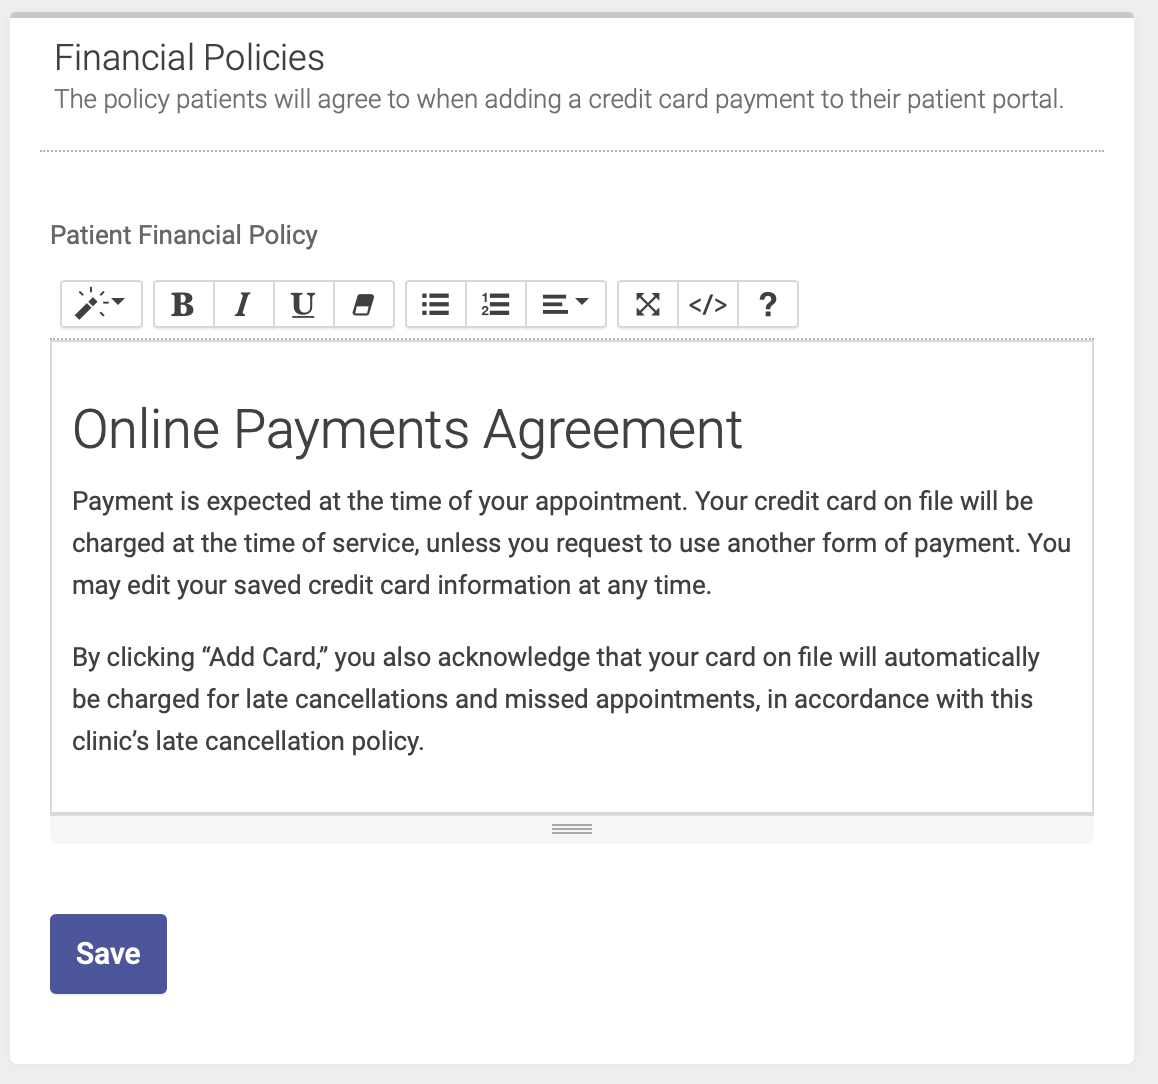
Enter and save your Financial Policy. Patients will agree to your financial policy when saving their credit card information online via the patient portal:
Accepting HSA and FSA cards
In order to accept HSA and FSA card payments, you need a certain Merchant Category Code (MCC). Your Stripe account is set up with an MCC code for Miscellaneous Personal Services, which is not an approved MCC for all HSA and FSA cards. Therefore, we recommend changing your MCC to one that is widely accepted for HSA and FSA cards.
To change your MCC, you will need to contact Stripe support through your Stripe dashboard. Tell them you need to change your MCC to 8099: Mental health, sports medicine, miscellaneous medical, so that you can accept HSA and FSA payments. They will probably ask you a few questions about your business to verify that this is the correct category, and they might not be able to do it immediately since this is not a typical request from merchants. But they do have the ability to change it for you, and it shouldn't take more than a few hours for the process to be complete.
Adding a Patient's Credit Card
You can save multiple credit card payment method for each patient for applying payments for appointments, non-appointment transactions and No-Show fees. There are a couple places that allow you to add payment methods.
Note: Stripe currently does not allow you to save a payment method for Apple Pay, Samsung, or Google Pay.
Add a Credit Card Payment Method to a Patient's Profile
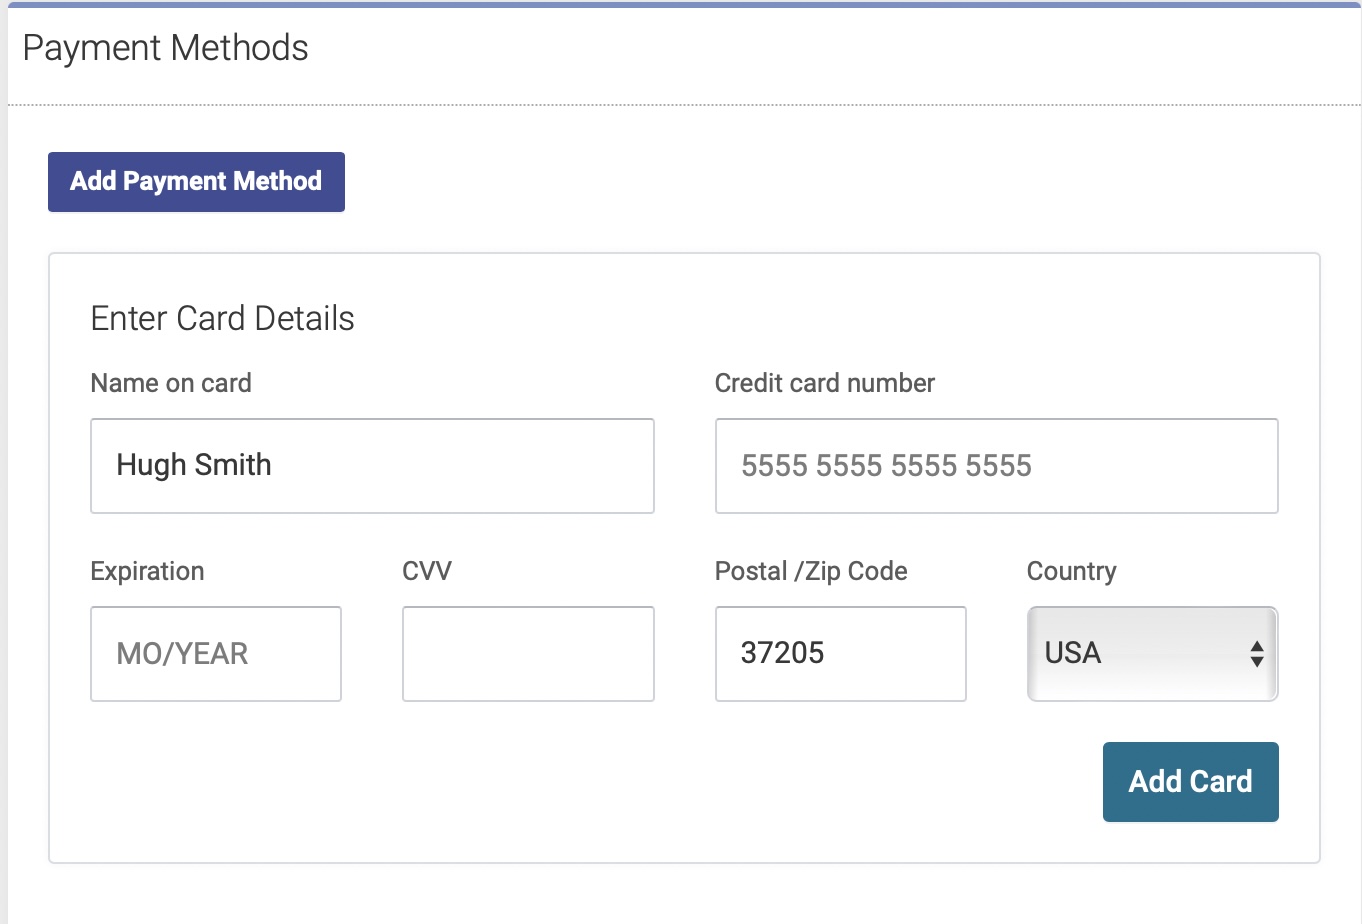
- Go to the patient's profile upon which you want to add the method
- Go to the Payment Method section of their profile on the left side
- Payment methods only show up on patient profile pages when your clinic has signed up for credit card payments and has completed the onboarding process.
- Click on "Add Payment Method"
- Enter card information.
- Click Add Card
- This will take a few seconds.
- If the card does not show as available immediately after you add it refresh the patient's page by clicking their name in the title area at the top of the page to refresh the payment methods. This is due to the approval process taking up to an hour to complete
- Now the payment method will show up as a choice when checking in a patient.
How to Delete Payment Methods or Make them the Default Method
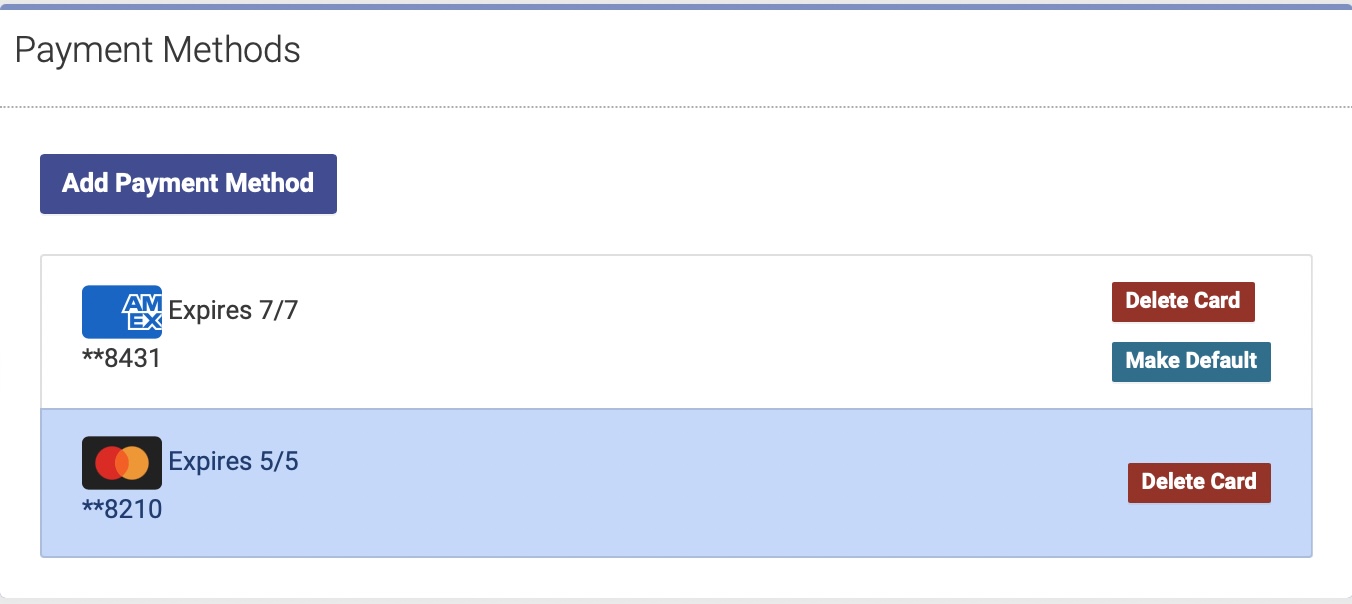
From the patient profile page the default payment method is highlighted with a blue background. If there is more than one payment method you can choose the default method by clicking on Make Default.
To delete any payment method from the Patient's profile click Delete Card. This will permanently delete this payment method from the patient's profile. Any transactions or appointments paid using that card will remain and reference that card number.
Add a Credit Card Method at Checkin or Transaction Pay
When checking in a patient the usual choices for payment method are available: Cash, Check, and Other. CreditCard is no longer available if you have payments added to your account. This is replace by "Add A Credit Card".
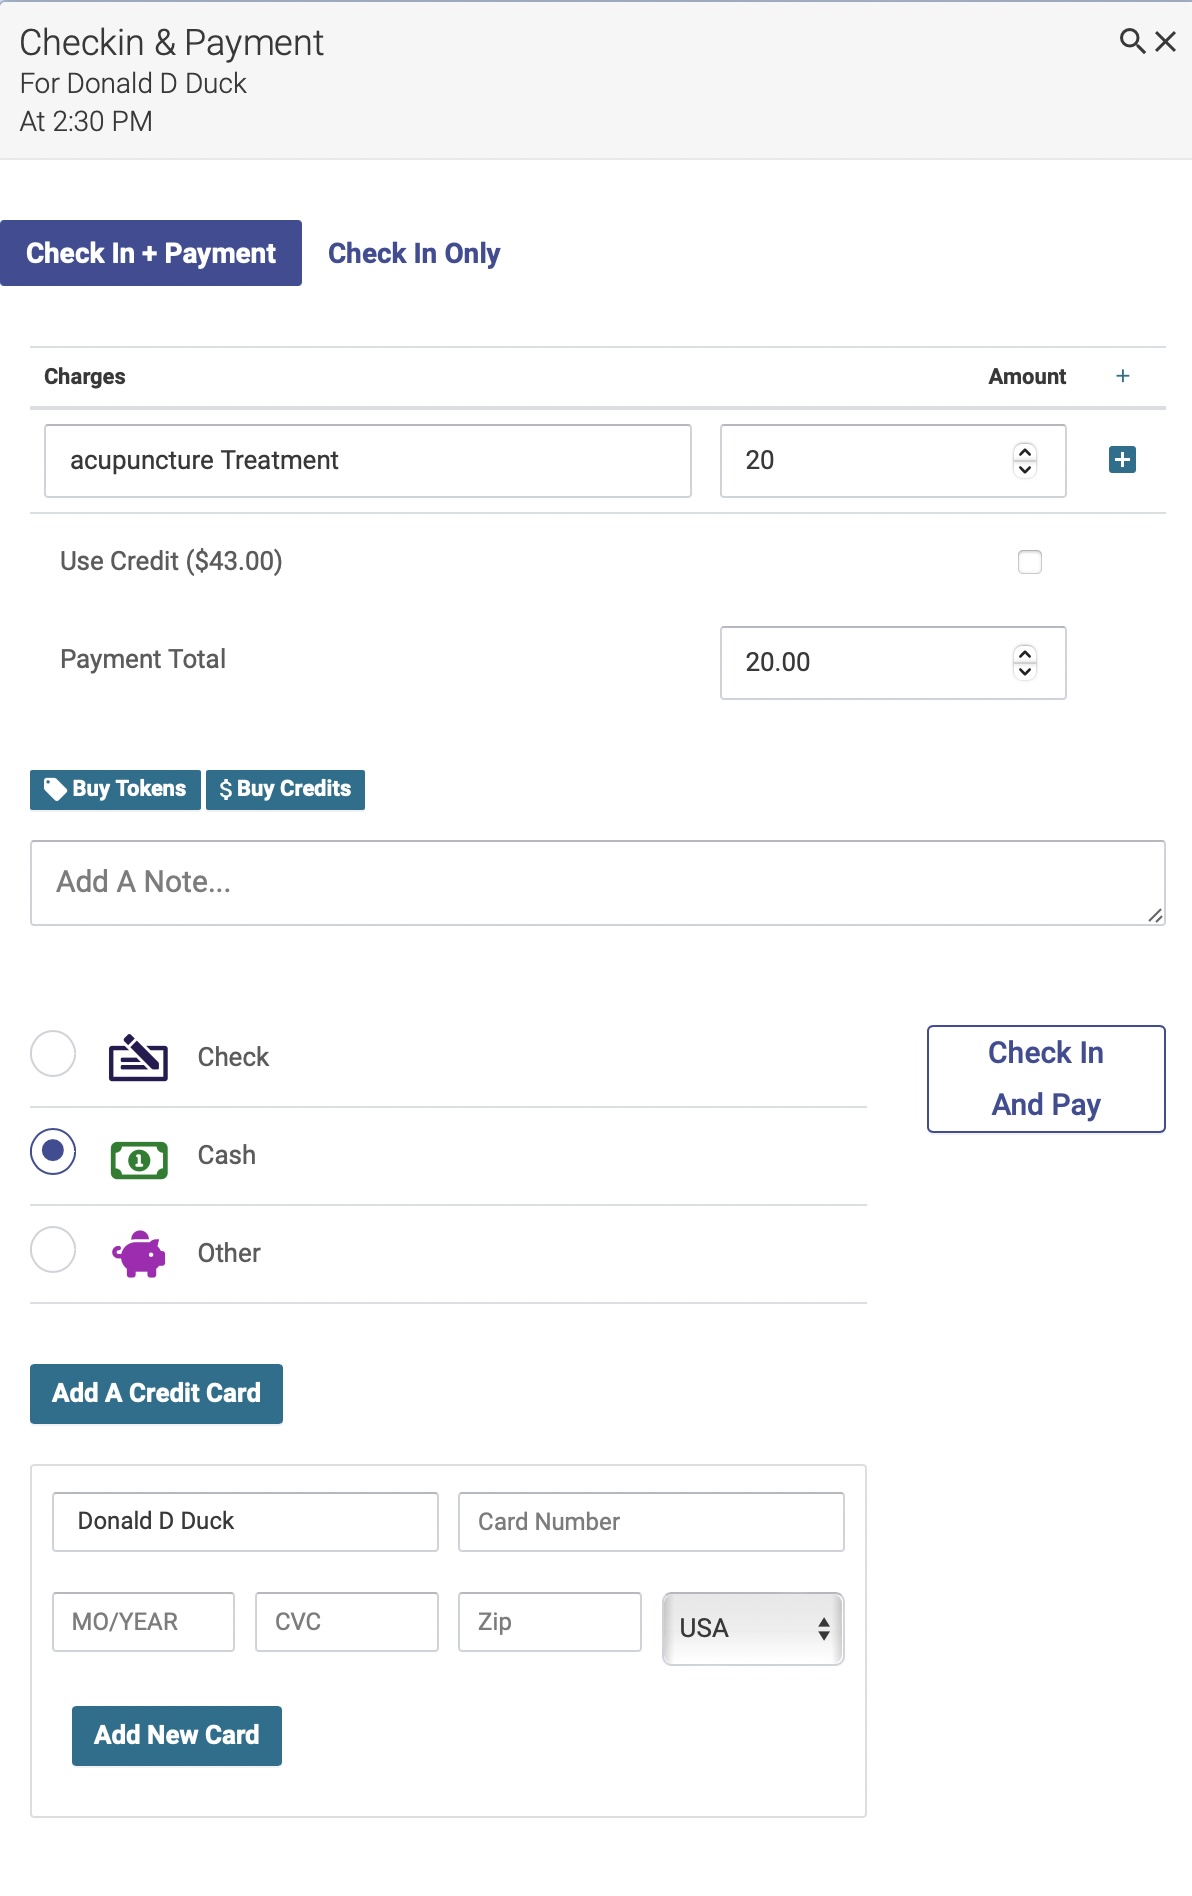
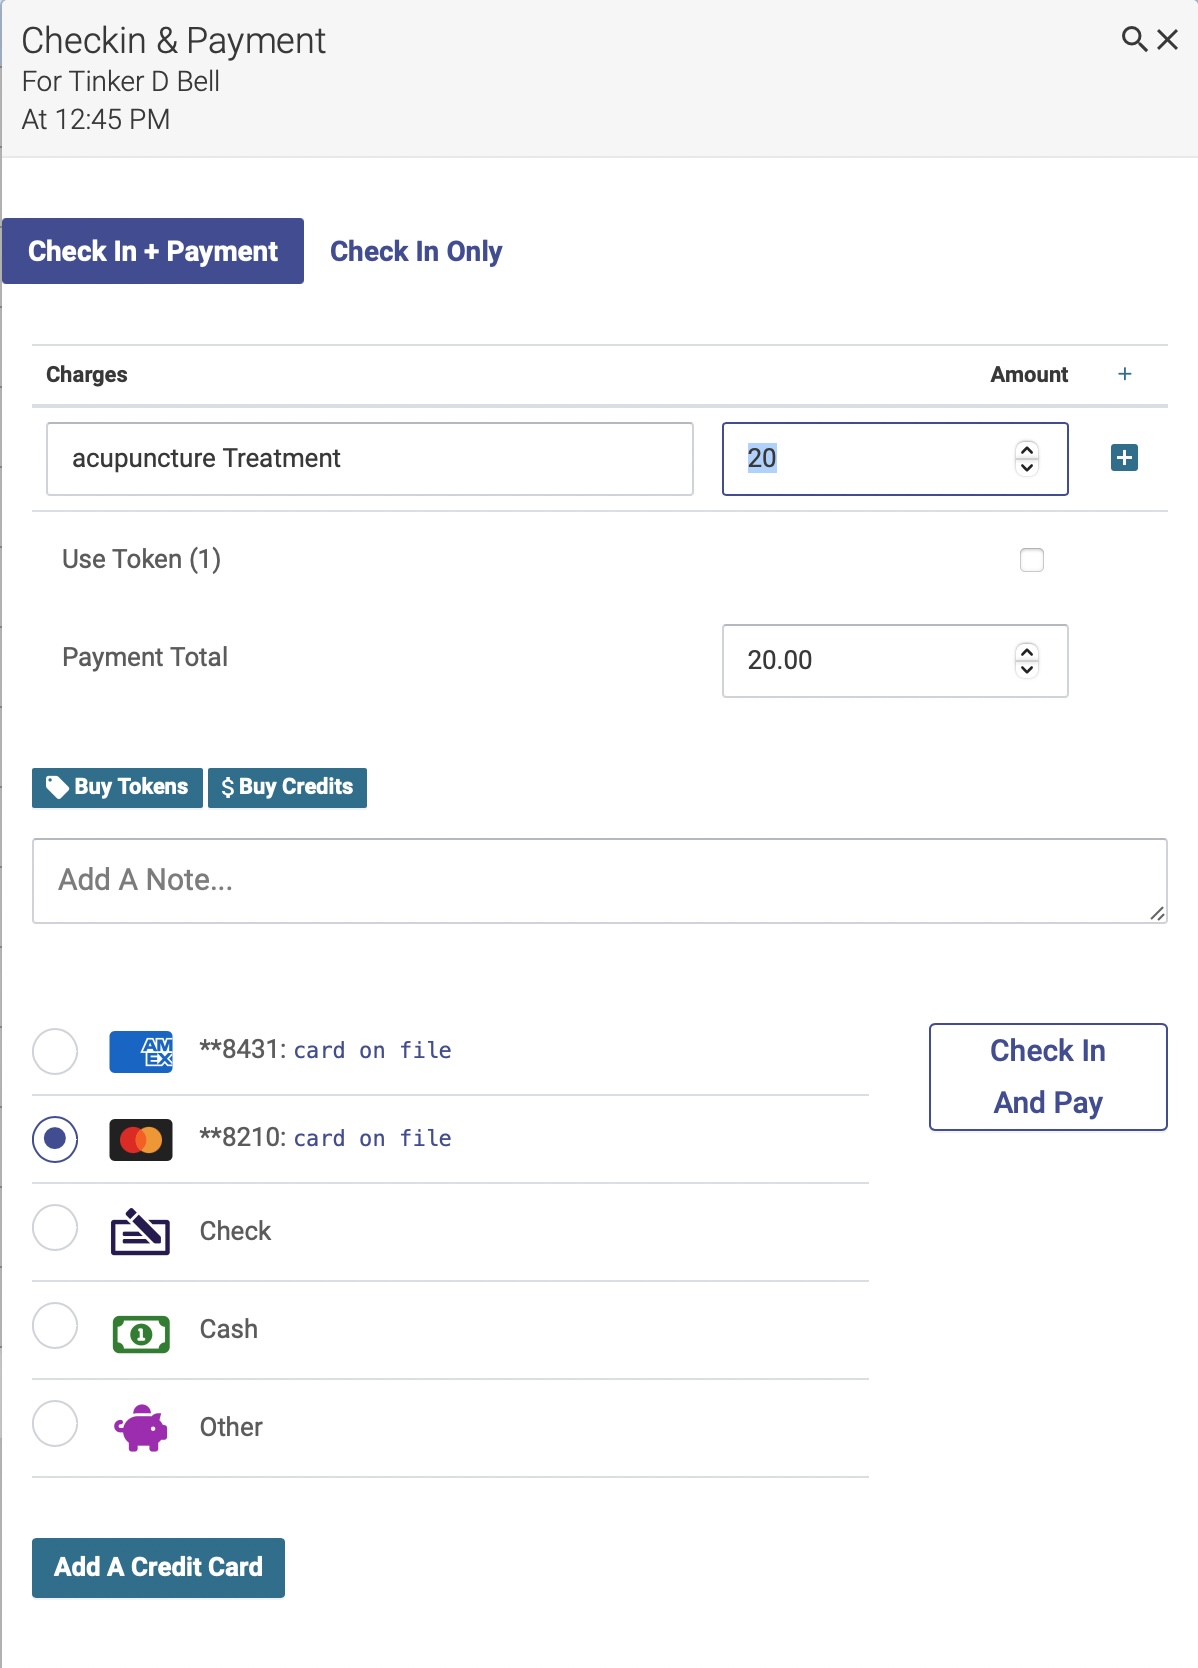
Clicking on "Add A Credit Card" opens a credit card form just like the one on their profile page. Enter the card and billing information and click "Add New Card". If successful, after a few seconds the payment methods will refresh with the new card as a choice. Clicking "Check In and Pay" will charge the card the Payment Total if it is more than zero.
Add a Credit Card Payment Method via Patient Portal
Patients can also add a credit card payment method to their own account via the patient portal. Instructions are in the Patient Portal Help section.
Taking Payments with Stripe
Using a stored card
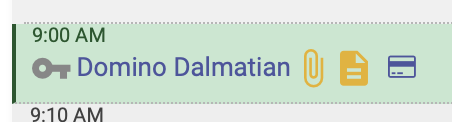
A patient with a stored credit card will have a credit card icon next to their name on the schedule:
When you check them in, you’ll see the last 4 digits of their stored card in the list of payment options (if they have more than one card stored, you’ll see multiple options). Click the Check In And Pay button to charge their stored card:

You’ll follow the same process for a Purchase Transaction:

You also have the option to use the Stripe reader to charge their card in person, even if they have a stored credit card.
Using an in-person card
If the patient does not have a stored card, you’ll see an option for Charge In Person Card.
If you have multiple locations, you’ll first select the card reader you want to use. If the patient wants to store this card for later use, you can save their card info by checking the box. Then click Charge In Person Card:

The patient will then follow the instruction on the Stripe reader to complete the sale.
While the Stripe reader is waiting for the patient to complete the sale, you’ll see this message on your screen:
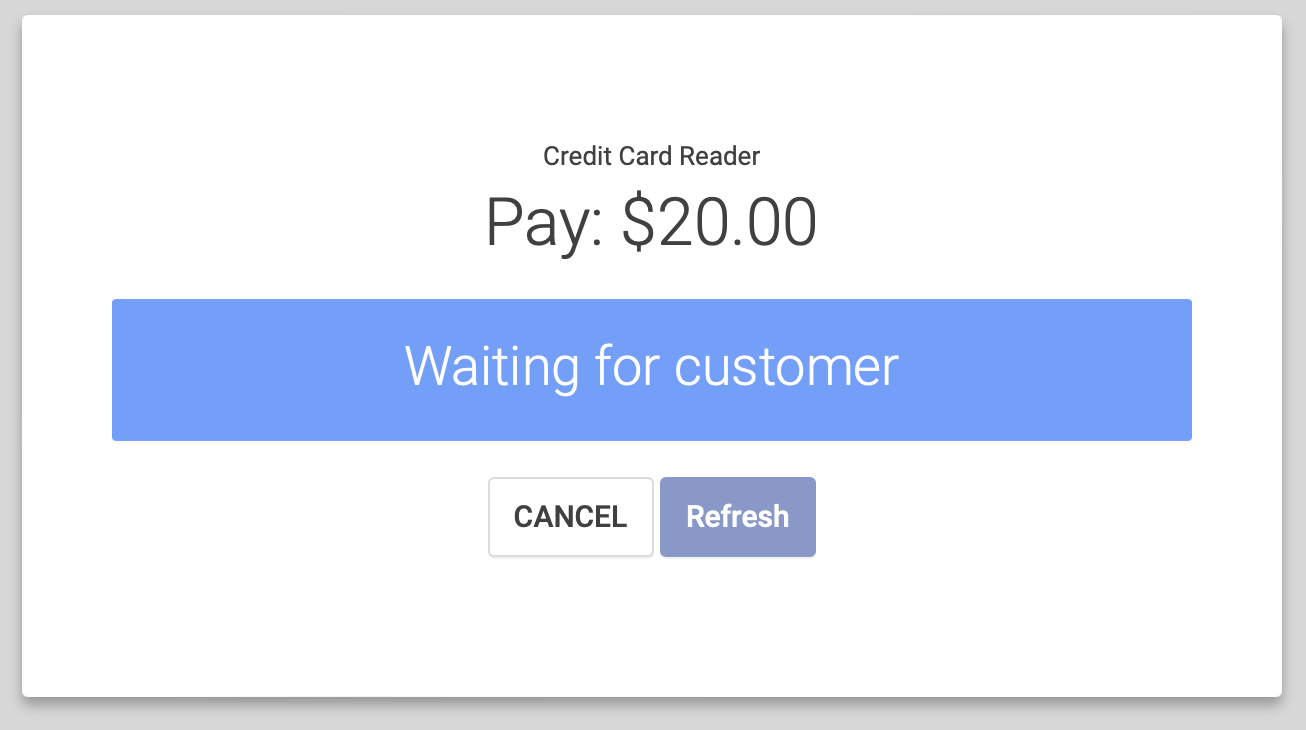
Once the sale is complete, the payment window will close.
Charging Late Cancellation Fees with Stripe
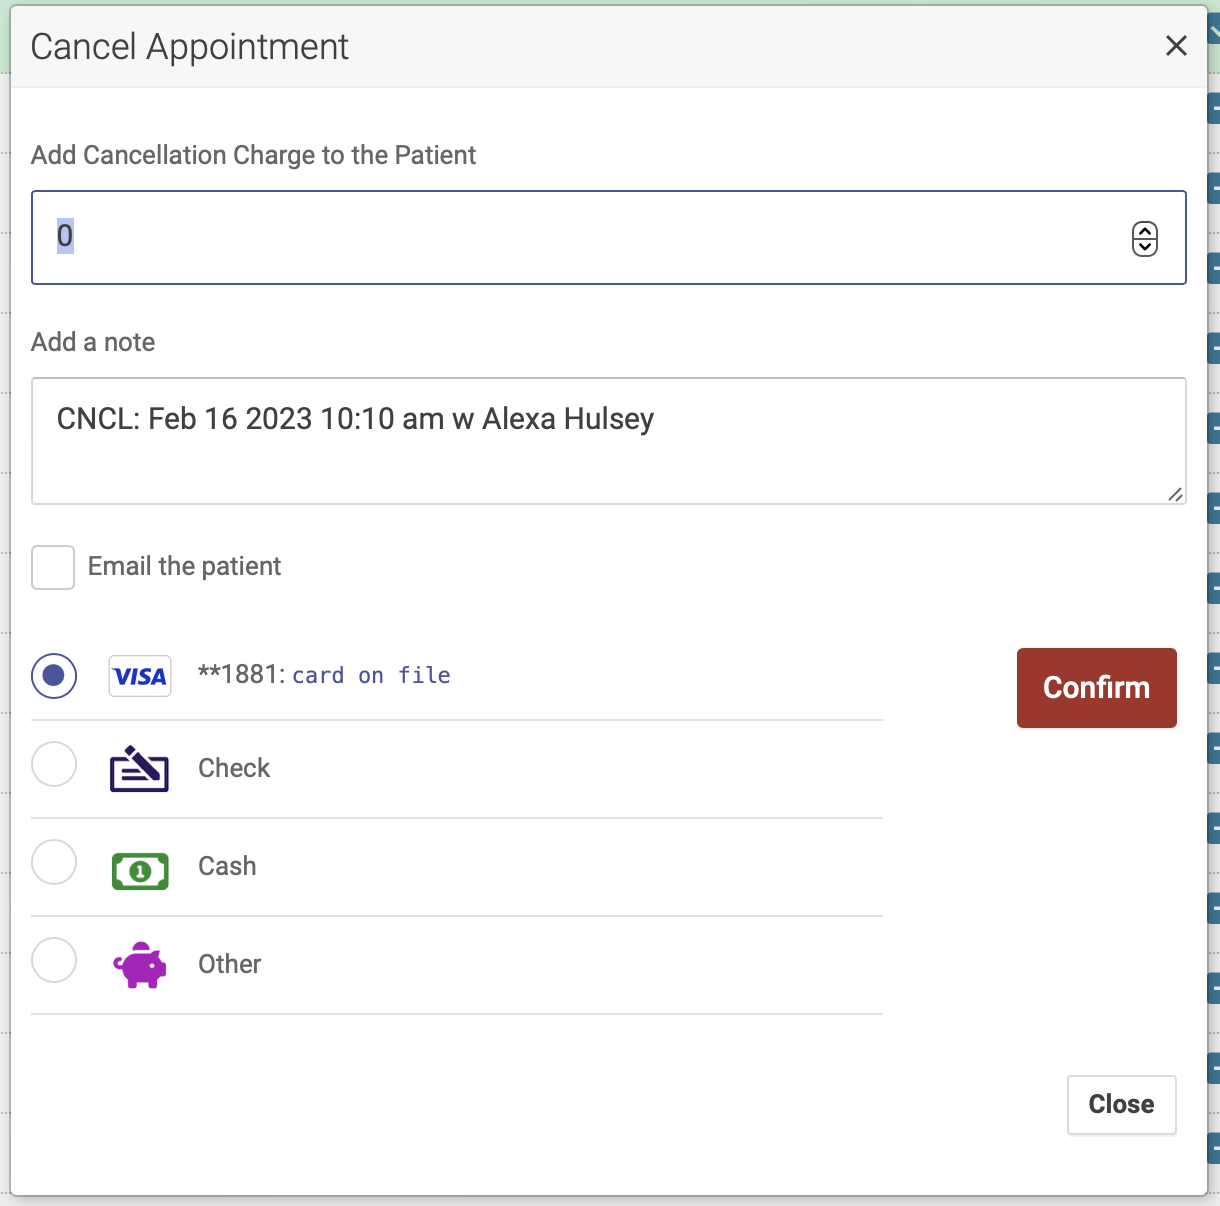
If a patient has a stored card, you’ll see the option to charge a cancellation fee their stored card. Enter the fee amount and click Confirm:
Issuing Refunds with Stripe
Any refunds and checkin reversals are recorded as a new transaction that has a negative value. You will see references to the opposing transactions in reports and logs.
If you issue a refund on a date after the original purchase, the refund amount will show on the daily report for the date the refund was issued. For example is a patient buys herbs on a Monday, and returns them for a refund on a Tuesday, the refund will show on Tuesday’s Transaction report.
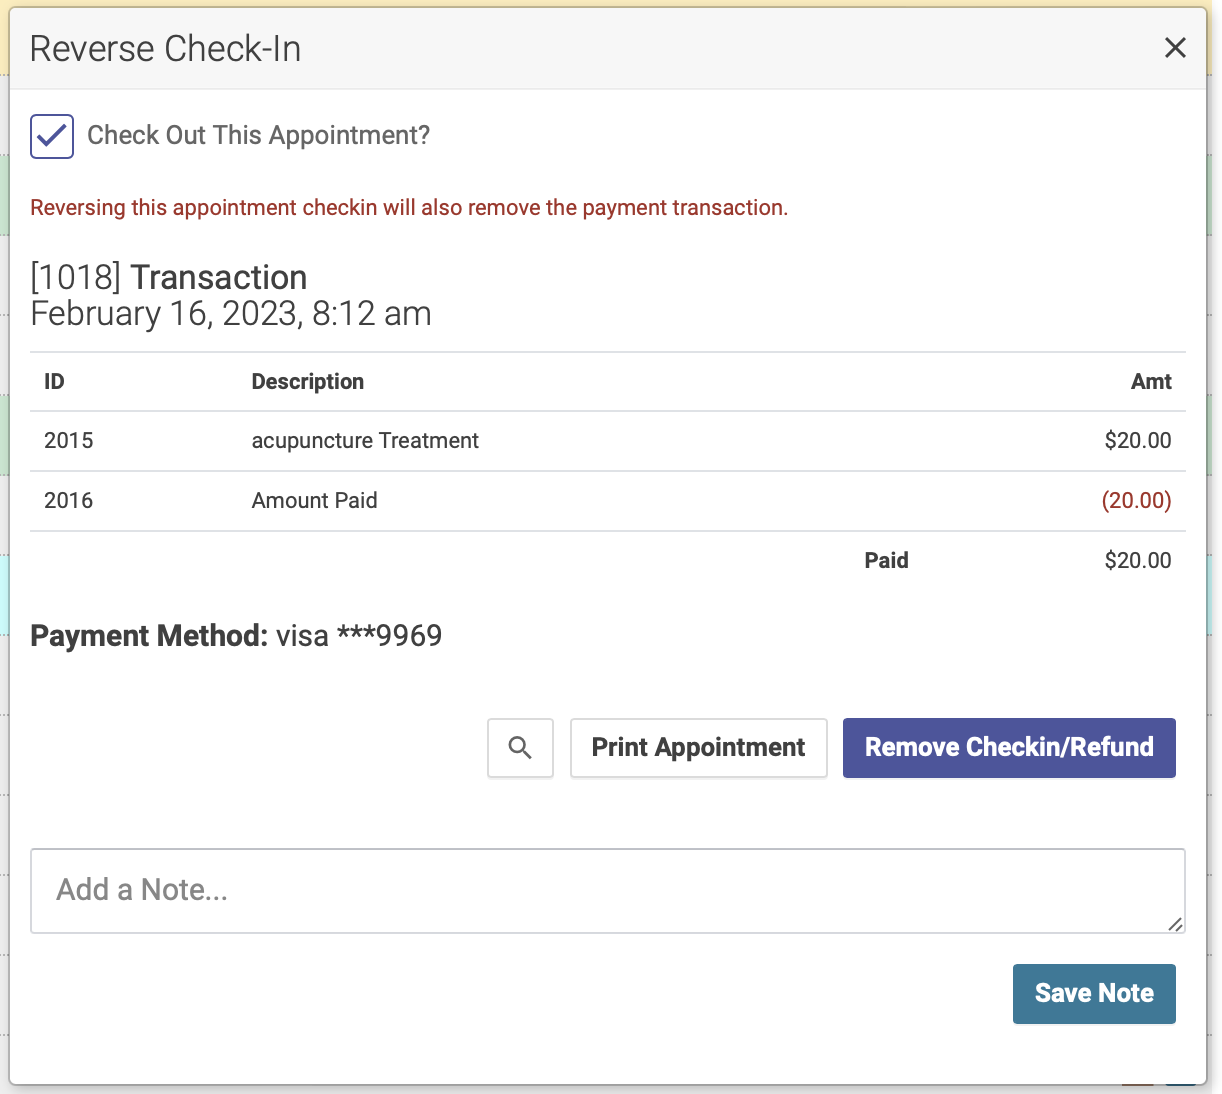
Issuing a checkin refund:
To issue a refund of a checkin, simply reverse the checkin. This will automatically refund the credit card used at checkin.
Issuing a purchase transaction refund:
You can issue a refund of a Purchase Transaction in two ways: via the Transactions list on the schedule or via the Transactions report.
Via Transactions list on the schedule:
Click the Transactions list at the bottom of the navigation menu on the left hand side of the schedule page. Purchase Transactions will be in yellow. Simply click the refund button to issue a refund back to the patient’s credit card:
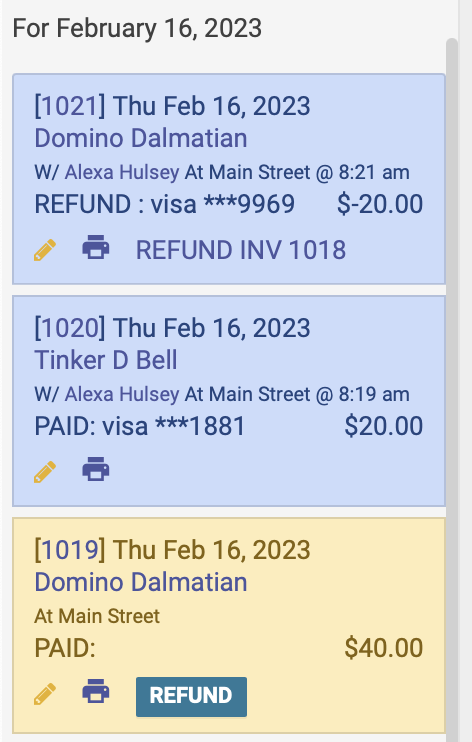
Via the Transactions report:
When you run a Transactions report, you’ll see a Refund button option for any Purchase Transactions. Simply click the refund button to issue a refund back to the patient’s credit card:

Receipts
Send a receipt via email
You can send a credit card receipt via email directly from the schedule, or from the patient profile page.
Send a receipt from the schedule
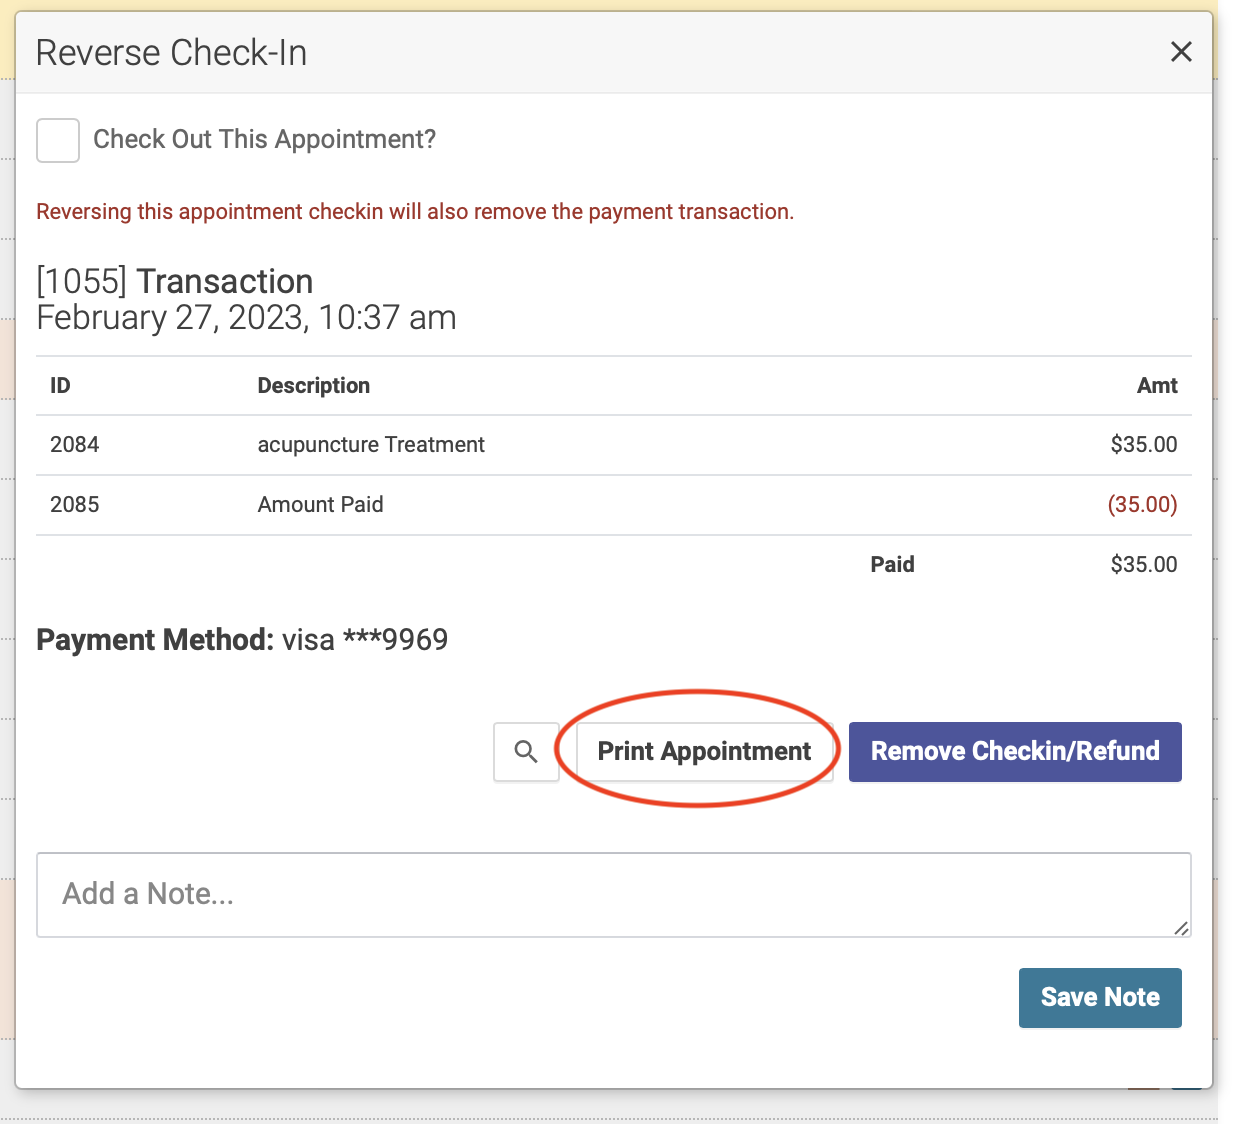
After you've completed a checkin, click the pencil icon. This will bring up the Reverse Checkin popup modal. Click the Print Appointment button:
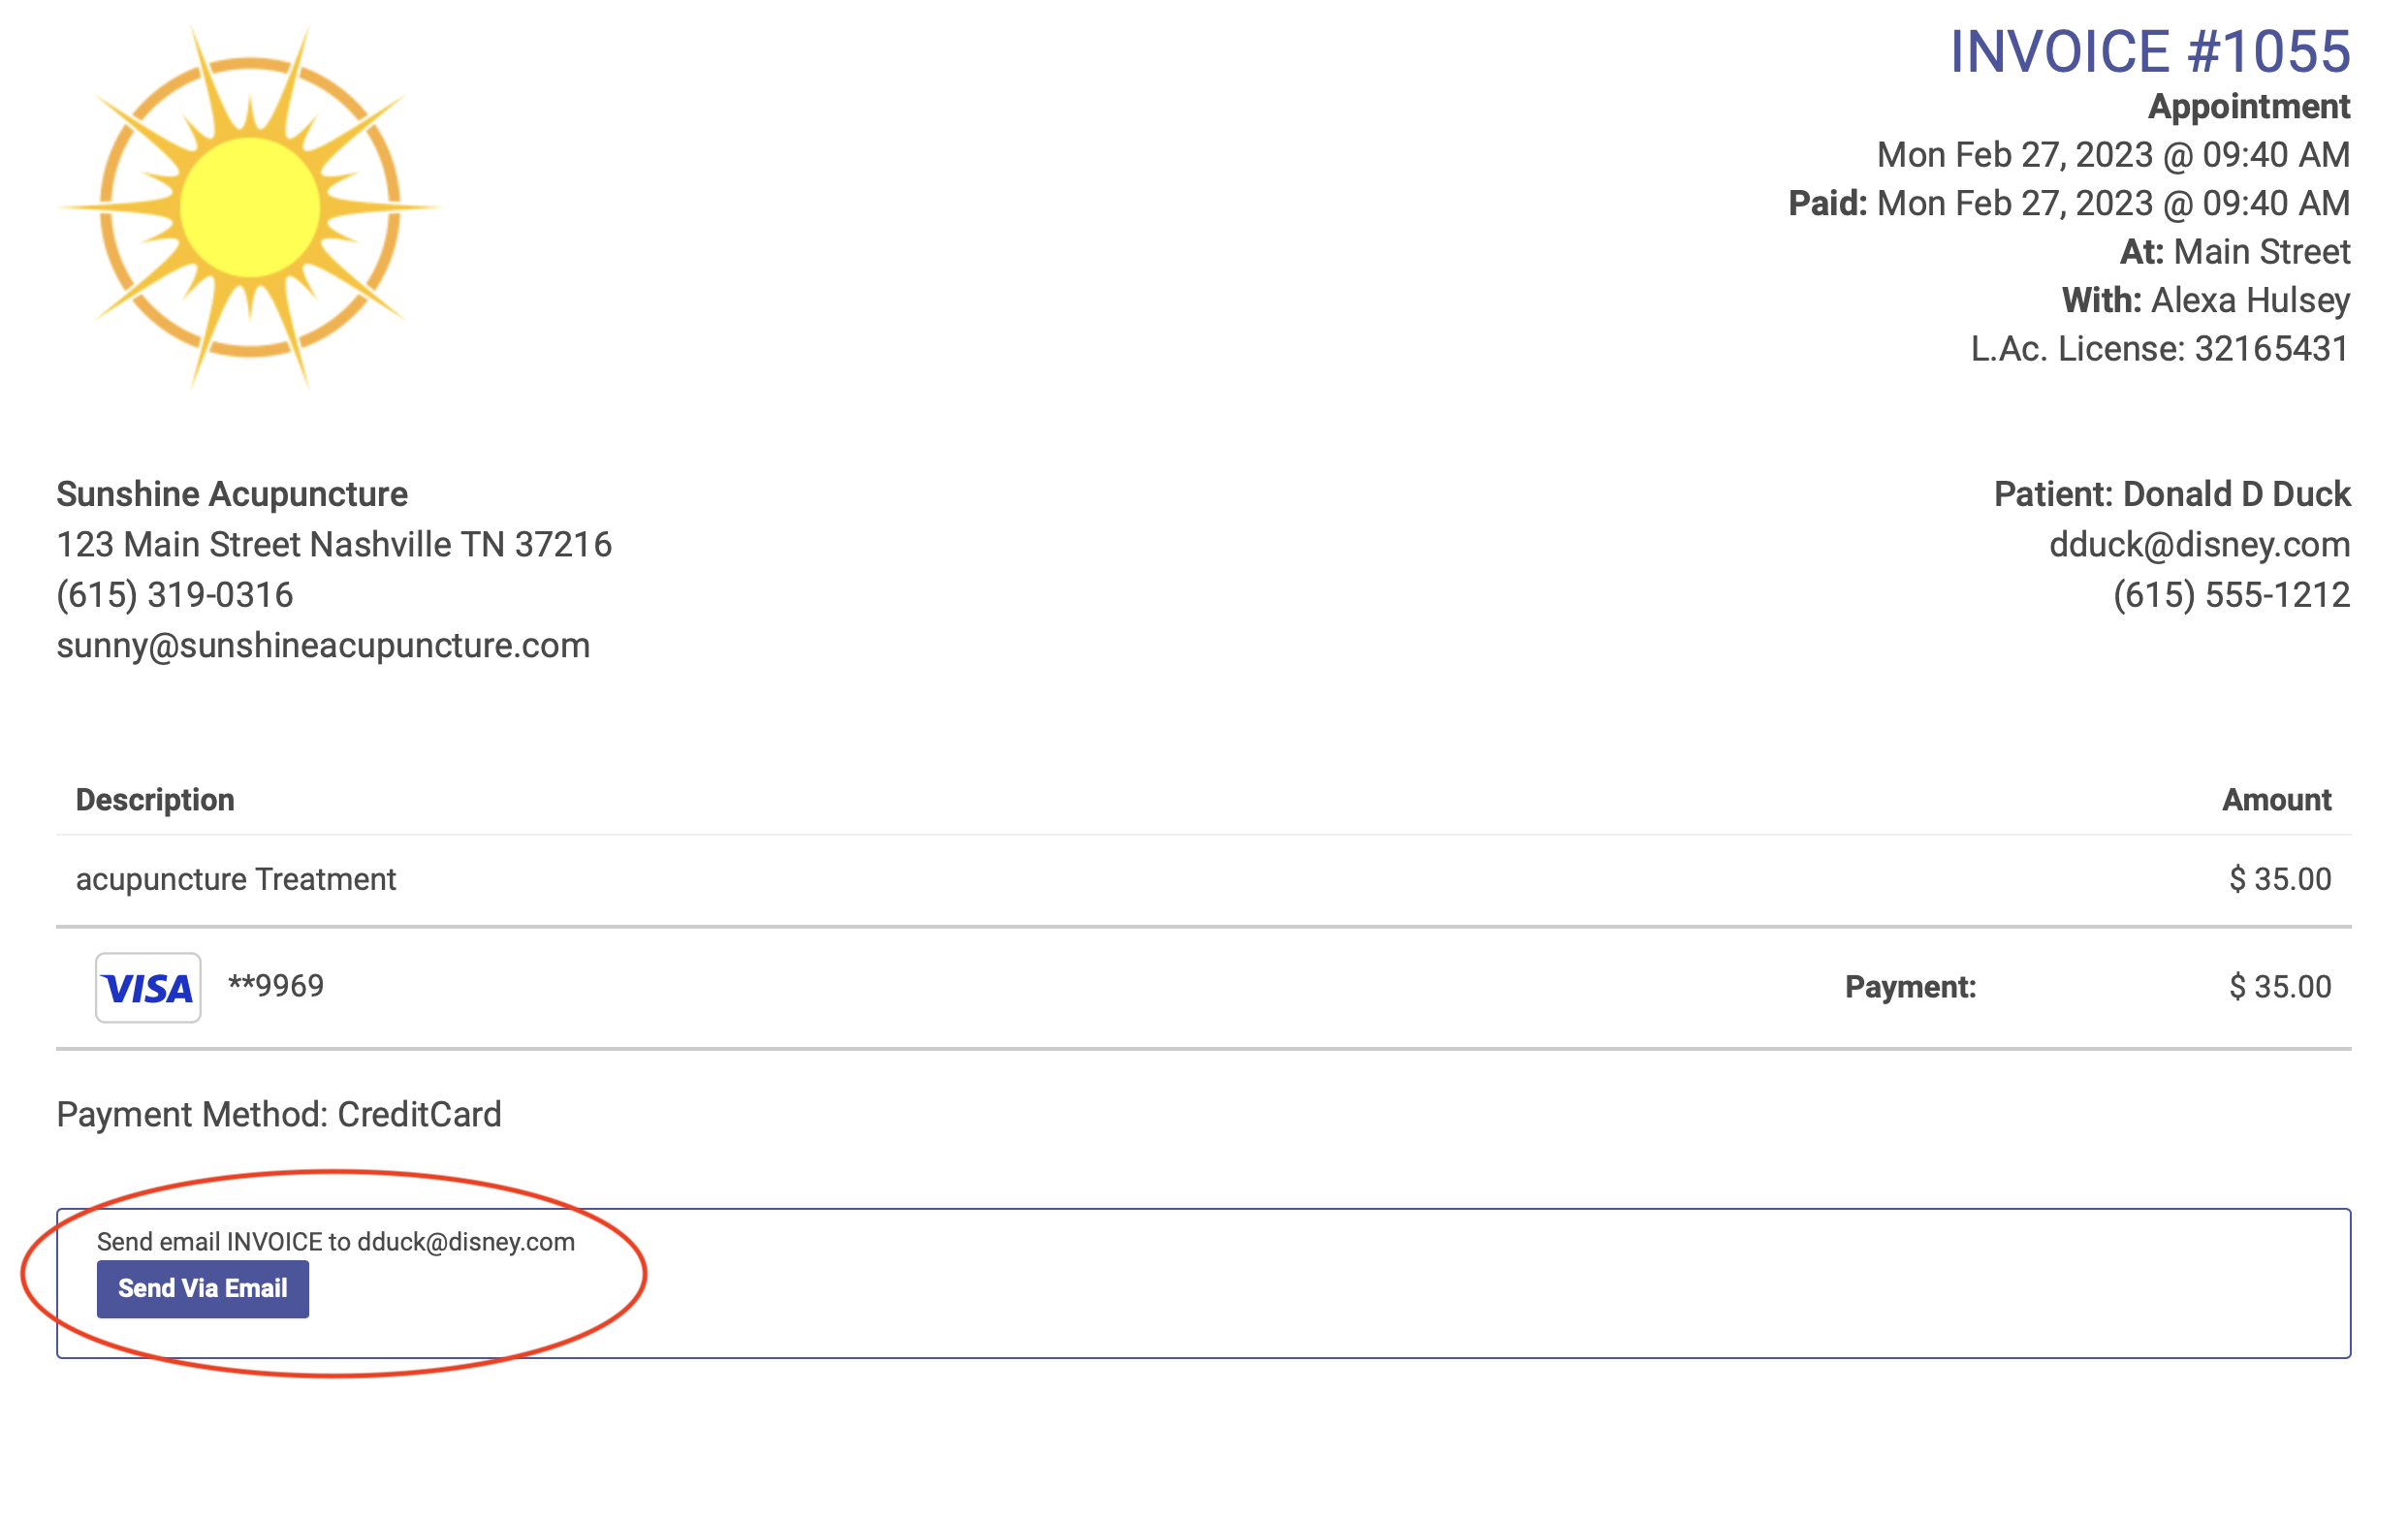
The invoice will open in a separate window. Click the Send Via Email button to email the receipt directly to the patient:
Send a receipt from the Patient Profile page
Find the transaction list on the Patient Profile page, find the transaction you want to email. Click the printer icon:

The invoice will open in a separate window. Click the Send Via Email button to email the receipt directly to the patient:
Reader Unreachable?
If your Stripe Reader fails to take a payment and gives you this error.

First check that the reader is on. Then open the settings by swiping right from the left corner of the screen. When asked the Admin PIN is 07139. Go to Network to make sure it is connected to your Wifi.
If both are true it may be an issue with Stripe. This is a rare occurrence that their server connecting to terminals is down. Wait 10 minutes and try again. These issues are typically resolved quickly.