Blocks
Blocks are the shifts within your schedule. When you create Blocks, you'll assign a practitioner, location, services, and start and end times. You can also set up Blocks at repeating intervals. Here's a video overview:
Adding a block 

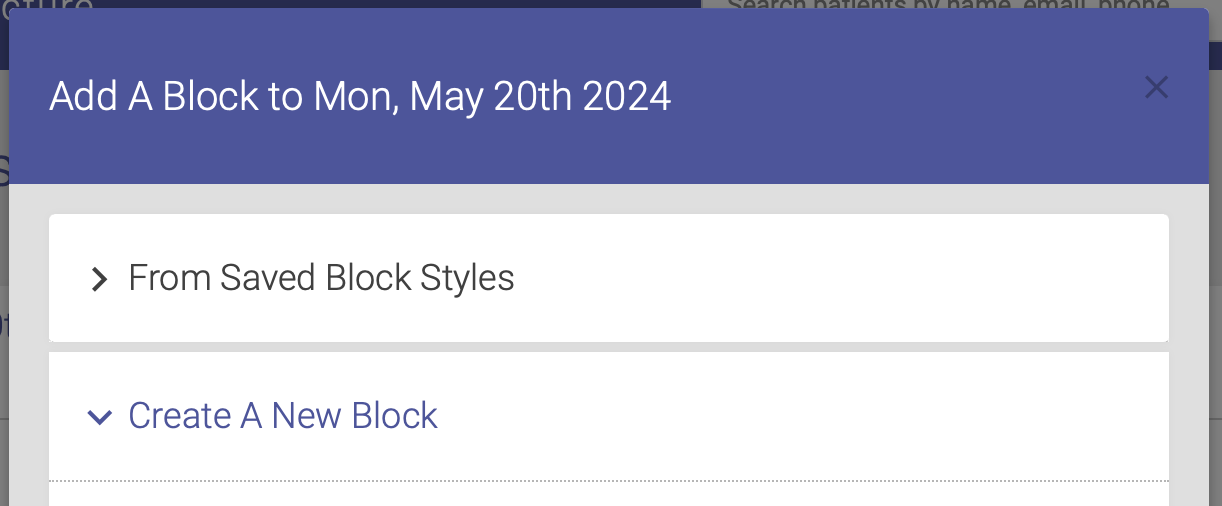
Go to the day and location where you want to create the Block, then click the plus sign [+] in the group of block icons to the top right of the page. A form will popup in a modal window. You can either use a Saved Block or Create A New Block:
Using a Saved Block:
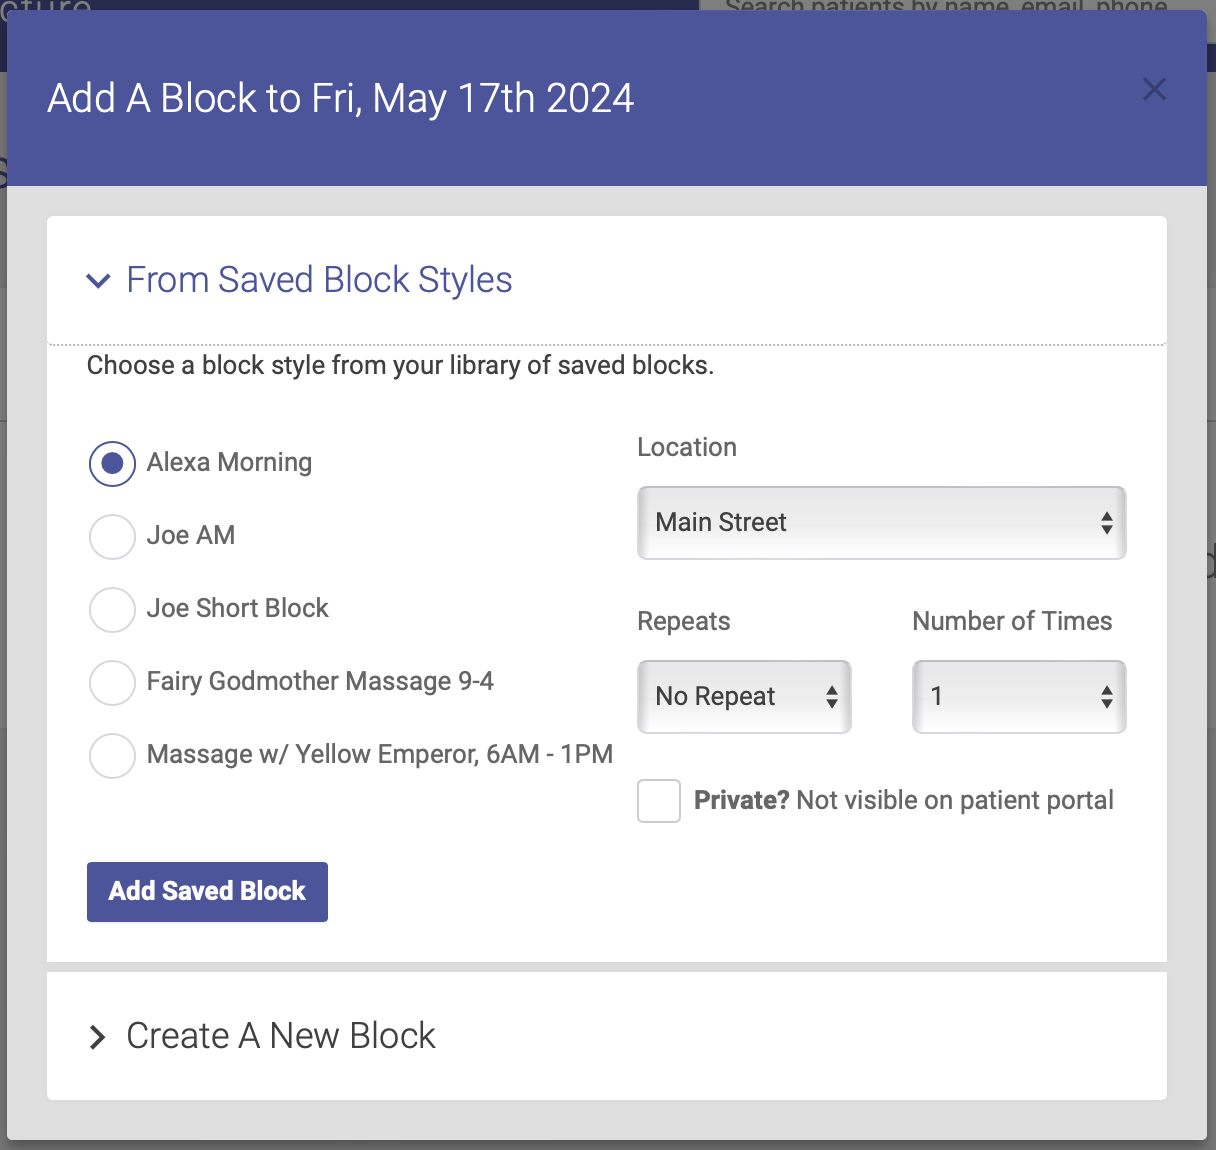
- Select "From Saved Block Styles" to open the selection form (Create New Block is opened by default).
- Choose the block style you want to insert. Click here for detailed instructions on how to save blocks for later use.
- Click the Add Saved Block button. Your Block is now added to the schedule!
Create a New Block:
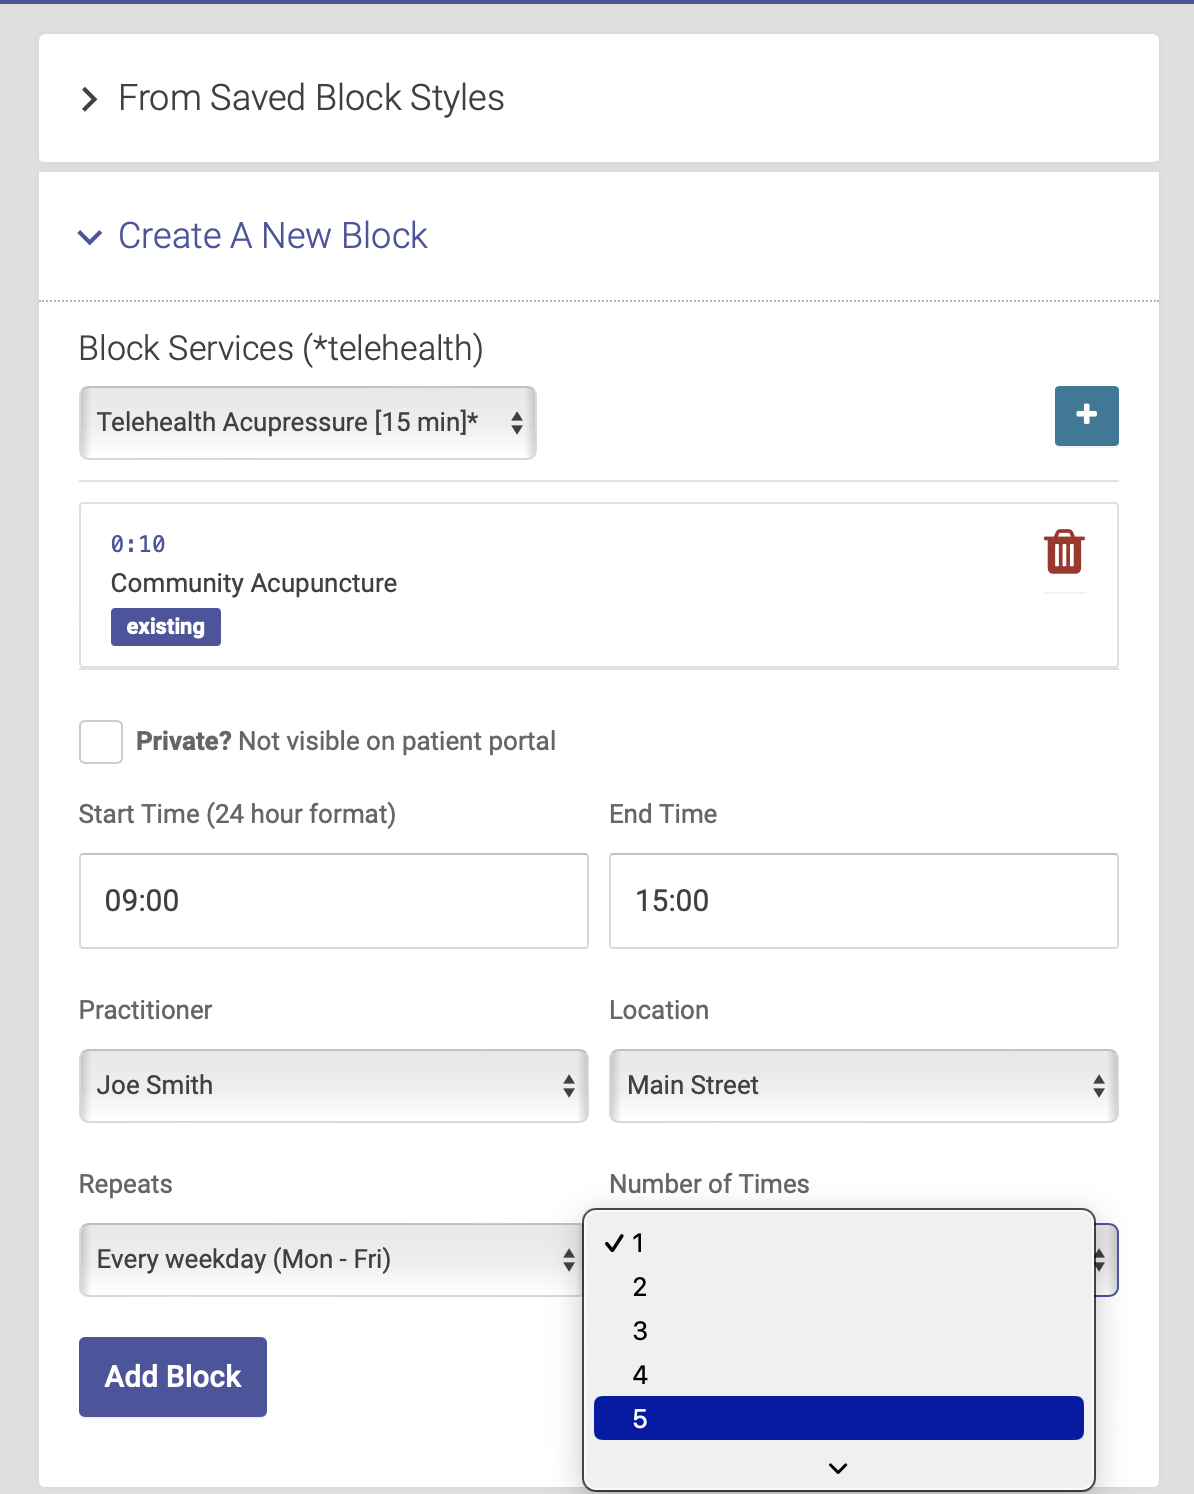
- Add the Service options you want to have available for this Block. Select the Service from the drop down menu, then click the plus icon [+] to add it. You can add multiple Services to any Block. When you add a Service, you'll see the Service title, slot length, and who can book. You can delete Services from a Block by clicking the red trash can icon.

- To make this block invisible on the patient portal, click the box next to Private. You will be able to view this block on the admin portal, but patients will not see it on the patient portal.
- Choose your start and end time.
- Select the Practitioner from the dropdown.
- Select your Location
- If you want to repeat this block, select the repeat increment and number of repeats (more on repeating blocks below)
- Click the Add Block button. Your block is now added to the schedule!

Repeating blocks
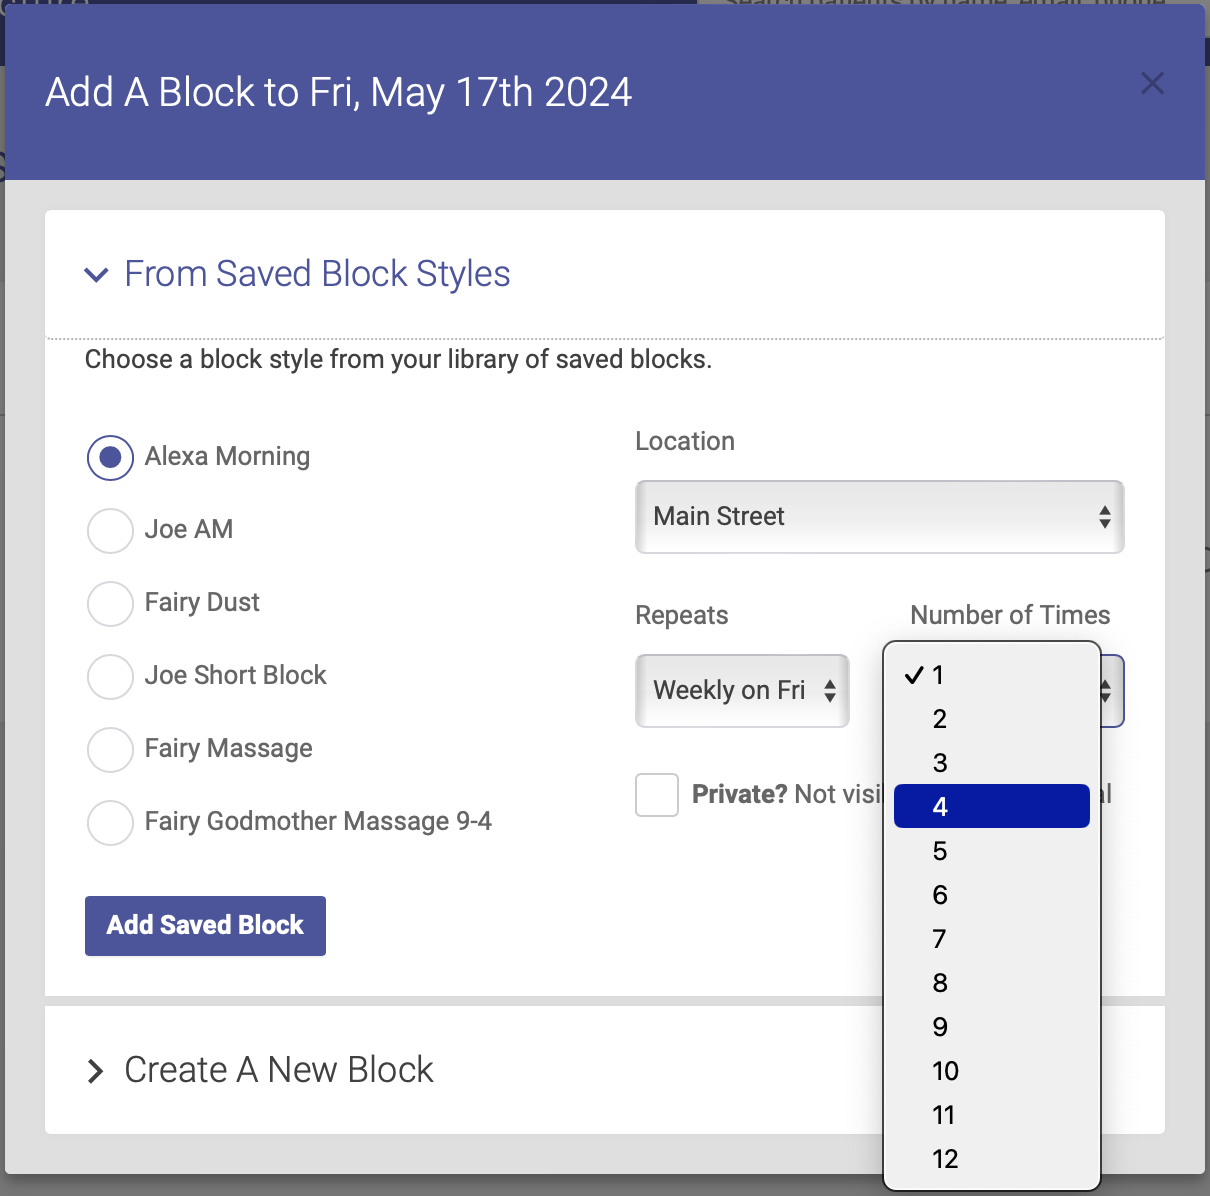
When adding a block to the schedule, you can repeat that block on future dates. To repeat a block, click on the Repeats dropdown menu to select your interval. You can repeat a block on a daily, weekly or monthly basis. Then select the number of times you want to repeat that block.
You can use the Repeat function when you are adding a new block or adding one from your saved blocks:
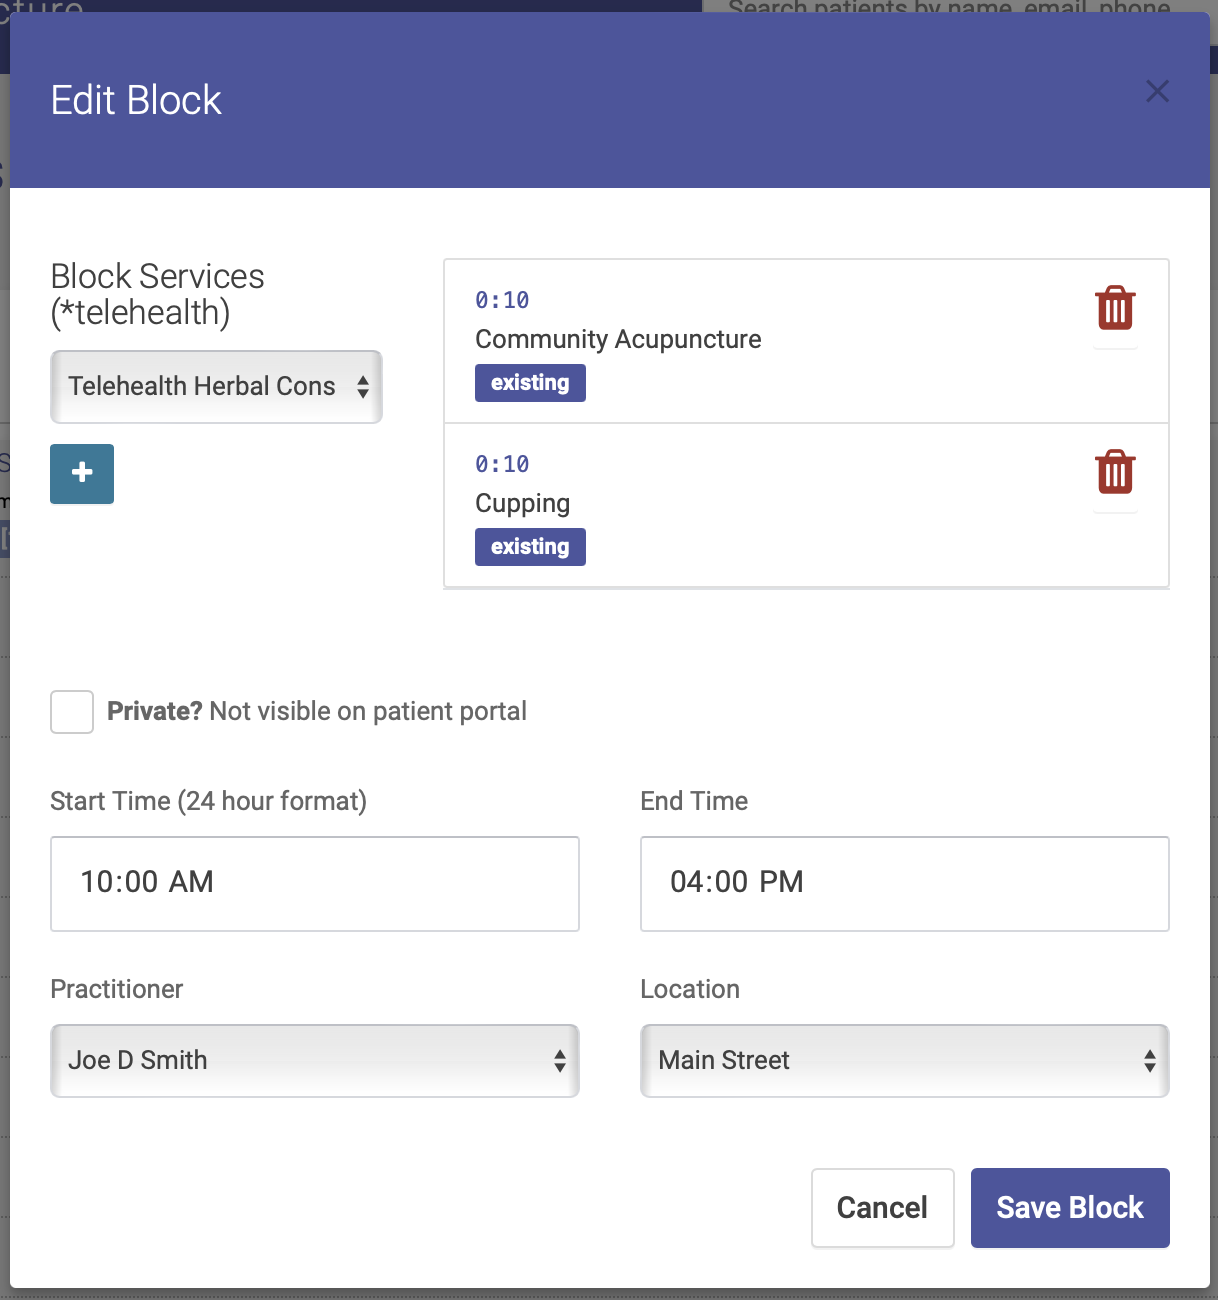
Edit a block 

- Click the pencil icon at the top right of the block.
- Change any of the parameters you used creating the block. This includes adding or deleting Services, or changing the start and end times, Practitioner and Location
- If you change the start or end time, and doing so cuts off any appointments:
- The appointments will be cancelled
- and they are added to the waiting list
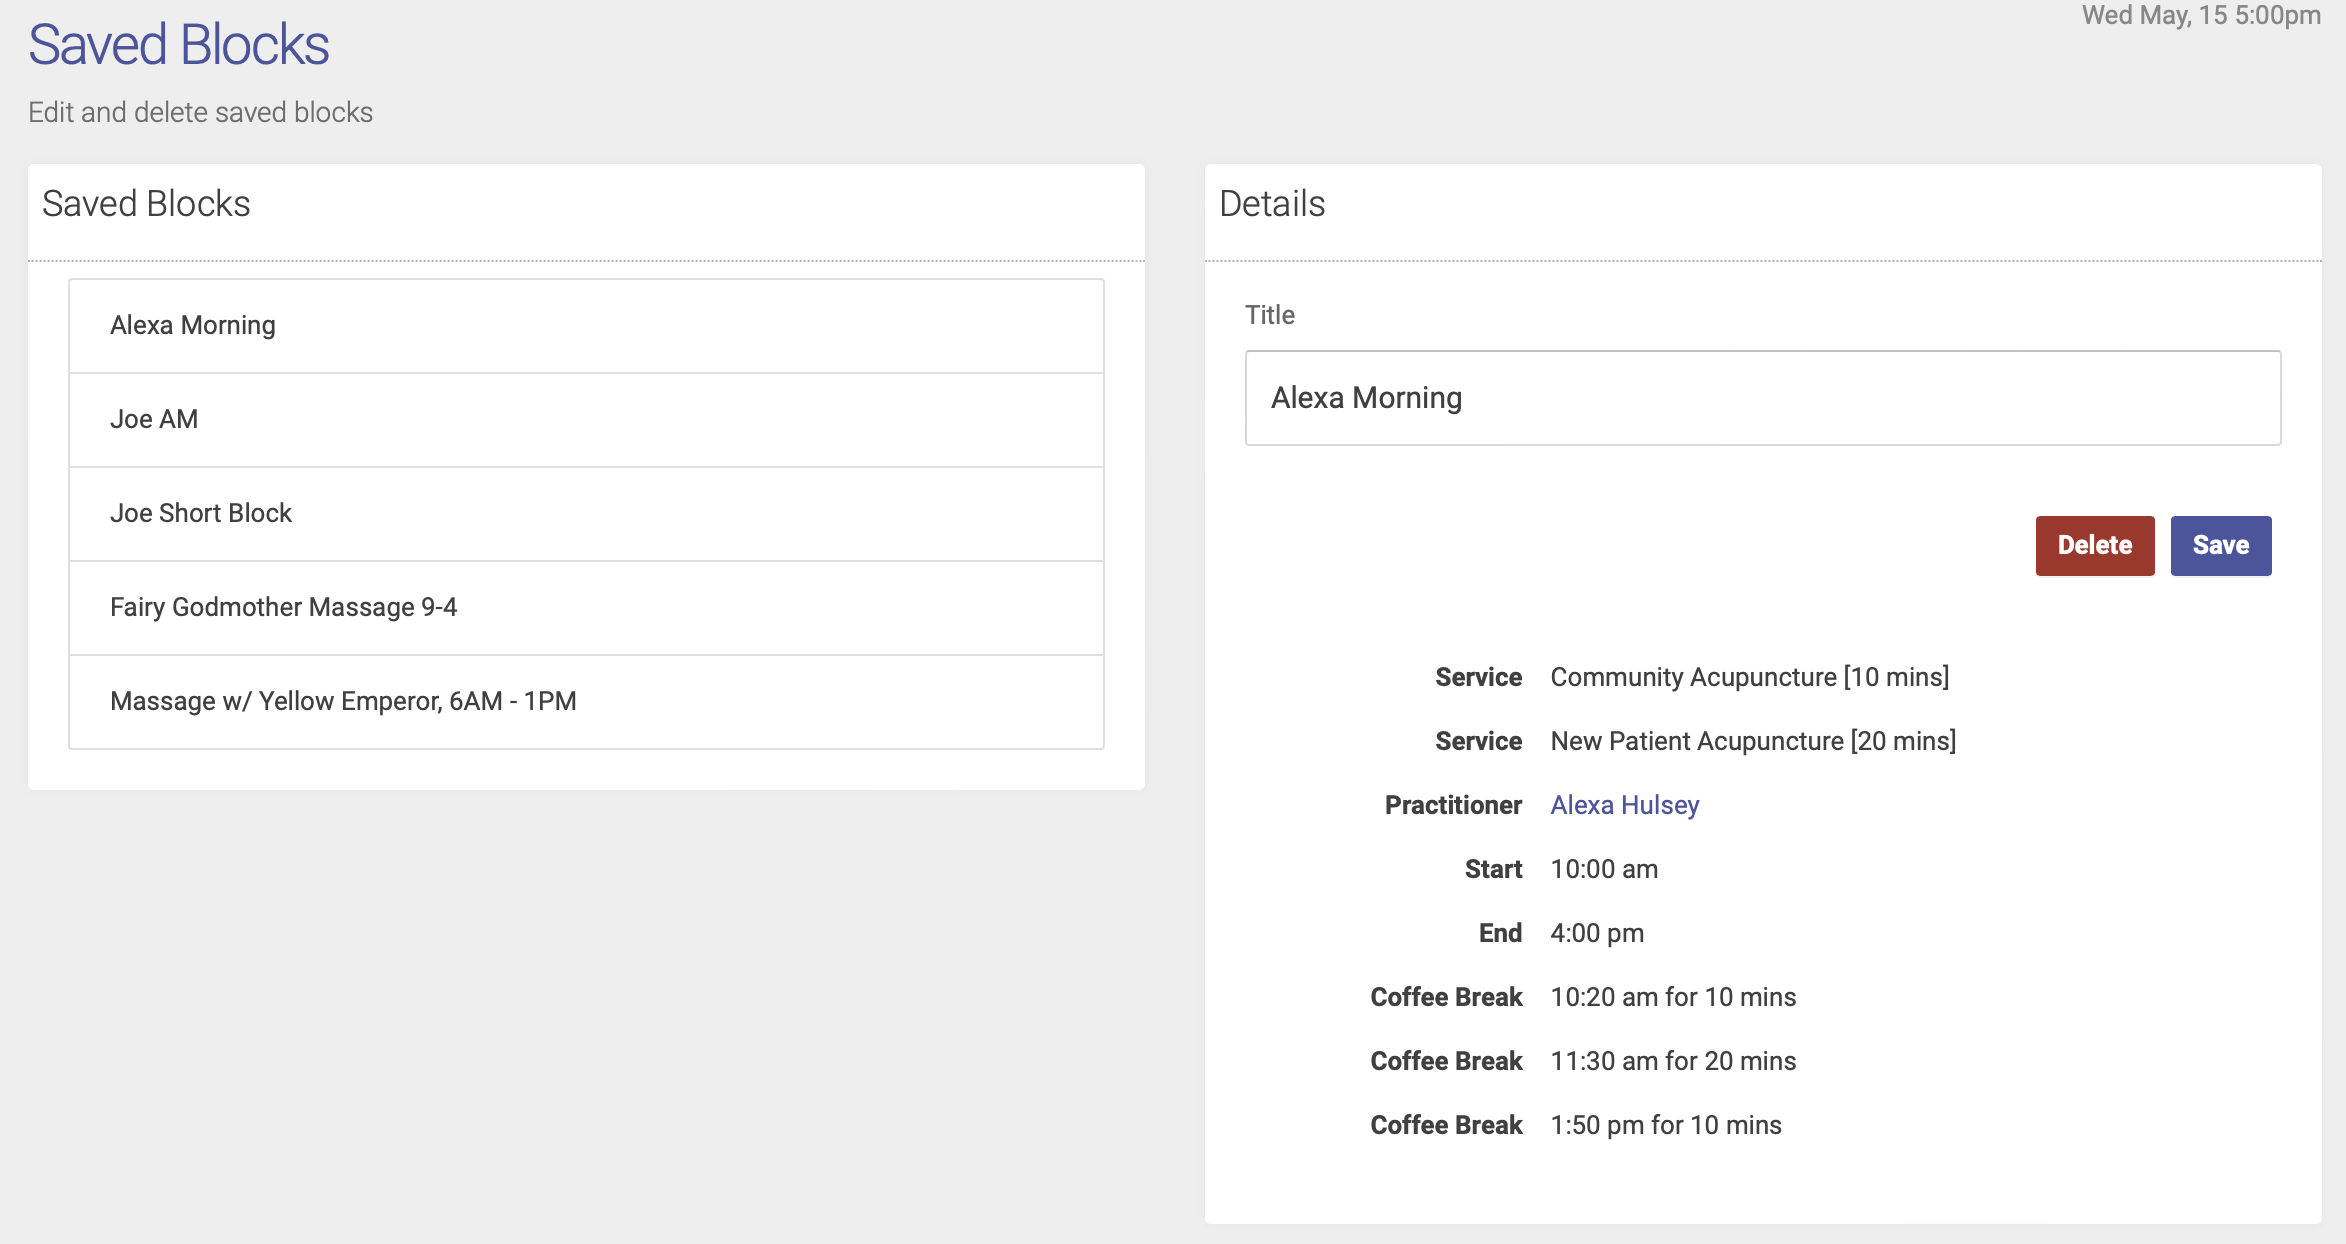
Editing or Deleting saved blocks
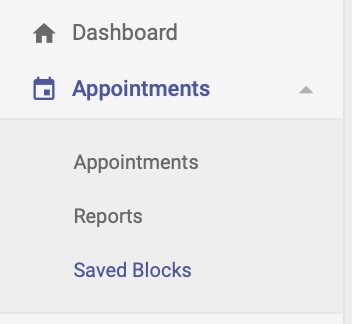
Click on Saved Blocks under Appointments on the main menu:
From here you'll select the saved block you want to edit or delete. Select your block to edit the title or delete the block:
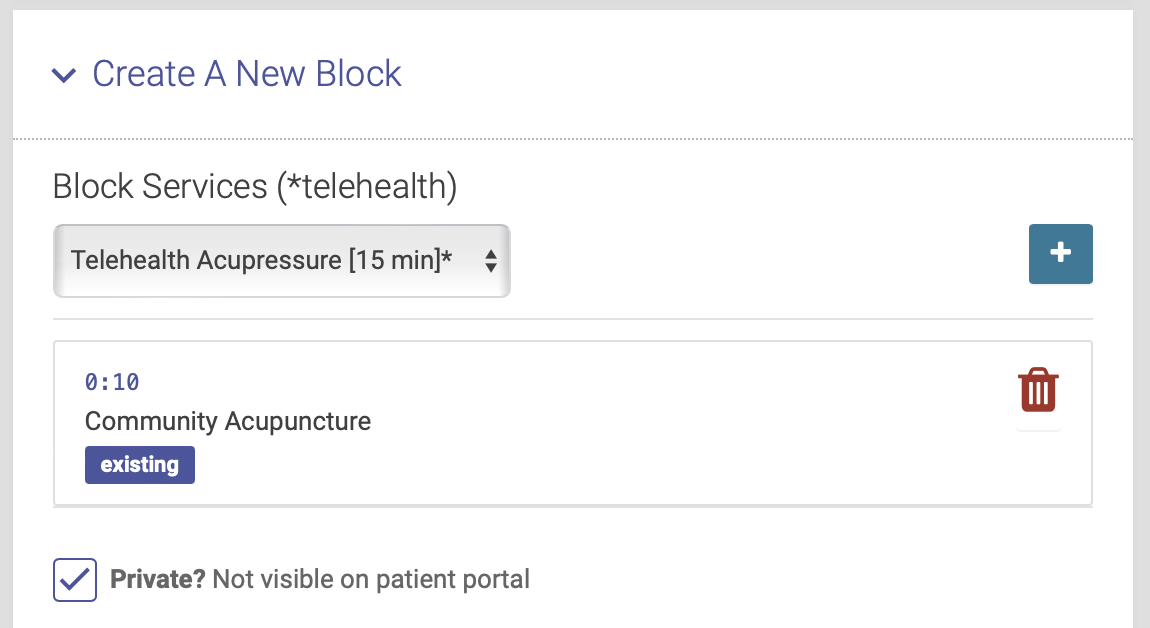
Private Blocks
Private blocks are visible to schedule admins but do NOT appear on the patient portal, so patients are unable to schedule an appointment in a private block. Only admins can schedule an appointment in a private block.
If a patient has an appointment scheduled in a private block, the appointment WILL show up in their list of appointments on the patient portal.
To make a private block, click the "Private?" checkbox in the block options when creating a block:
The top of a private block will be highlighted in blue on the schedule:
