Start Taking Credit Cards
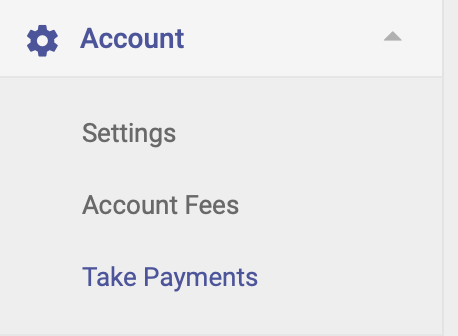
To take credit card payments within Open ACU you will need to add the feature to your account and then complete the Stripe onboarding process. These steps can all be completed from the Take Payments section of your account, which you can reach from the navigation menu on the left hand side of your screen:
How to start taking credit card payments
- Go to Account > Take Payments
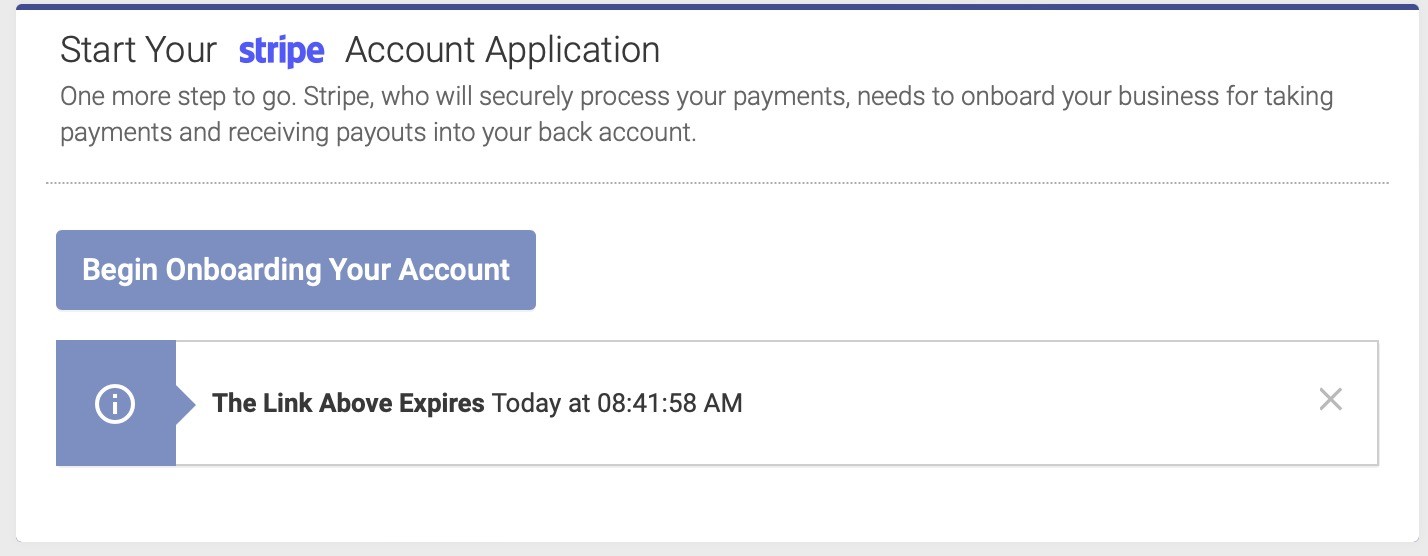
only users with Owner status can see this page. - Click "Getting Started" to create a Stripe Onboarding link specific to your Open ACU Account
After a few moments you will see the link below.
This is a link to your account onboarding process. The link makes sure your account will work with Open ACU. If you aren't ready to start the onboarding process don't worry you can always come back to the Take Payments page and generate a new link.
Stripe Onboarding must be completed by the business owner or someone with significant management responsibility of that business. What you will need
- You will enter business details (legal business name, address and IEN or Social Security number)
- Set your preferences and branding details (logo, name and web address)
- Connect a bank account for charges and payouts.
- Documents to confirm your identity:
business license, passport or other identifying document based on the type of business and other factors.
Check your Stripe account status
Follow the steps on the Take Payments page to create and connect your Stripe account.
You may need to go back for final authorization steps before your account is ready for payments.
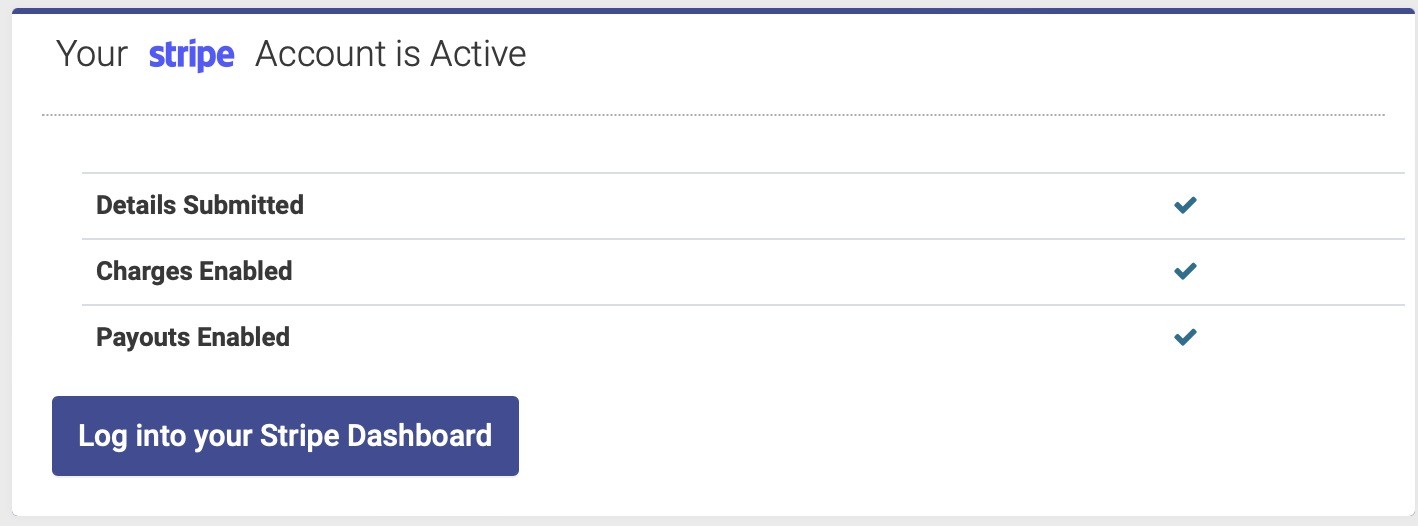
Look for three green checkmarks for each of the steps to go live. If the account needs further information you can click the "Log into your Stripe Dashboard" to finish the necessary steps.
Optional: Set up your Stripe Reader
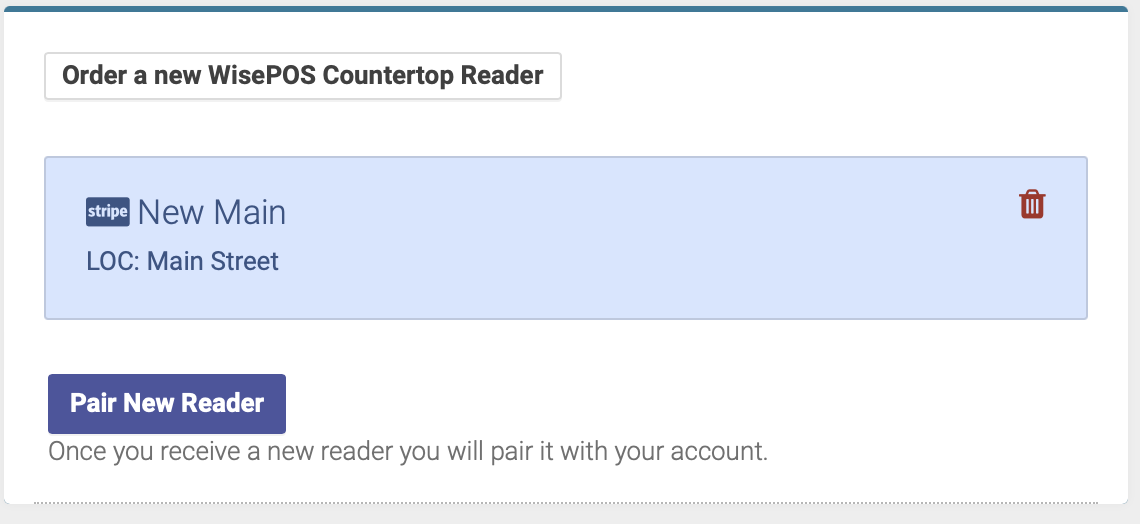
If you want to take in-person credit card payments, you will need to order a WisePOS Countertop Reader from Stripe. You can do this from the Take Payments page:
Once you receive your reader, you will need to complete the steps to set up and connect your reader:
- Follow the steps on the Take Payments page to set up your Wise POS reader
- Once the setup is complete, you will need to pair your reader with your account. You will also do this from the Take Payments page.
Credit Card Settings
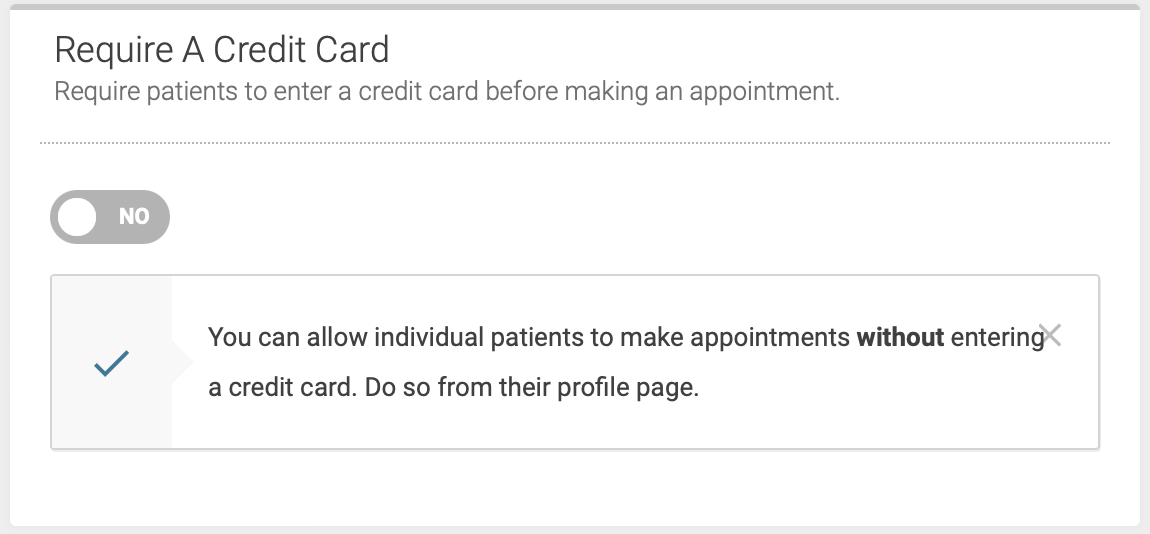
Switch the Require a Credit Card button to ON if you want to require patients to save a credit card payment method prior to booking an appointment:
If you switch the Require a Credit Card option to ON, this will require that ALL patients save their credit card information online before scheduling an appointment. This will apply to both new and existing patients. If you choose to enable this option, we recommend notifying your existing patients of the change ahead of time.
You also have the option to allow individual patients to make an appointment without requiring a credit card. You can do this from their patient profile page.
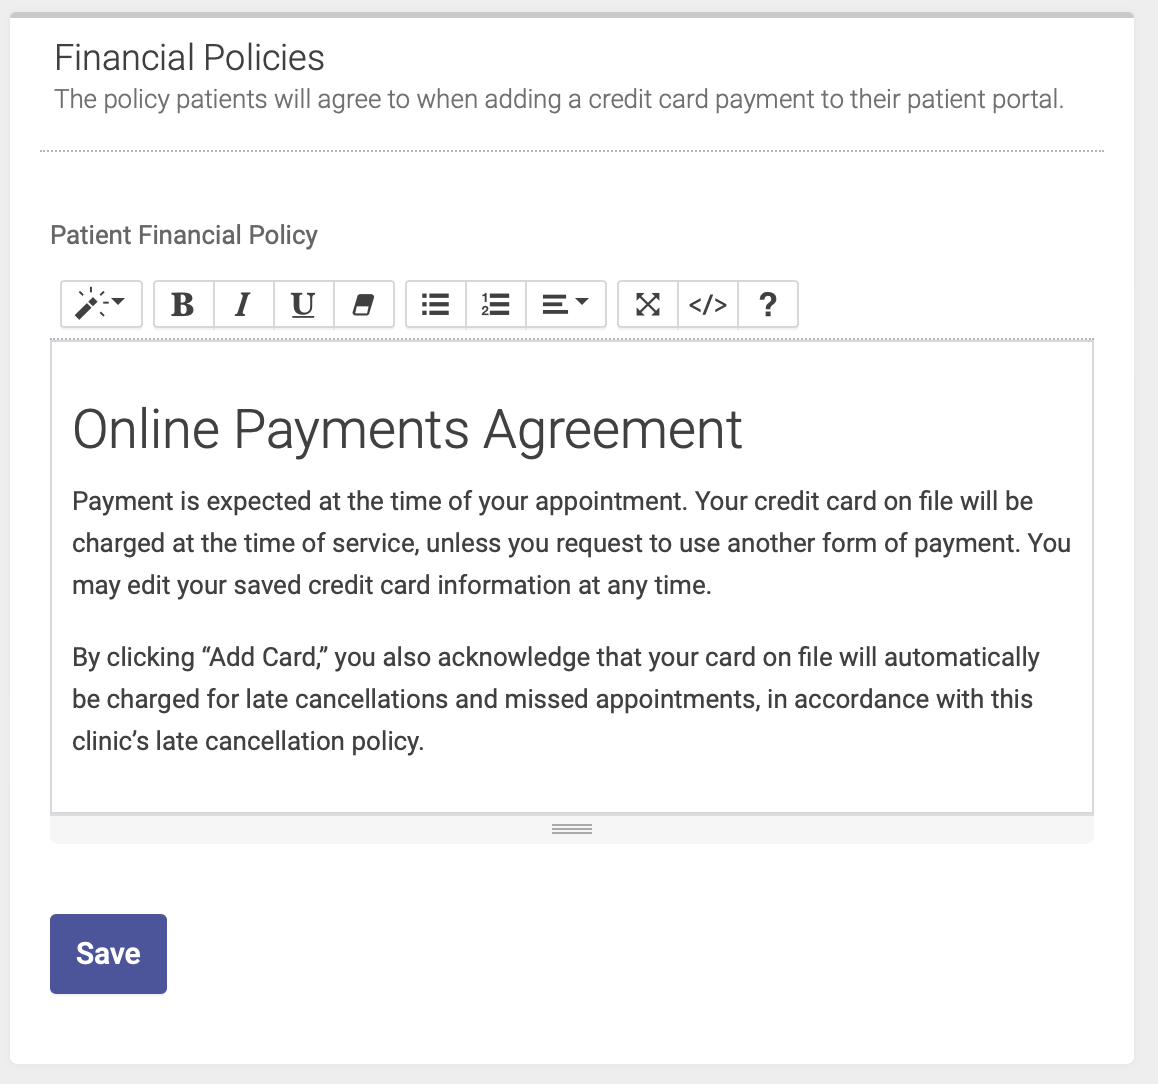
Financial Policy
Enter and save your Financial Policy. Patients will agree to your financial policy when saving their credit card information online via the patient portal:
Accepting HSA and FSA cards
In order to accept HSA and FSA card payments, you need a certain Merchant Category Code (MCC). Your Stripe account is set up with an MCC code for Miscellaneous Personal Services, which is not an approved MCC for all HSA and FSA cards. Therefore, we recommend changing your MCC to one that is widely accepted for HSA and FSA cards.
To change your MCC, you will need to contact Stripe support through your Stripe dashboard. Tell them you need to change your MCC to 8099: Mental health, sports medicine, miscellaneous medical, so that you can accept HSA and FSA payments. They will probably ask you a few questions about your business to verify that this is the correct category, and they might not be able to do it immediately since this is not a typical request from merchants. But they do have the ability to change it for you, and it shouldn't take more than a few hours for the process to be complete.

