Settings and Templates
Your settings page is where you set your application preferences, templates and rules for your account, and your patient portal logo and colors. You can get to the Account Settings page but clicking Account —> Settings on the sidebar menu, or by clicking on your clinic’s name at the top of the page.
Logo and colors
Upload your clinic logo and edit colors buy clicking the Edit Logo, Colors button next to your clinic name:
![]()
Basics
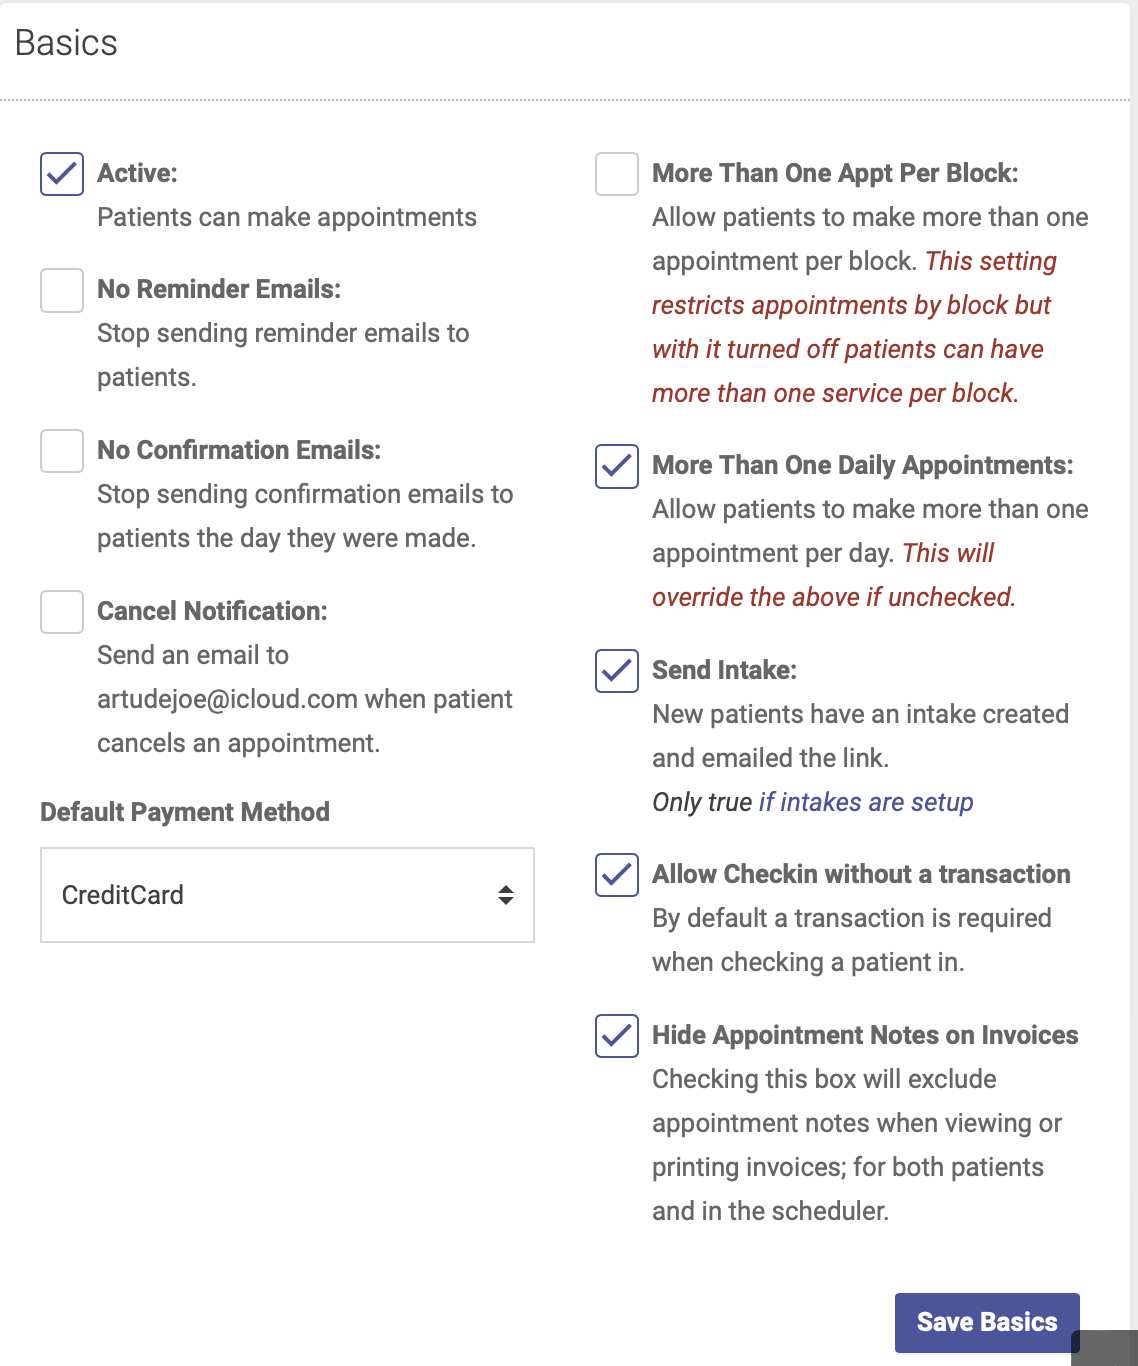
- Active: keep this box checked to allow patients to make appointments online
- No reminder emails: check this box if you DON’T want to send reminder emails. If you DO want patients to receive reminder emails, leave this box unchecked.
- No confirmation emails: check this box if you DON’T want to send confirmation emails. If you DO want patients to receive confirmation emails, leave this box unchecked.
- Cancel notifications: check this box to have notifications of canceled appointments sent to your contact email. Note: you can also see a list of canceled appointments buy running a cancelation report.
- Default payment method: select whichever payment method your patients use most often. This will be the default method when you record a payment.
- More than one appt per Block: By default, patients cannot schedule more than one appointment per block via the patient portal. Checking this box will override that rule and allow a patient to make more than one appointment per Block.
- More than one daily appointment: By default, patients cannot schedule more than one appointment per day via the patient portal. Checking this box will override that rule and allow a patient to make more than one appointment per day.
- Send intake: when this box is checked, a new patient will automatically receive a link to their intake form when they create their account. Note: this will only work if you’ve set up your intake forms.
- Allow checkin without transaction: checking this box will allow you to check in a patient without having to record their payment at time of checkin. You can record their payment at a later time by following the instructions to check in without a transaction.
- Hide appointments notes on invoices: checking this box will exclude appointment notes when viewing or printing invoices, both for patients and for admins.
Scheduler Site Settings
In this section you’ll store your contact information, website, and the text for your email templates.
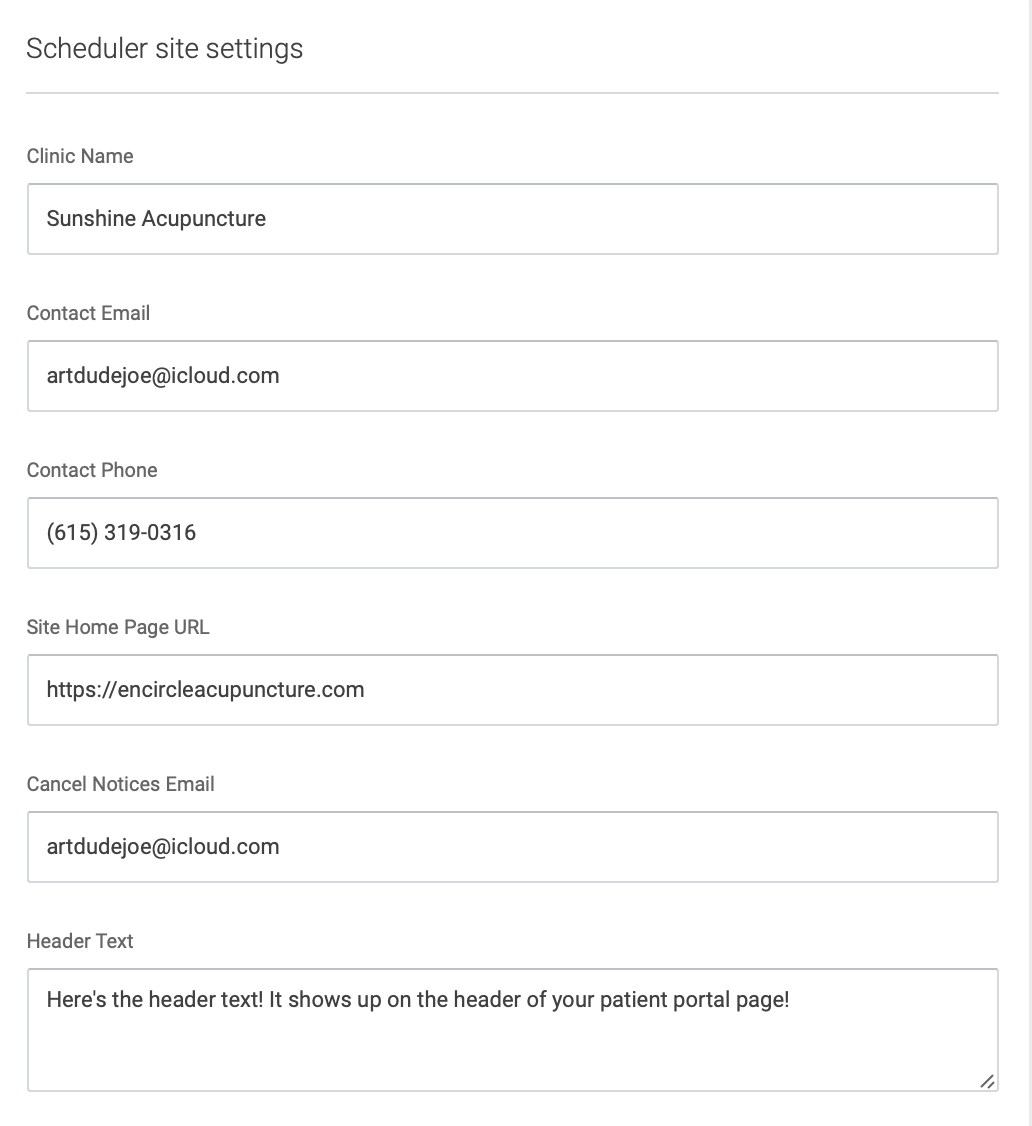
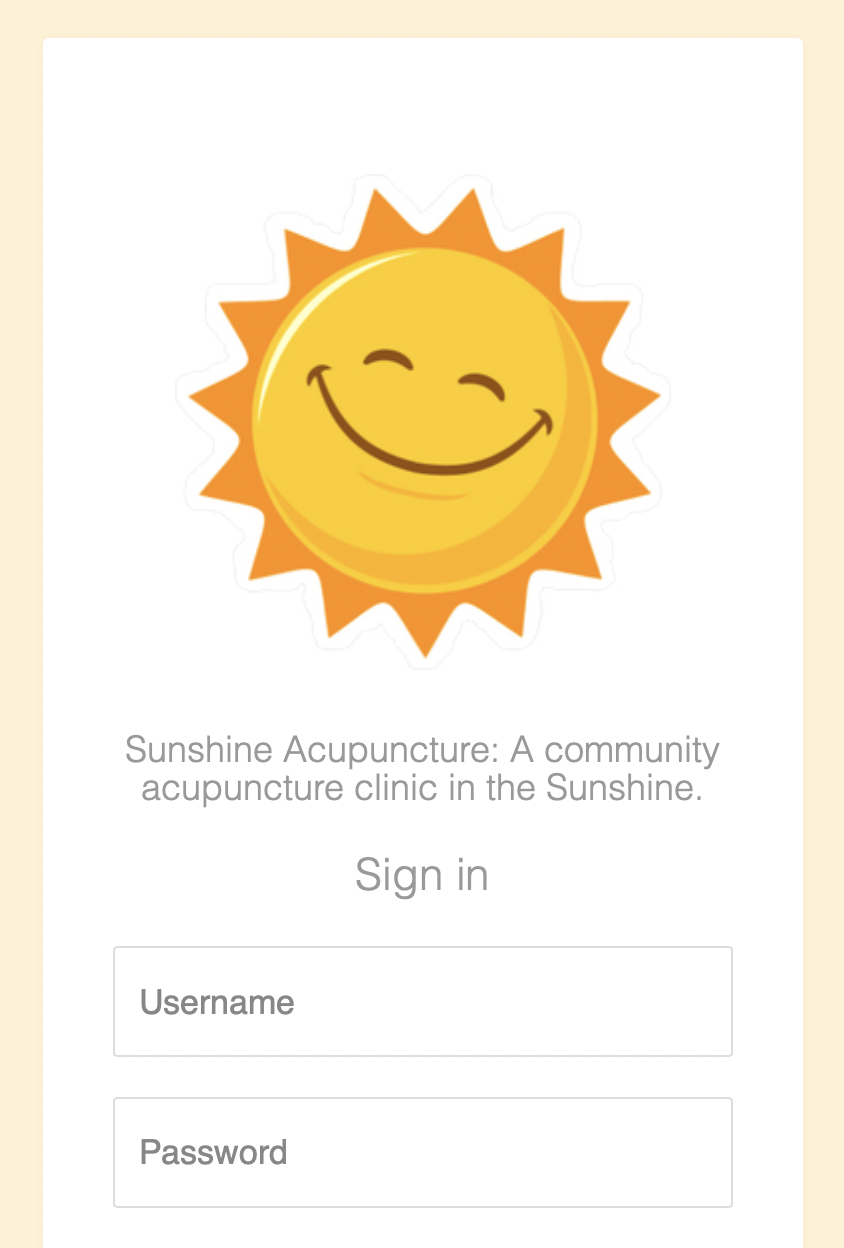
The text in the Slogan field will appear under your clinic's logo on the patient portal login page:
The New Account Instructions field is where you’ll save the instructions patients will see on your website for creating their account:

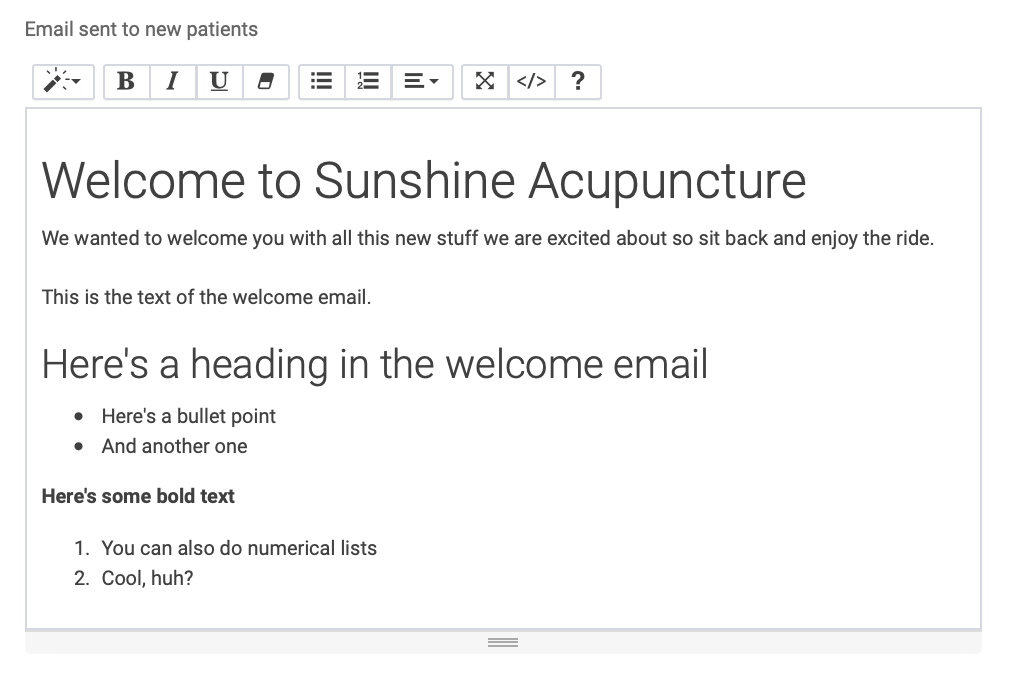
The Email sent to new patients will automatically be sent to a new patient once their account is created:
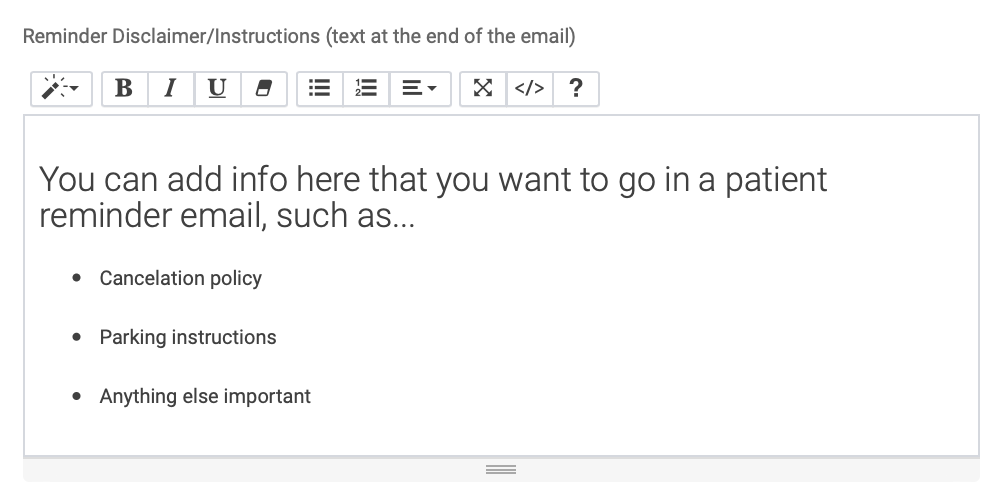
The Reminder/Disclaimer Instructions will go at the end of appointment reminder emails:
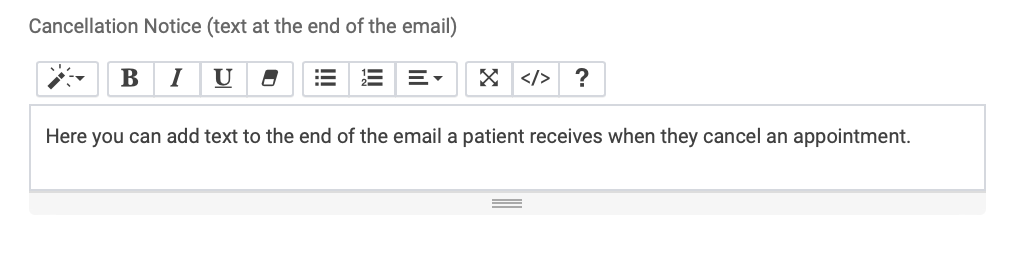
The Cancelation Notice is where you’ll add text for the email a patient can receive when an appointment is canceled.
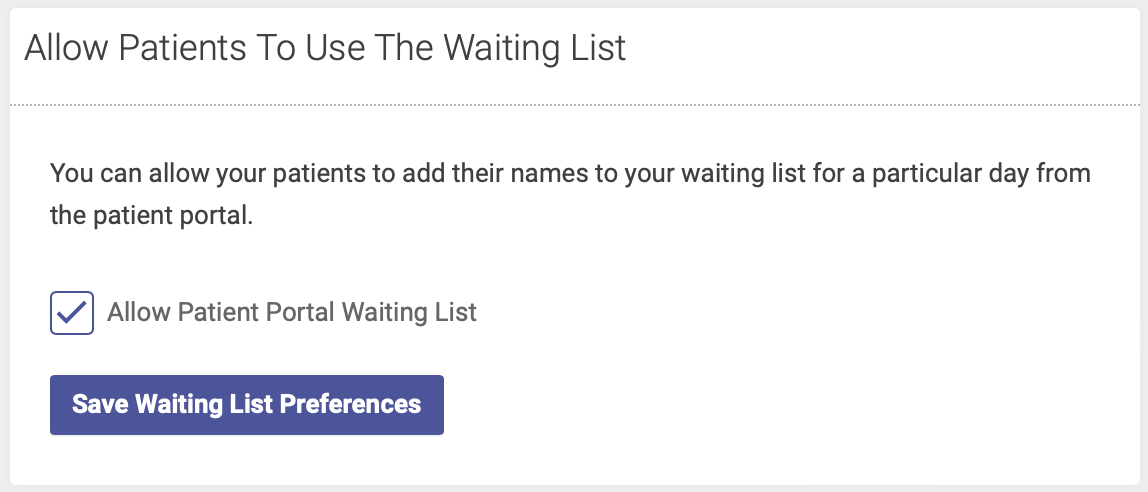
Waiting List Settings
If you want to allow patients to add their names to the daily waiting list via the patient portal, check the Allow Patient Portal Waiting List box and click Save to save your preference.
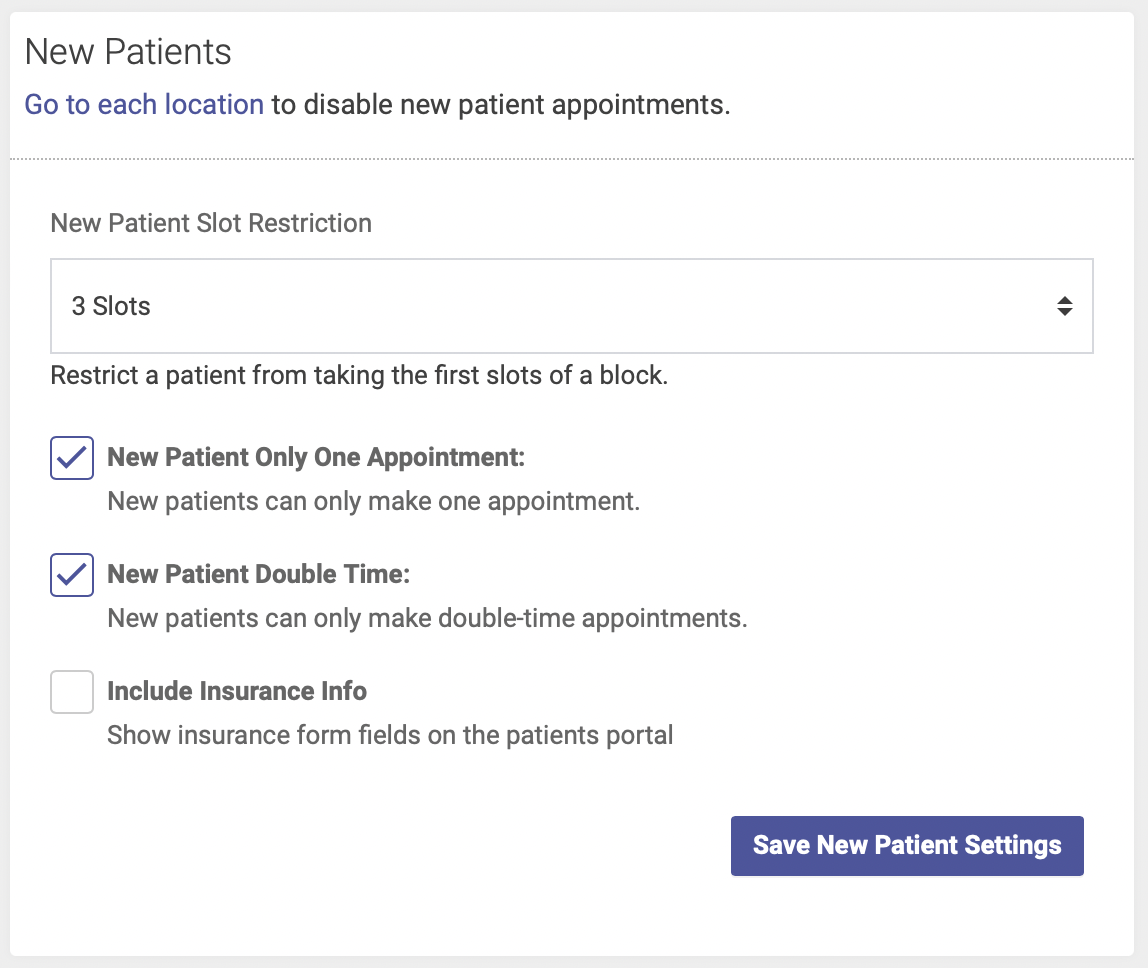
New Patient Settings
This is where you’ll save settings related to when new patients can schedule appointments. You can:
- Restrict new patients from taking the first slot(s) of a block, using the new patient slot restriction drop-down menu
- Restrict new patients from making more than one appointment by checking the Only One Appointment box
- Restrict new patients from making single-slot appointments by checking the New Patient Double Time box
- Include or omit insurance info on the patient portal.
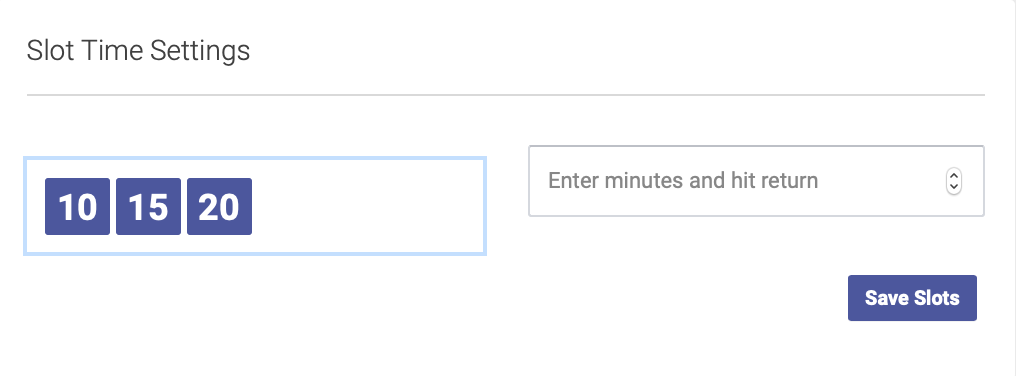
Slot Time Settings
In this section you can add and delete your options for slot duration. To add an option, enter the number of minutes and click return. To delete an option, simply click on the number in the box on the left.
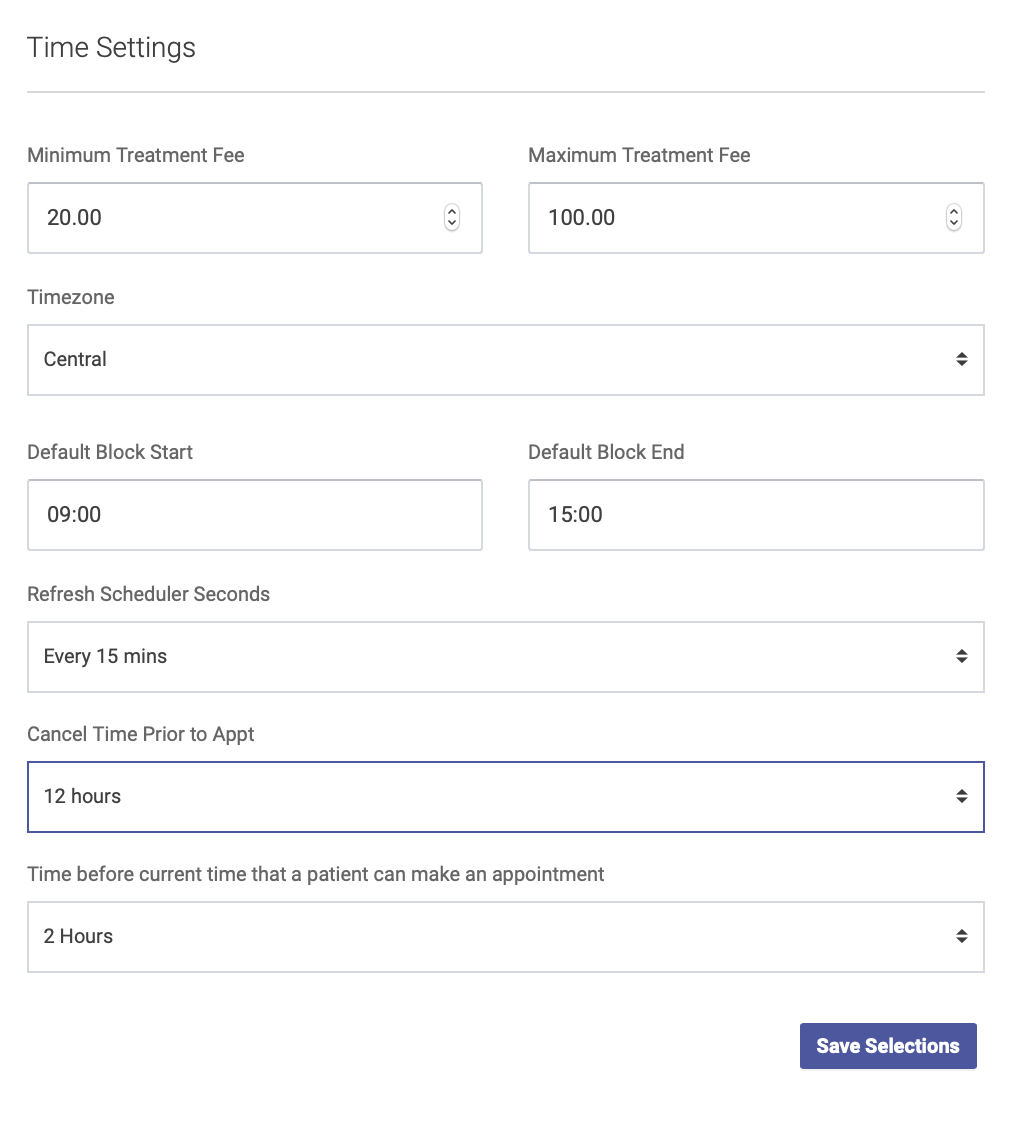
Time Settings
This is where you’ll save basic time and fee settings for your scheduler:
- Minimum and maximum treatment fees (these can be manually overridden during the checkin process)
- Time zone
- Default start and end times for blocks (these can be manually changed when creating blocks)
- Scheduler refresh: will automatically refresh your scheduler after a period of inactivity
- Cancel time prior to appointment: determine how long before an appointment you’ll allow a patient to cancel online
- Time before: determine how much lead time you’ll allow for a patient to make an appointment online
Text Reminder Settings
Note: Only available if you have opted in to the text message reminder feature for an additional $5 per month.
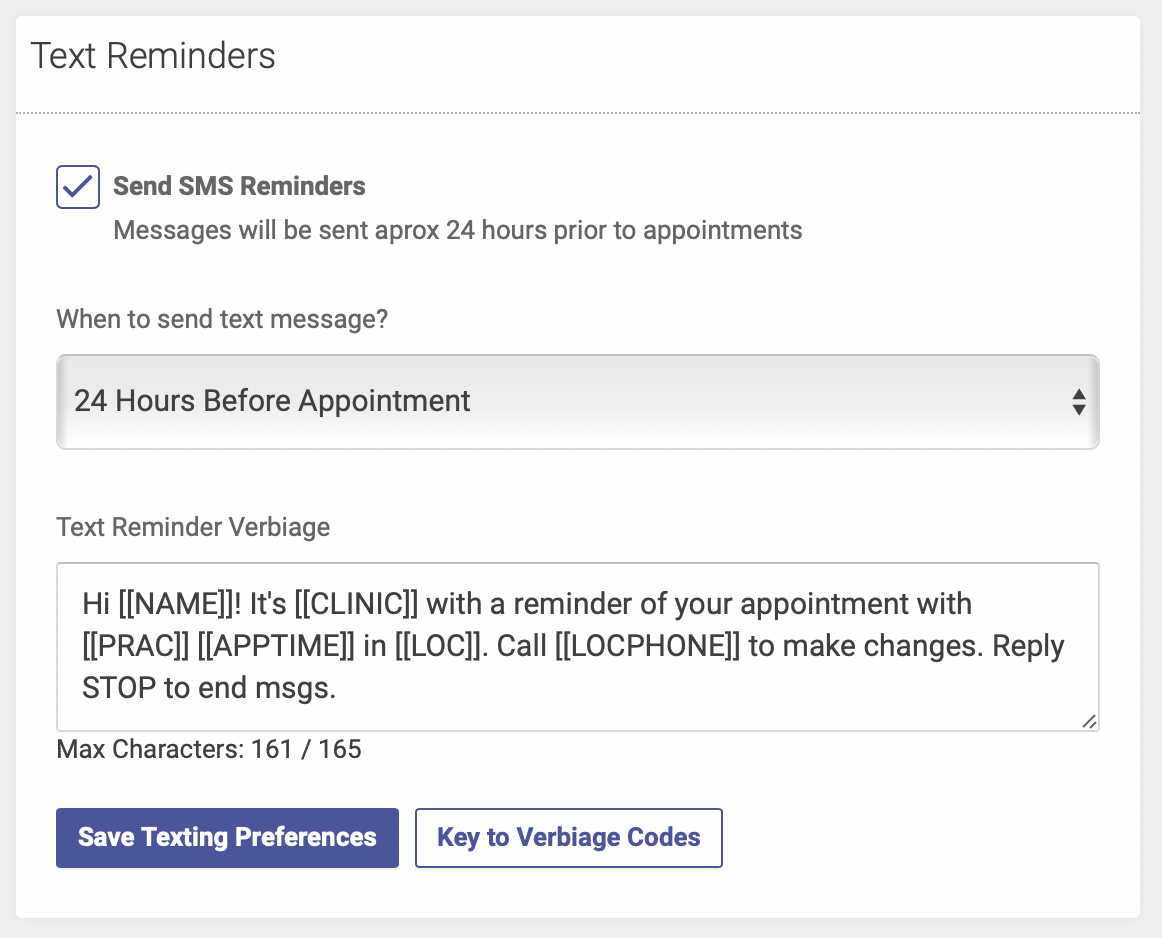
Complete the following steps to activate SMS reminders:
- Check the Send SMS Reminders box
- Select your preference for when text messages are sent - they can be sent either 24 or 48 hours before the appointment.
- Enter your verbiage for your text message - click the Key to Verbiage Codes button for options to customize your messages.
- Click Save Texting Preferences and you're done!
See this reference for the text code variables you can use or click the Key to Verbiage Codes button on your admin page.