Service Names
Every schedule block is required to have a Service Name. The Service Name label appears at the top of a schedule block. Here’s how it looks on the admin portal:

And on the patient portal:

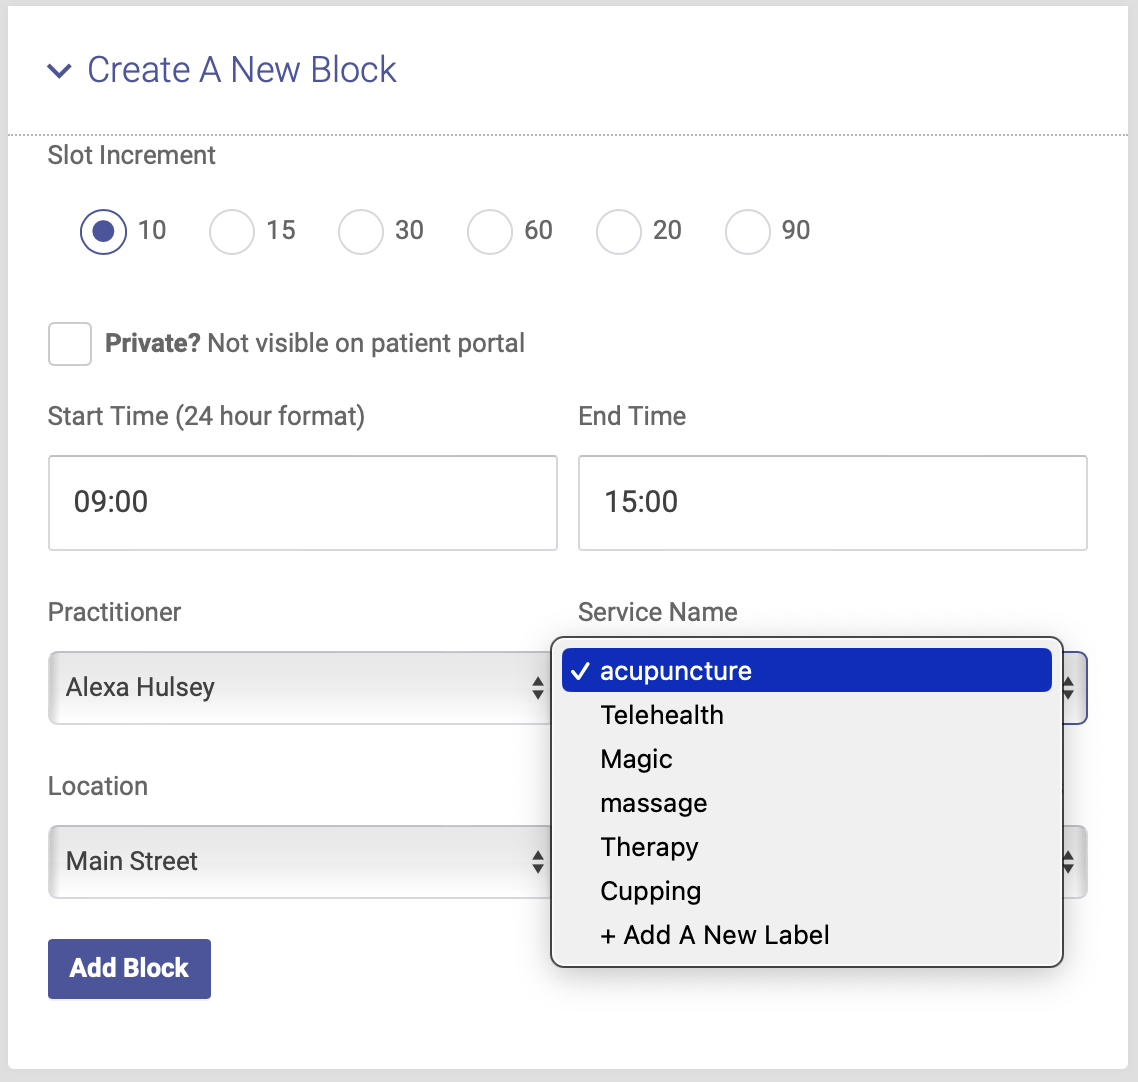
Assigning a Service Name
When you create a new schedule block, you’ll see the Service Name field next to the Practitioner name field. You can select from the available service names, or add a new one by clicking “+Add a New Label” in the drop down menu:
Editing or deleting Service Names
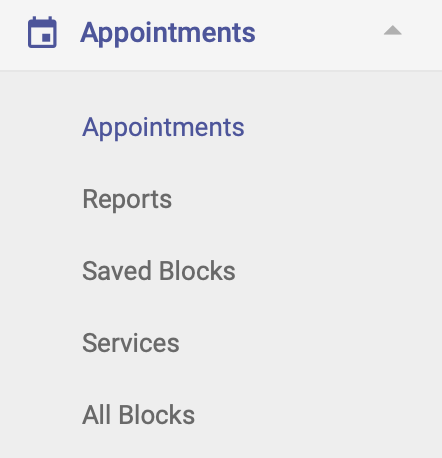
To edit or delete any of your Service Name labels, you’ll go to the left-hand side menu and click Appointments —> Services:
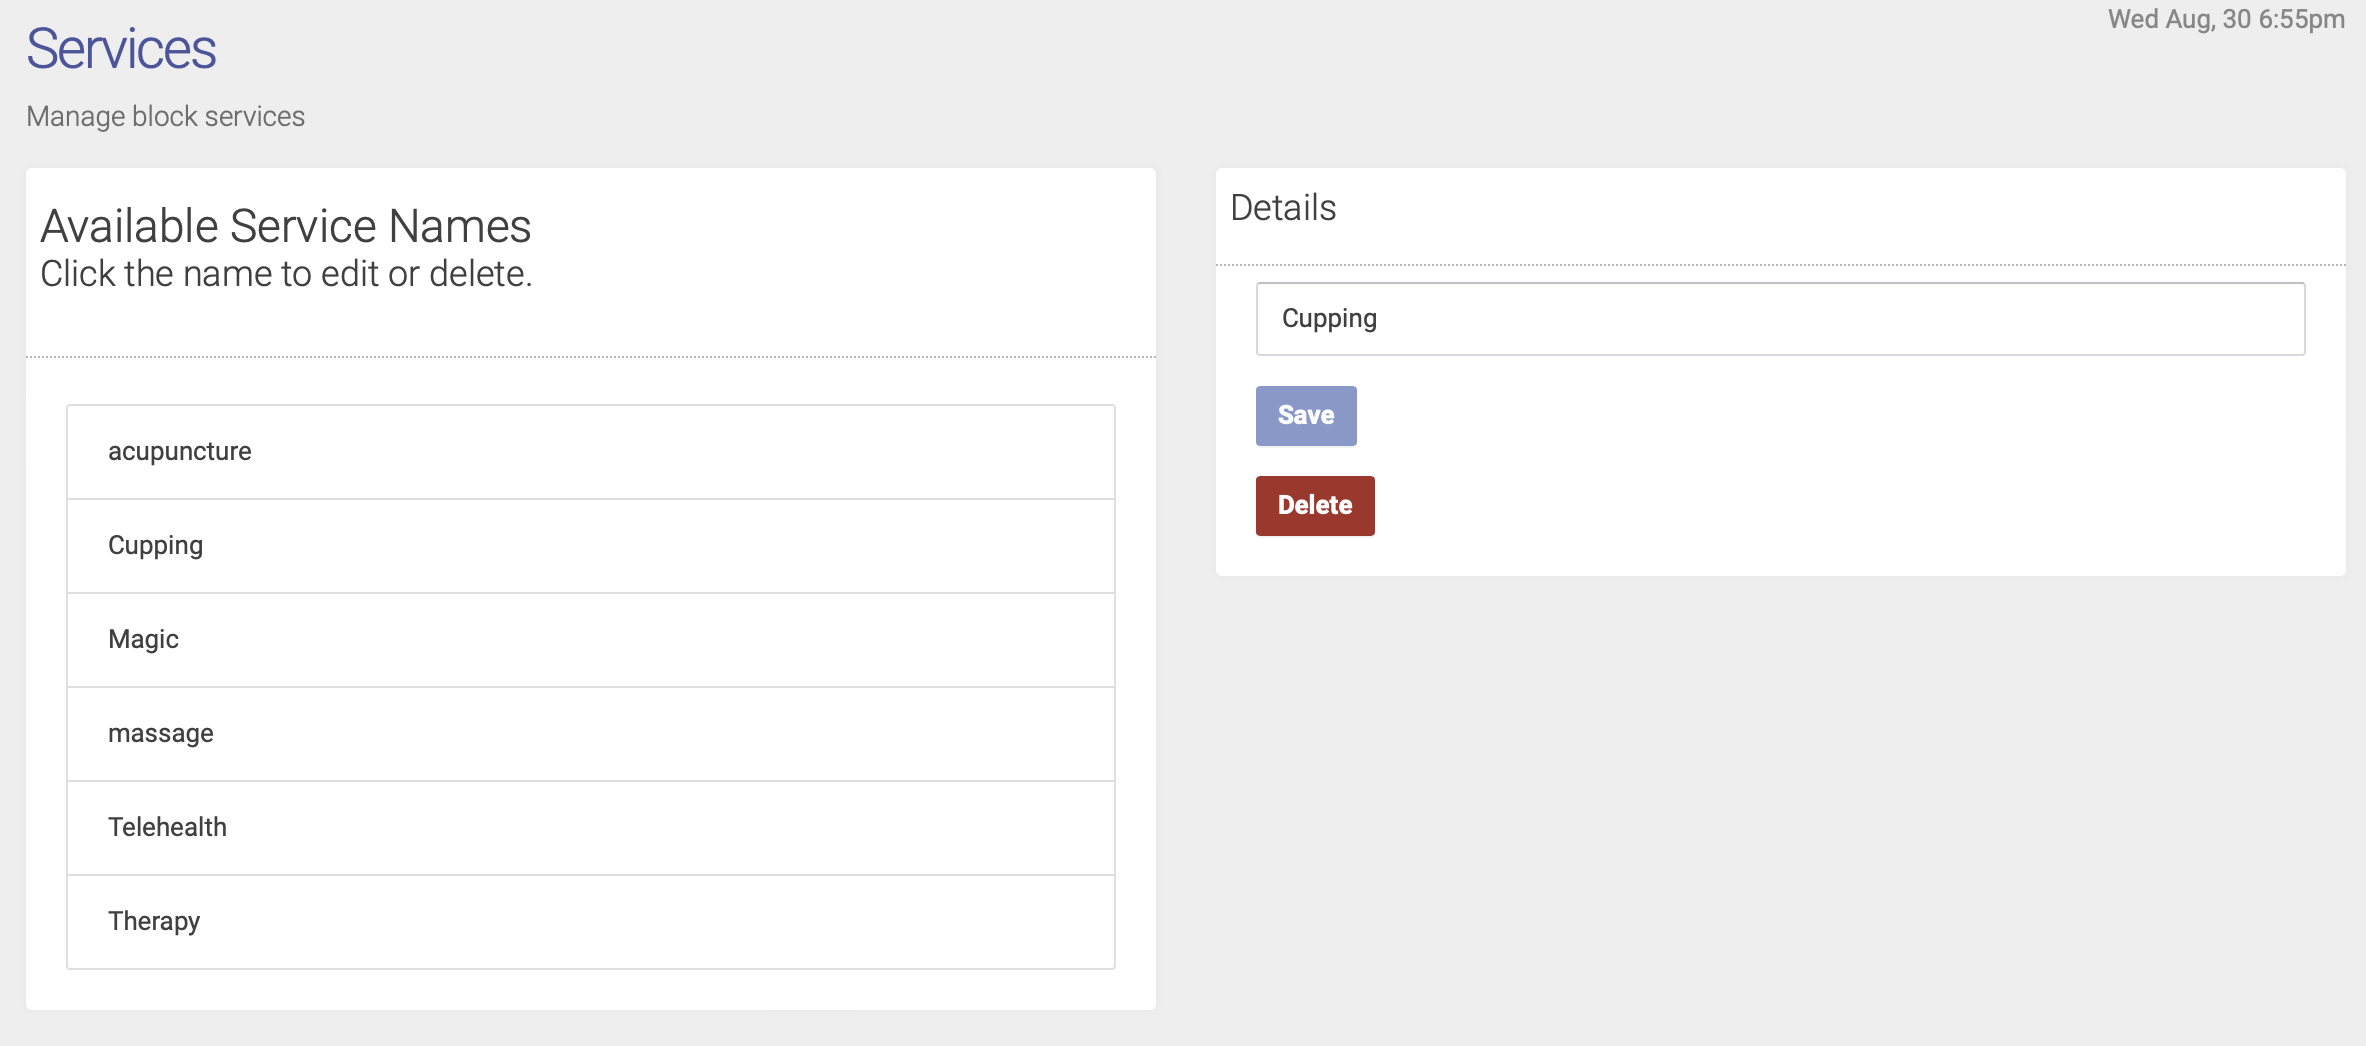
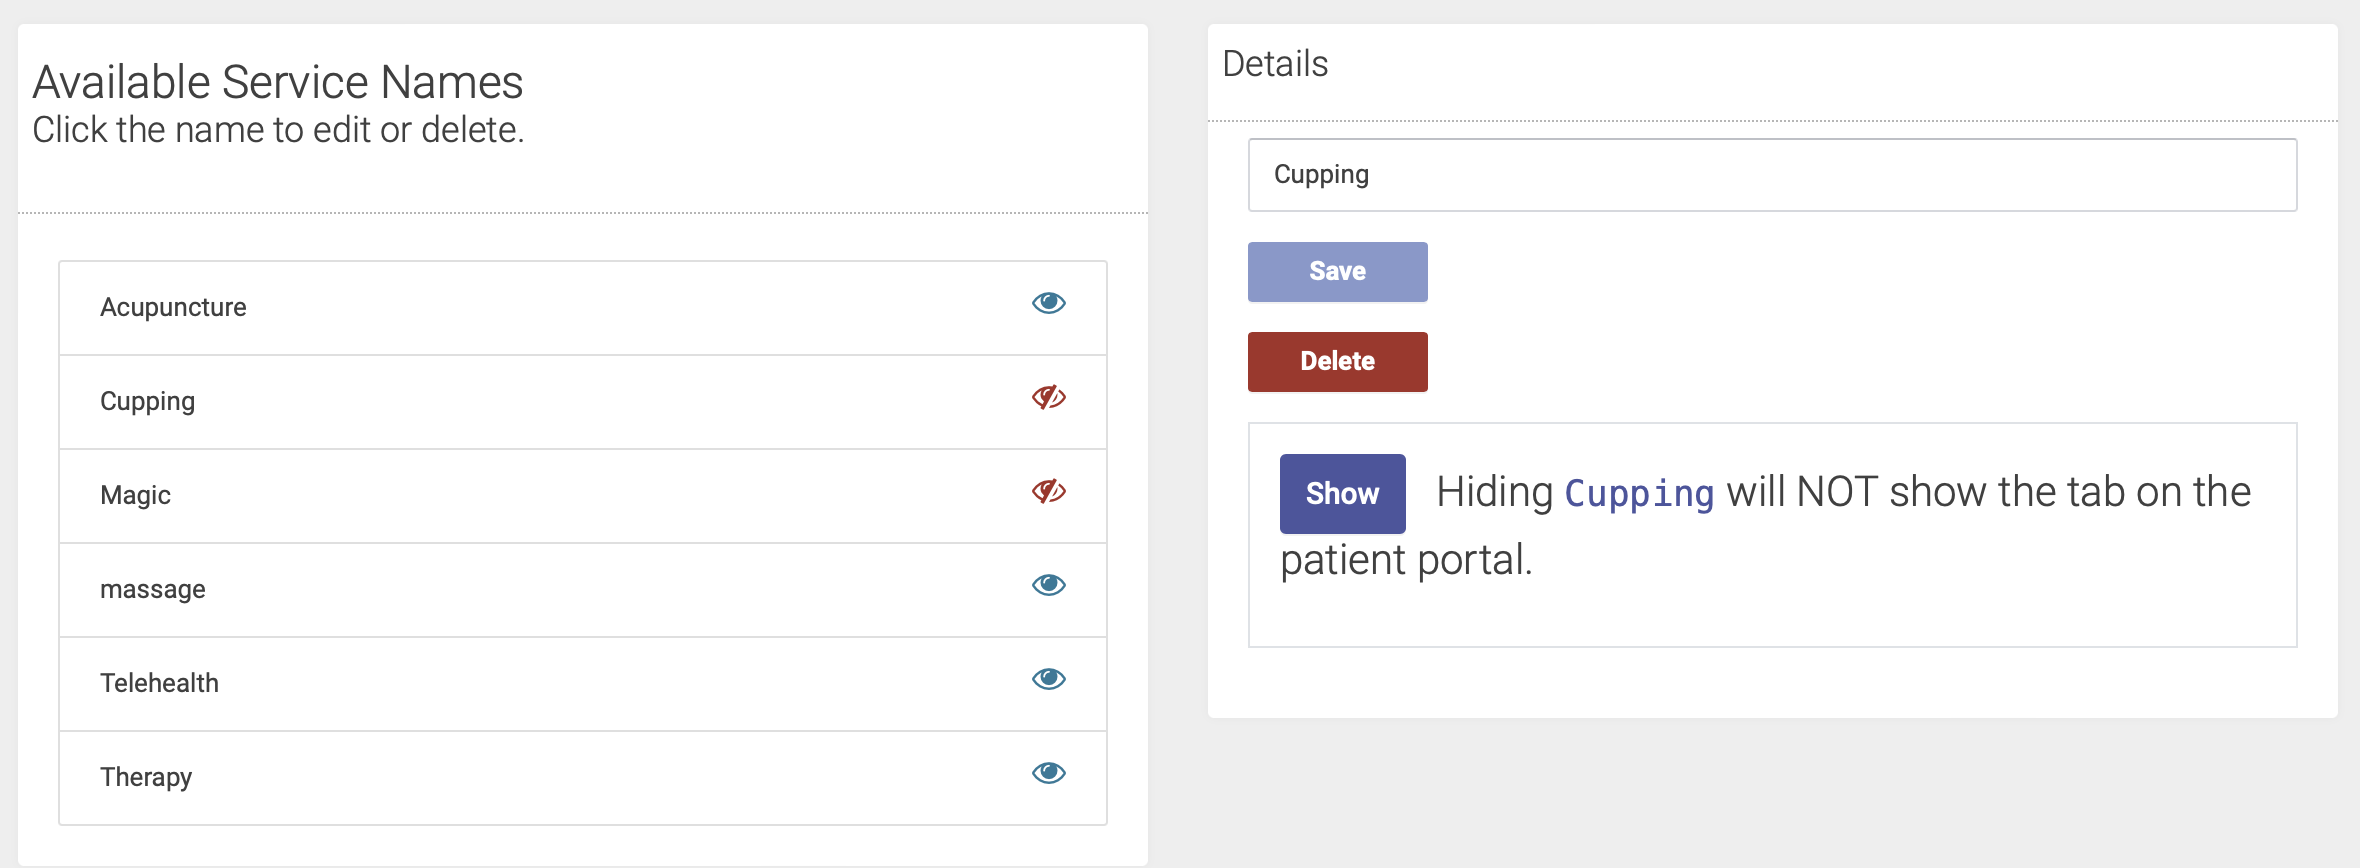
On this page you’ll see a list of the service name labels you’ve created so far. To delete one, click the name of the label, then on the right hand side of the page you can change the name or delete it:
Hiding a Service Name
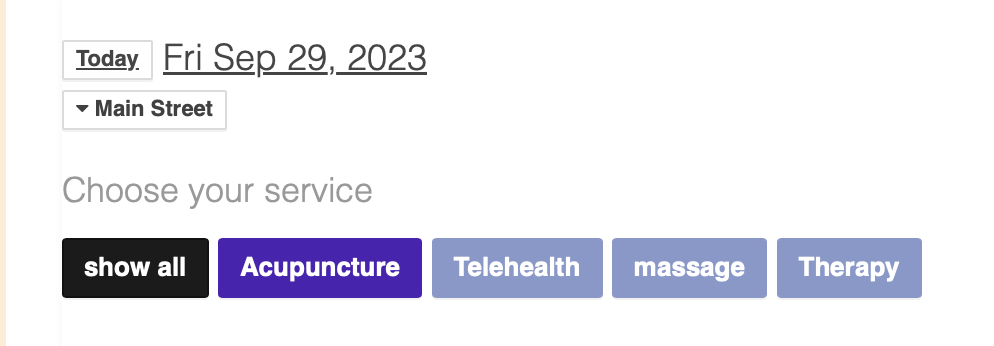
By default, all of your service names will show on the patient portal, as tabs across the top of the appointments page:
You have the option to "hide" a service name, meaning you can still assign it to a block, but it won't show up on the patient portal. This is a good option for services that you offered in the past but no longer offer, or if you don't want patients to be able to book online for a certain service.
To hide a Service Name label, you’ll go to the left-hand side menu and click Appointments —> Services. Select the service that you'd like to hide, then click the Hide button:

Once you click Hide, that service will NOT appear on the patient portal, and you'll see a red eye icon next to it on the list of services. You can always reverse this action and allow the service to show on the patient portal by clicking the service name on the list, then clicking the Show button:
Here's a quick video tutorial on hiding service names: