Creating a Multi-day Event
Our Events function allow you to create an event that spans multiple dates. Here's how to do that.
Event Setup
On the Event Setup page, click the box next to "Is this a multiday event?" You can then enter the start and end dates for your event:
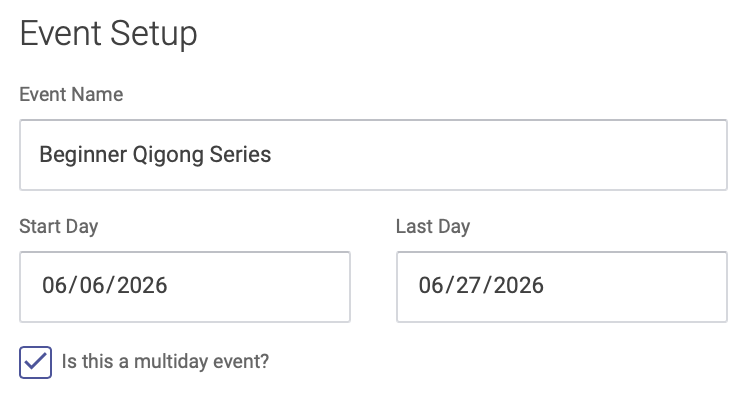
Note: You'll select individual dates for your event on the Hours tab.
Click the right arrow at the bottom of the page to advance to the next step: Host
Host
On the Host page, you'll enter information about the event host(s), the same as you would for a single-day event:
- Add Event Host from a dropdown menu of your clinic's Practitioners. To add a Practitioner, select their name from the dropdown menu, then click the Add Practitioner button. You can add multiple practitioners per event.
- Click the "Add EHR notes to this event" checkbox if you want to enter and save health records for this event.
- If you have other event presenters or hosts who are not on the menu of your clinic's Practitioners, you can add their name in the Other Presenters box
Click the right arrow at the bottom of the page to advance to the next step: Hours
Hours
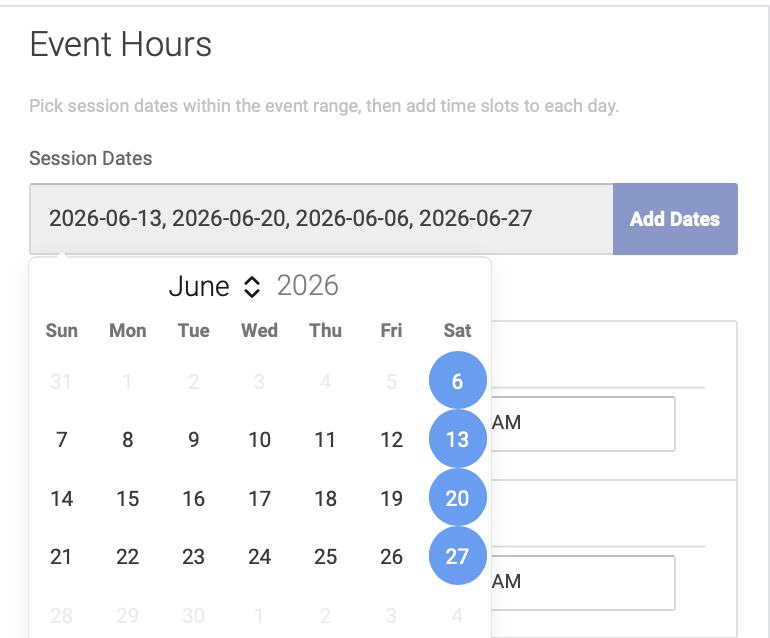
On the Hours page, you'll enter the hours for each of your separate dates. Click the box below "Session Dates" and a drop-down calendar will appear. Click dates on the calendar to select each date of your multi-day event, then click Add Dates:
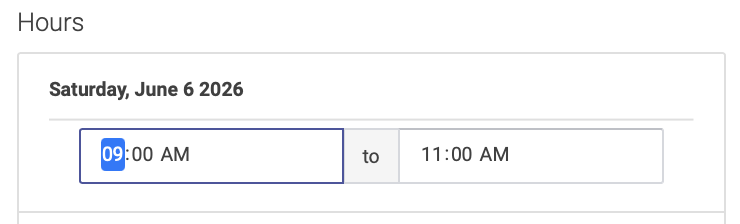
You will then enter the hours for that date. By default, the hours at set to start time 9:00AM and end time 11:00AM. Simply highlight the hours to edit them:
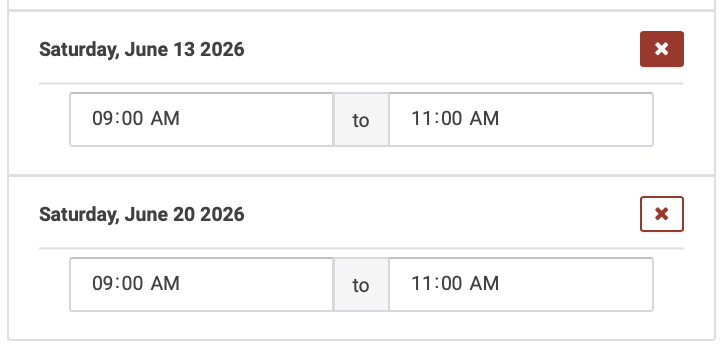
To delete a date from your multi-day event, click the X box next to the event date (note: you cannot delete the start or end date of a multi-day event):
Click the right arrow at the bottom of the page to advance to the next step: Event Info
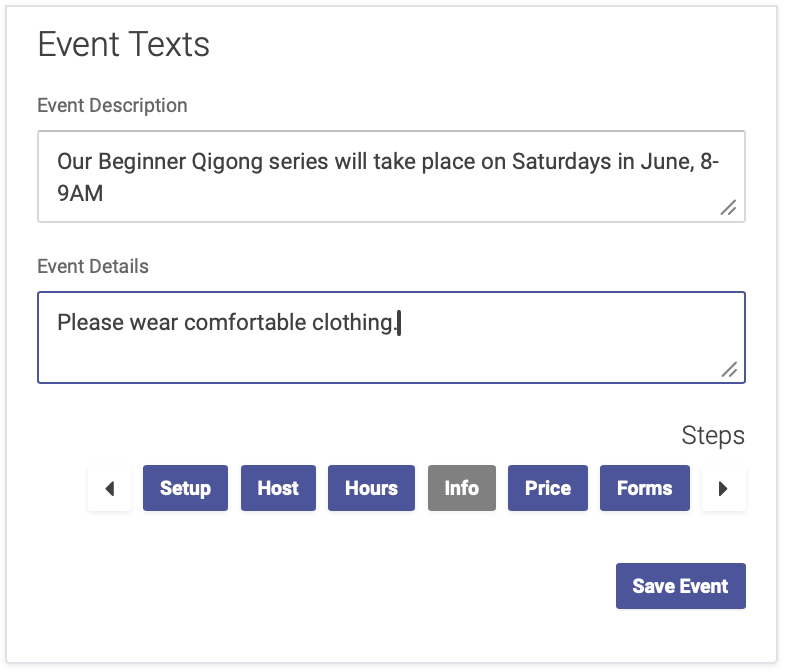
Event Info
Enter your description and details for the event, like you would for a single-day event.
Click the right arrow at the bottom of the page to advance to the next step: Price
Price
On the Price page, you'll enter your pricing for the event, the same as you would for a single-day event. You can add expiration dates to a price for an early-bird pricing option.
- Enter your price title, amount, and expiration date (if applicable). Then click the Add Price button.
- If you want to require prepayment, click the Prepayment Required box (note: you must use Open ACU's Stripe integration feature to enable prepayment for Events).
Click the right arrow at the bottom of the page to advance to the next step: Forms
Forms
On the Forms page, you have the option of sending forms to attendees, to be completed in advance of the event.
- Select the forms you'd like to send from your clinic's Intake Form options,
- Or click the Create a New Form to create a new form for your event. This will take you to your Intake Settings page.
- You can skip this step if you do not require attendees to fill out a form for this event.
Click Save Event to finish the event setup process
Next step: Event Notifications